
I have done this colored sand activity over the years but without any sand on hand, I made my own colored salt and the results were awesome! My toddler helped some but like all of my ” Naptime Creations” this is for older children. These salt art jars make great paper weights or colorful balloon weights for parties.
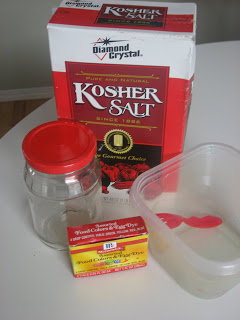
- Gather your materials. You will need some Kosher Salt, food coloring, a bowls for mixing, a fork and a glass jar. I am using a large jar but for kids a great option are baby food jars! You may also want a straw and a funnel.
- Pour some salt in your bowl
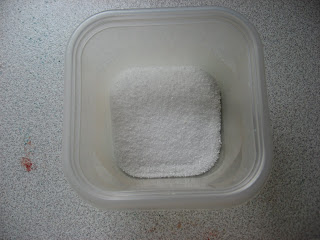 and add some food coloring.
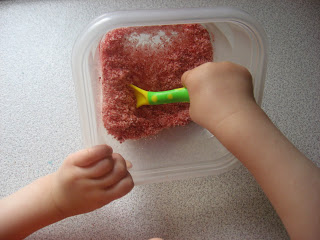
- Start mixing right away. My toddler loved this but the whole activity is not toddler friendly at all, you will want to do this with school age kids. You will have to help, I had to mix it like I was beating an egg. It takes a minute but it works!
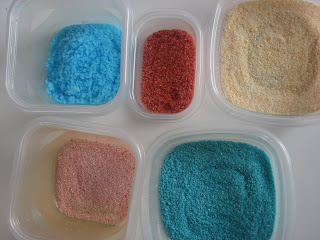
- Mix multiple colors.
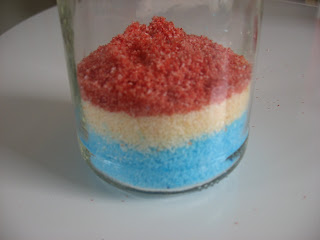
- Pour one color into your jar. Shake gently to make level. You can make cool stripes filling the jar like this the whole time.
 Or…
Or… - You can use a straw to make a tunnel to the bottom
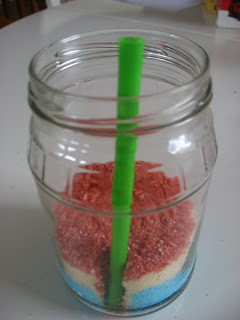 and fill with a different color for a cool effect.
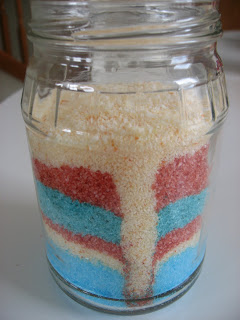
- Although I didn’t , you can also add sea shells, sparkles or anything you like.
- Fill all the way, I ran out of colored salt , so I filled the rest with regular salt and tightened the lid.
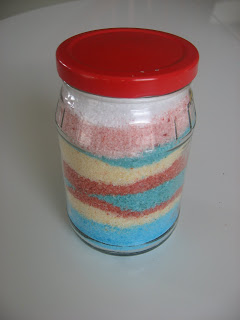 You don’t want any wiggle room or the salt will mix and the design will be ruined.


melanie says
I recently did a sand activity with my daughter and the colored sand was so expensive. I love this idea to use salt instead!
Allison says
It is really expensive, what I also love about the salt is that my son took one taste and that was enough!
Megan says
The neat thing about this, if you do add salt to food, is that you can still use this salt…AND..you know how much salt is going on your food because you can see it!!
Genna says
GREAT activity – my daughter is 3 1/2 and she was able to mix the color in herself. It kept her busy long enough for me to make my 6 month old a few days worth of food. Thanks for the great idea!
Andrea says
You think it would work if you put a lid on the container and let them shake it real good? Or in a ziploc bag?
Holly says
I did put the salt and food coloring in a zip lock bag and let the kids shake it and it worked very well to color the salt!
Allie says
Genna- I am so happy it worked well for you and your daughter.
Andrea- It’s worth a try- if you use kosher salt the grains are way bigger , that might help.
~Momster says
What a great idea! I love this. 🙂
Allie says
Momster – thanks for reminding me of this , I did this so long ago. I think I may redo it now that my son is older.
Tracy says
If you wanted to do this for a large group (birthday party or classroom) the white sand (sold in the summertime) is around $30 for i think 50 pounds. Also for a large group, splurge & buy liquid watercolors. (like bio color or colorations-discount school supplies)
Sam says
Oooh. Love it. Will have to remember it when Boo’s a bit older.
.-= Sam´s last blog ..Not as unique as we thought =-.
Kathy Zielinski says
I was going to suggest the ziploc baggie as well. I recently made a “find it” game in a jar using colored rice and tiny curiosities for him to find as he turns the jar. I colored the rice in snack baggies with food coloring and it worked well. 🙂
LaWanda Dean says
Can you use regular salt? It would make this craft more affordable as I’d like to use this idea for centerpieces and I need about 10 in vases.
Allison McDonald says
Absolutely!