Letter
Lacing Card

Once again shopping online has forced me to try and see if I could make it myself. I don’t need 5 bug lacing cards, I already have too many toys in my family room! So here is how I made one. I used my son’s initial, but there is no reason not to make a rocket ship, butterfly or a simple square!
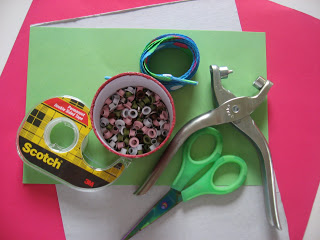
- Gather your materials. You will need some cardboard ( I am using a cereal box) , some card stock, permanent double stick tape,scissors, a hole punch, eyelets and an eyelet setter. Oh and a fun shoe lace. I let my son pick this out at the store, it’s thick so it’s won’t fall our of the holes easily.
- Cut your cardboard to a size the will be easy for your child to handle, the older the child the bigger it can be.
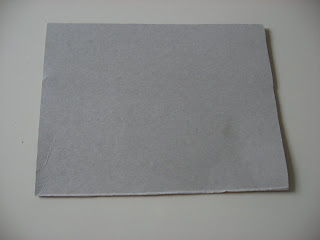
- Cover it with a large piece of cardstock the same way you would wrap a present. This way there are no sharp edges they can play with.
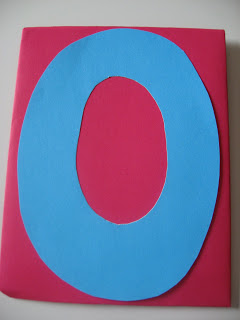
- Draw and cut out your initial or shape in a contrasting color and using the permanent double stick tape tape it on.
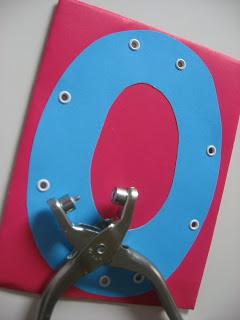
- Punch some hole around the shape. I messed mine up but ultimately even if they aren’t spaced perfectly it’s ok, they will still lace just as well.

- Add your eyelets.
- Start lacing.
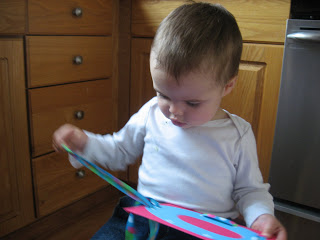 Please ignore my son’s messy face, I was making this while he ate lunch and he couldn’t wait to play with it.
 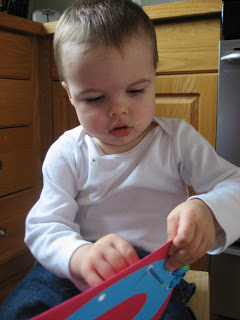 I was so excited to see how well he did with it too, not bad for 21 months! I think I may make a few more and “give” them to Santa for his stocking!


Jennifer says
I love all your inventive ideas! I have a 3 year old and have used many of your ideas, we’re going to make play dough today with sparkles!
Allie says
Awesome! I haven’t done play doh yet with my son, he tends to eat things , let me know how it goes.
melanie says
I love this idea! I was looking at lacing cards recently and I thought the same thing as you- I don’t need a bunch of lacing cards to add to the huge mess of toys we already have. But, I love your idea.
Allie says
I should add that we have been playing with it all.day.long. !
Julie says
What a wonderful idea!! I’m going to make one of these!
teachingtinytots says
cool my LO was getting a whole bunc for chirstmas and i’m making some for my 1 yr old nephew so i might have to get the eyeley tool!
how much are they? it makes them look so much nicer then just a hole punch and reinforcement stickers!
Allie says
I am not sure- I stole that one from my mom’s sewing room!
They make it way easier to thread too!
alison says
I have just found your blog and I LOVE all the fun ideas. Your son is lucky to have such a creative mommy. I’m being inspired to be more consciously active and creative with my 2 year old (at least when the new baby sister is napping…)
Andrea says
Thanks for the instructions, I knew these would be easy to make not to mention customize. We got a Melissa & Doug dress-up bear on clearance but it'd be fun to make my own too! PS They make great quiet travel toys (ie for long plane rides!)
Anderson's Mommy says
My son will definitely have to try this one! I am going to try to teach him how to tie his shoes soon, too so this will hopefully help. Thanks, Allie!