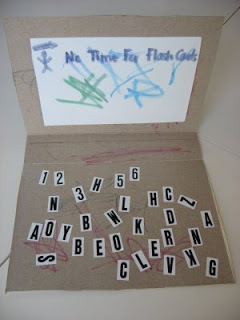
No Time For Flash Cards
preschool activities, preschool crafts, and preschool books.
For Teachers
Toddlers
Preschool
Kindergarten
Elementary
Archives for May 2009
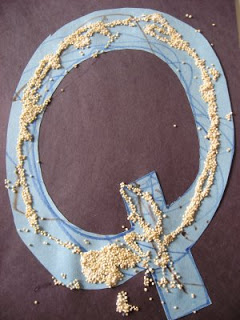
Letter of the Week Q !
Sunday Spotlight
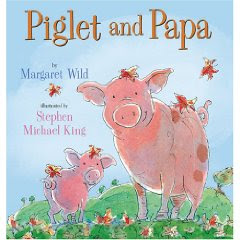
Books About Dad – Happy Father’s Day!
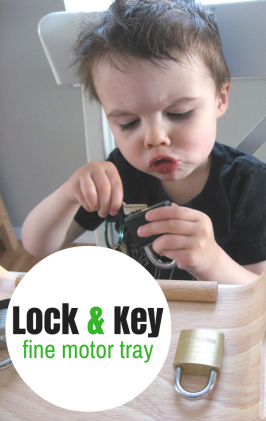
Fine Motor Friday- Lock and Key Fine Motor Tray
Parent’s Corner Extra !
Computer Craft
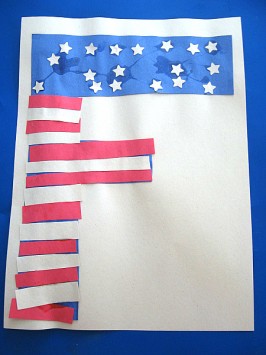
Letter of The Week { Flag F }
Sunday Spotlight
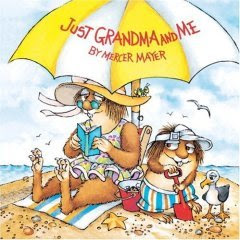
Beach Books! Fun Summer Time Reading
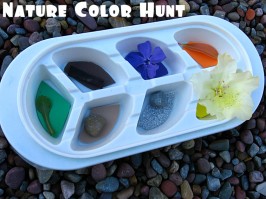
Nature Color Hunt
Pig Nose
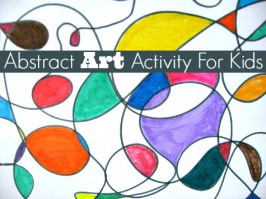
Abstract Art Activity
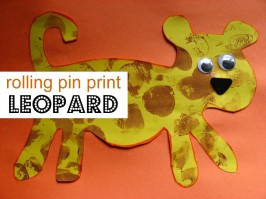
Leopard Craft
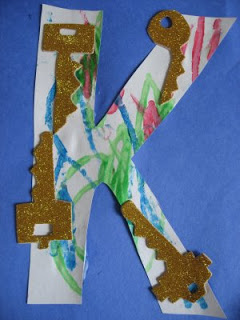
Letter of The Week K !
Sunday Spotlight – My Favorite !
Children’s Book Week
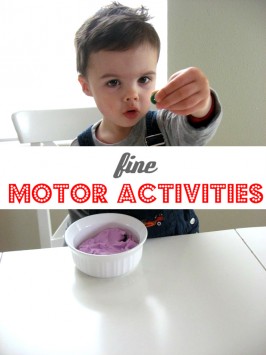
3 Easy Fine Motor Activities
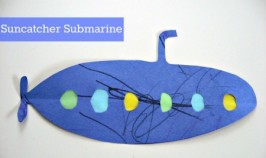
Submarine Craft
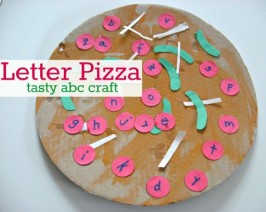
Letter Pizza Craft
Celebrate With Us!
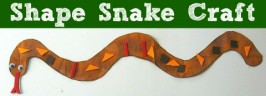
Snake Craft
Whoa Mama, Books About Moms
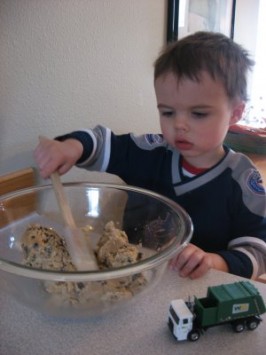
Make Cookies Simple!
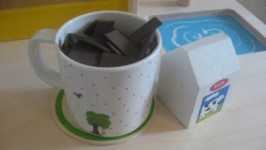
Play Coffee Shop
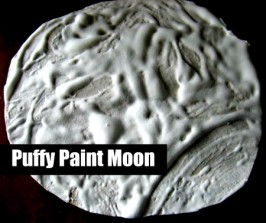
Puffy Paint Moon Craft
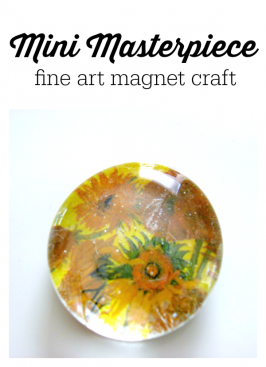
Mini Masterpiece
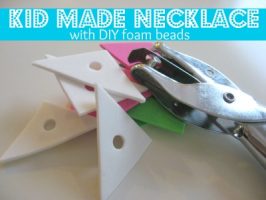
Necklace Craft
1
2
Next Page