No Time For Flash Cards
preschool activities, preschool crafts, and preschool books.
For Teachers
Toddlers
Preschool
Kindergarten
Elementary
Archives for June 2009
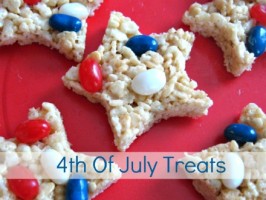
4th of July and Canada Day Treats
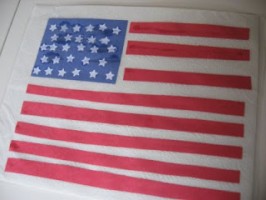
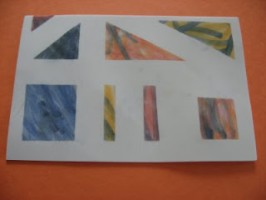
DIY Art Museum
4th of July !
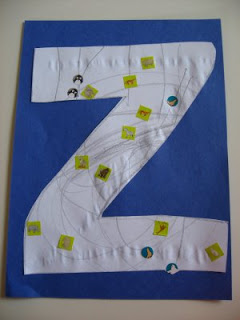
Letter of The Week Z!
Sunday Spotlight
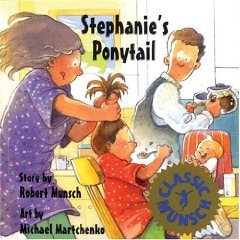
Author Showcase – Robert Munsch
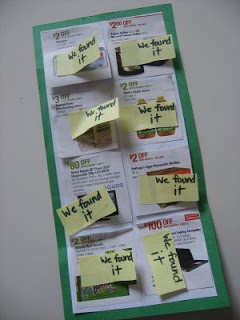
Grocery Store Game
Shape Painting
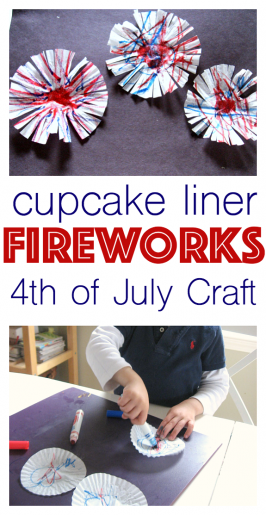
Fireworks Craft – 4th of July Craft
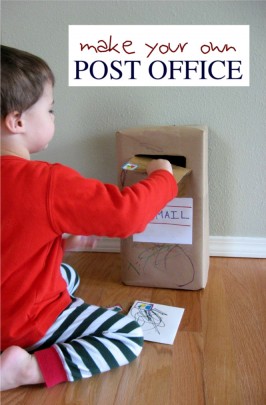
Play Post Office!
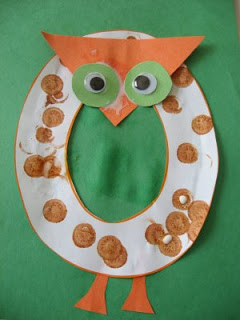
Letter Of The Week O!
Sunday Spotlight
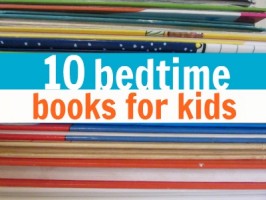
Books about Bedtime
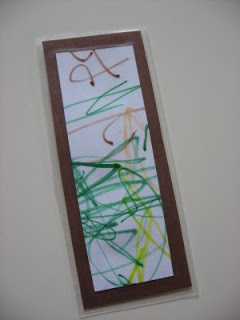
Custom Bookmark for Dad
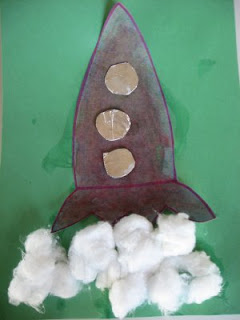
Cut and Paste Rocket!
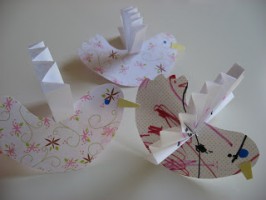
Beautiful Bird Craft
Tool Bench Pencil Holder
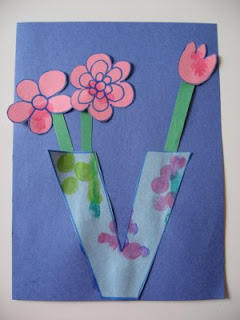
Letter of The Week V!
Sunday Spotlight
Summer Reading For School Age Kids
Potato Masher Prints – Art Project For Toddlers
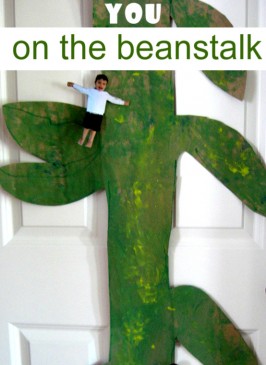
Jack in The Beanstalk Craft
The Whole Alphabet
Easy Beaded Bracelet
Toothbrush Craft
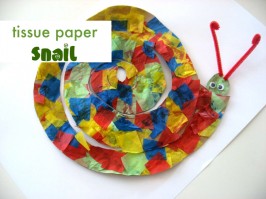
Snail Craft
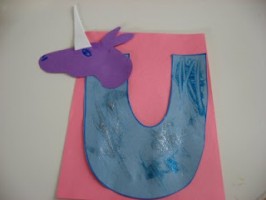
Letter of The Week U !
1
2
Next Page