No Time For Flash Cards
preschool activities, preschool crafts, and preschool books.
For Teachers
Toddlers
Preschool
Kindergarten
Elementary
Archives for July 2009
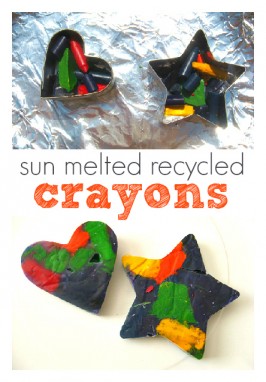
Melting Crayons With The Sun
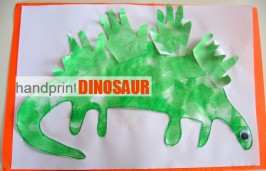
Kids Craft Favorite- Dinosaurs!
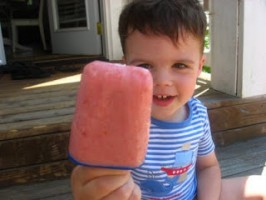
Fruit and Yogurt Popsicles
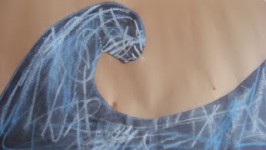
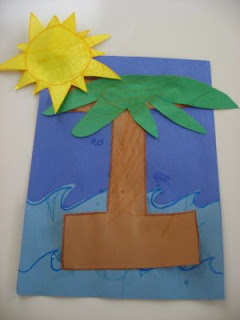
Kids Craft :Fine Art Remake
After BlogHer Break !
EverythingMom.com
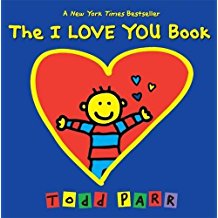
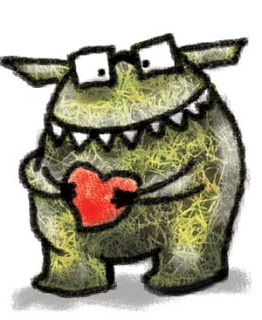
Author Showcase: Todd Parr
Can I get some cheese?
Down Home
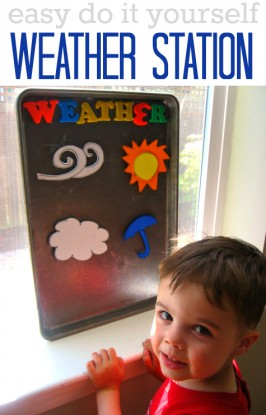
Magnetic Weather Station
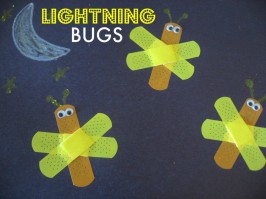
Bandage Lightning Bugs
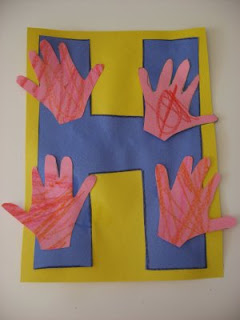
Letter of The Week H !
Sunday Spotlight
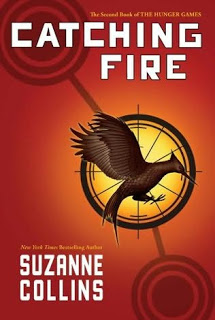
List Of Books Worth Reading Again
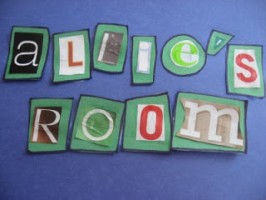
Bedroom Door Sign
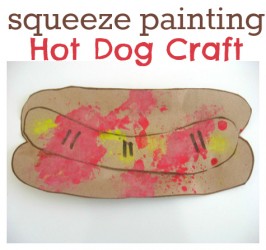
Squeeze Painting Hot Dog Craft
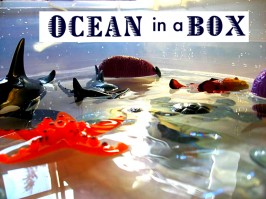
Ocean Sensory Tub
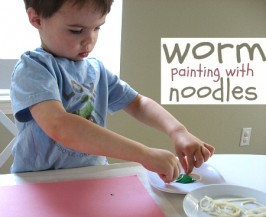
Spaghetti Worm Painting
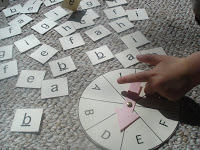
Alphabet Spin Game.
Sunday Spotlight
Great Books for Older Kids from…
Learning Outside
Time To Rhyme !
Wedding ABCs From
Road Trip !
Letter of The Week I
Sunday Spotlight
1
2
Next Page