No Time For Flash Cards
preschool activities, preschool crafts, and preschool books.
For Teachers
Toddlers
Preschool
Kindergarten
Elementary
Archives for May 2011
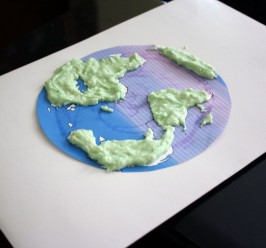
Salt Map of The Earth
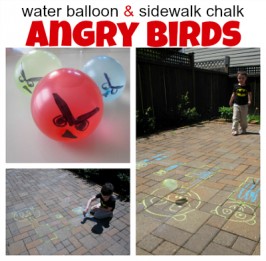
Angry Birds Inspired Water Balloon Game
Link & Learn
Win 20 Picture Book Favorites from MeMeTales
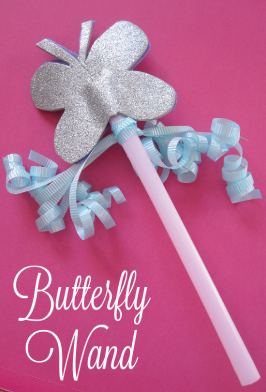
Butterfly Fairy Wand
Rainy Day Physical Activity
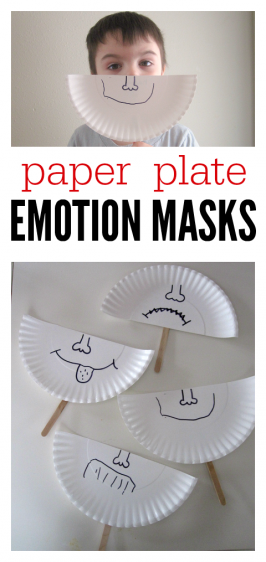
Paper Plate Emotion Masks
MeMeTales Mobile Reader App & Letter Craft
Link & Learn
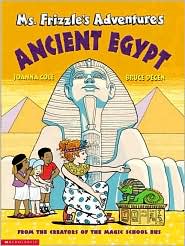
Series Showcase : Ms. Frizzle’s Adventures
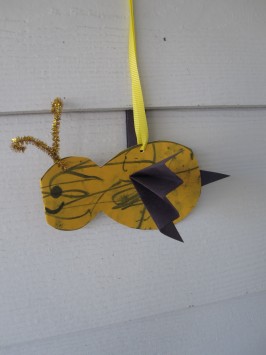
Baby Bumble Bee Craft
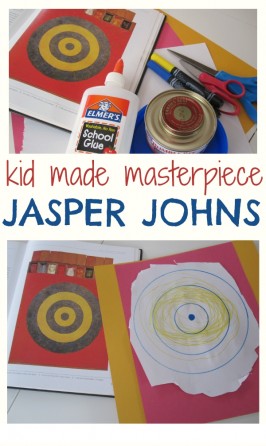
Inspired By Jasper Johns Fine Art Activity For Kids
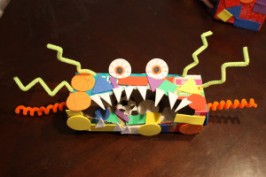
Monster Box
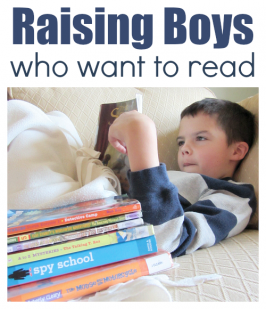
Raising Boys Who Want To Read
Link & Learn
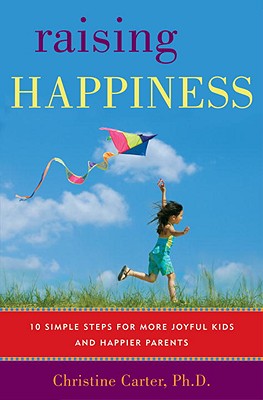
Parenting Book Club – May Pick!
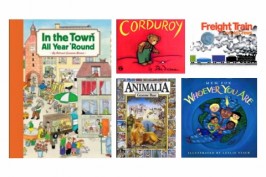
New Books
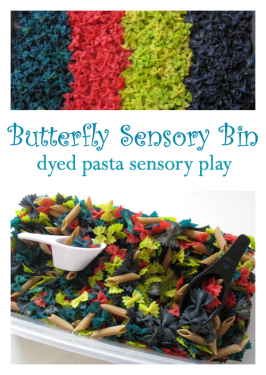
Butterfly Sensory Tub Activity
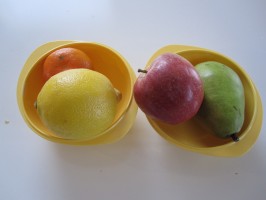
Infant Peek-A-Boo Activity – Fruit
Family Medals
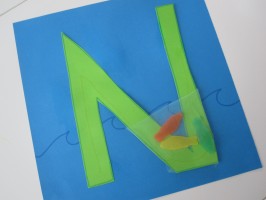
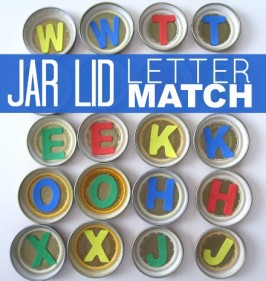
Jar Lid Letter Game
Mother’s Day Link and Learn
Book Club Discussion!
Books About Frogs
Fish Sun Catcher Craft
Preschool Photo Safari
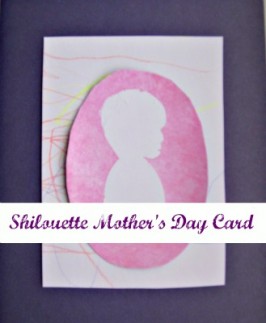
Silhouette Mother’s Day Card
1
2
Next Page