No Time For Flash Cards
preschool activities, preschool crafts, and preschool books.
For Teachers
Toddlers
Preschool
Kindergarten
Elementary
Archives for December 2011
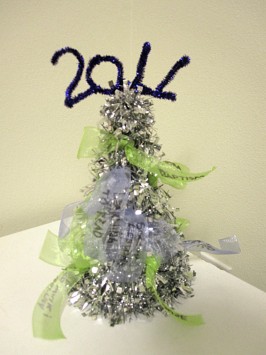
New Years Eve Activity For Kids
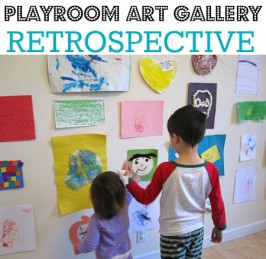
Celebrate New Years – Kid Art Retrospective
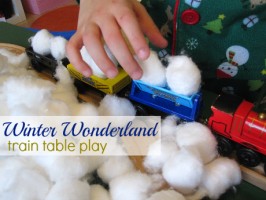
Winter Train Table Sensory Play
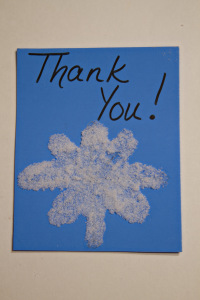
Snowflake Thank You Cards
Merry Christmas
Quick Fun For Busy Days
Clay Ornaments -made with stamps & cookie cutters
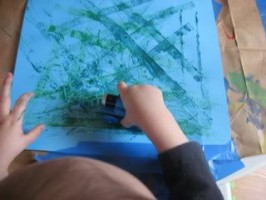
Bubble Wrap Christmas Trees
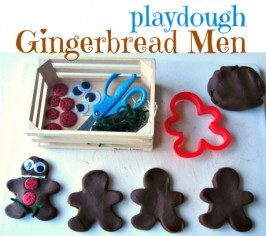
Gingerbread People Playdough Play
Books About Hanukkah For Kids
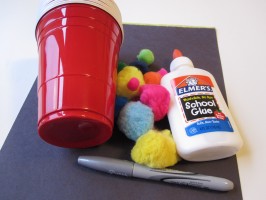
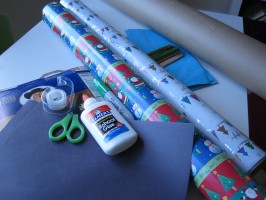
Craft by Numbers – Christmas Tree
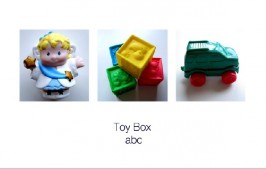
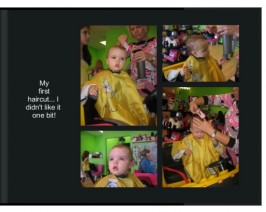
Make Your Own ABC Photobook
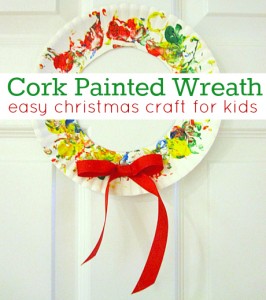
Cork Painted Wreath Craft
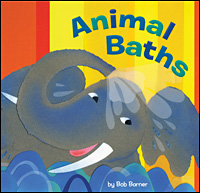
Holiday Book Picks
DIY Light Table
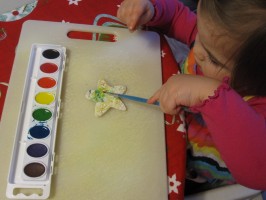
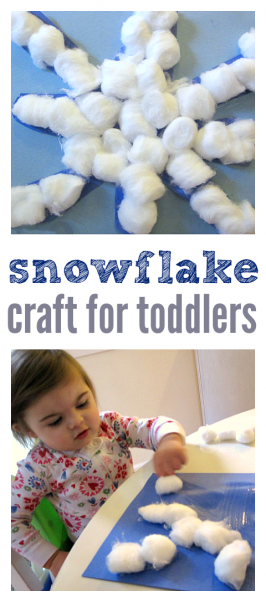
Snowflake Craft For Toddlers
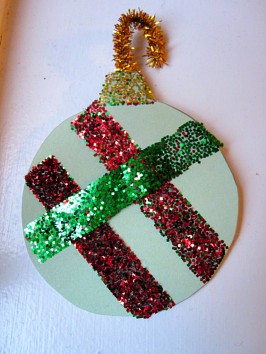
Fast & Mess Free Glitter Ornaments
Get Creative with Snapfish
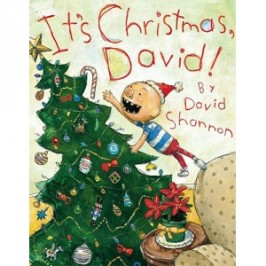
It’s Christmas, David! – Review & Giveaway
Santa’s Workshop Pretend Play