No Time For Flash Cards
preschool activities, preschool crafts, and preschool books.
For Teachers
Toddlers
Preschool
Kindergarten
Elementary
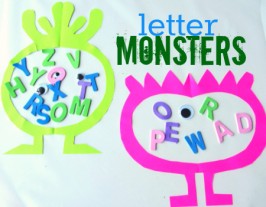
Letter Monster Craft For Kids
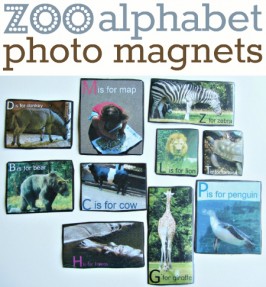
Alphabet Photo Magnets – Alphabet For Starters
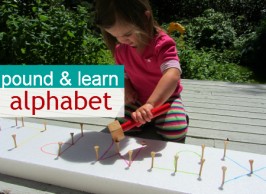
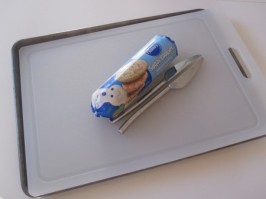
Pound & Learn Alphabet – Alphabet For Starters
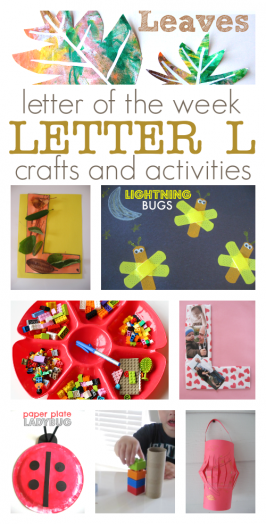
Letter L Activities – Letter of the Week
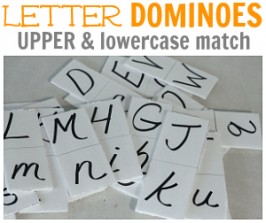
Letter Dominoes
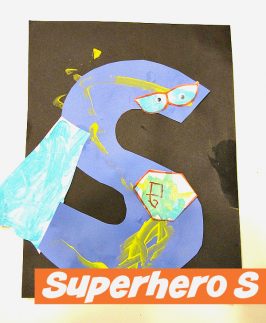
Letter of the Week – Superhero S
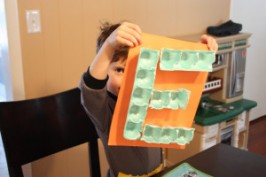
Letter of the week – Egg Carton E
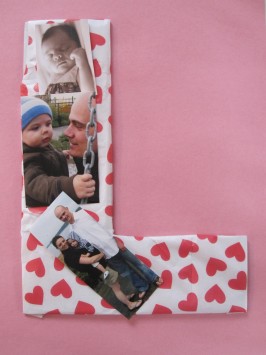
Letter of the Week – L Love
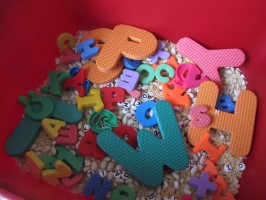
Alphabet Sensory Tub
Alphabet Cookies
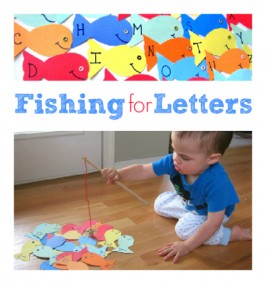
Fishing For Letters Game
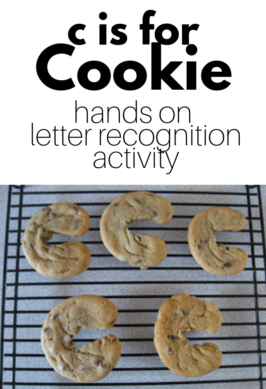
Letter C Letter Recognition Activity
Previous Page
1
2