No Time For Flash Cards
preschool activities, preschool crafts, and preschool books.
For Teachers
Toddlers
Preschool
Kindergarten
Elementary
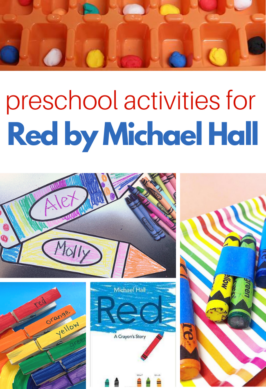
Preschool Activities for Red by Michael Hall
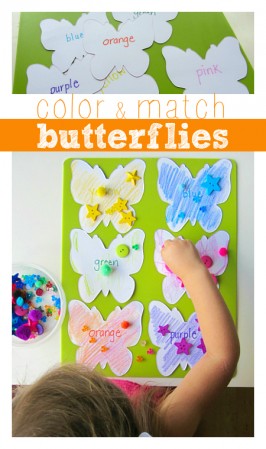
Color Matching Activity
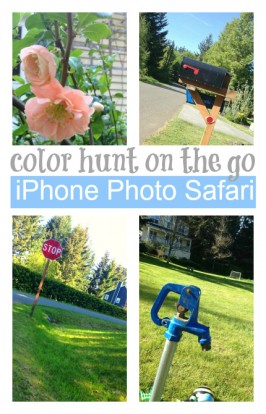
iPhone Photo Safari {Color Hunt}
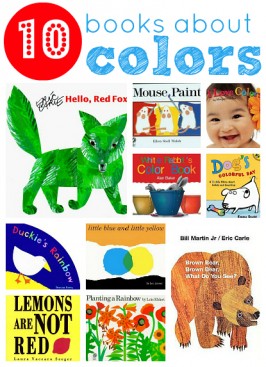
10 Picture Books About Colors
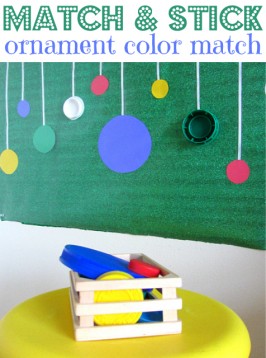
Ornament Color Match Activity
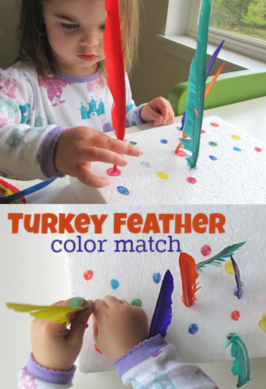
Feather Color Match Fine Motor Activity
DIY Light Table
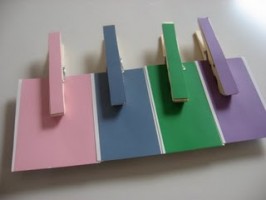
6 Clothespin Crafts!
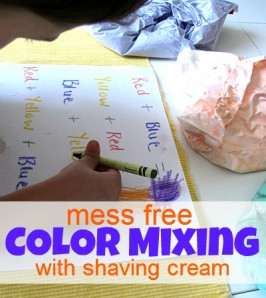
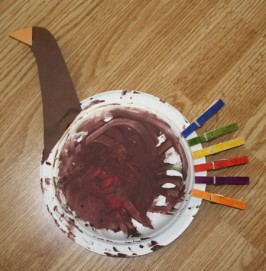
Color Mixing With A Toddler & Preschooler
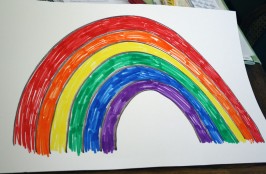
Matching Rainbow Learning Activity
Clothespin Teaching Turkey
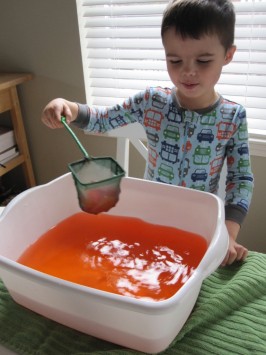
Ice Fishing and Color Mixing !
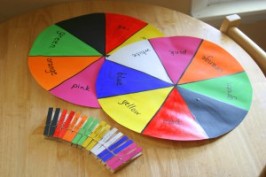
Color Wheel Match!
Color Hunt – no need for a gun!