No Time For Flash Cards
preschool activities, preschool crafts, and preschool books.
For Teachers
Toddlers
Preschool
Kindergarten
Elementary
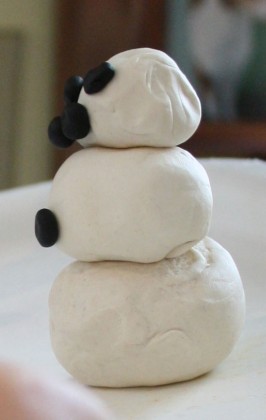
Southern Snowman
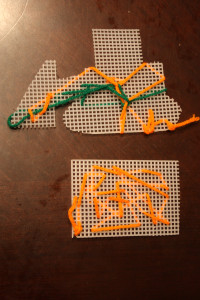
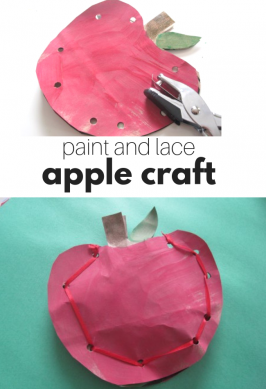
Lacing Activity for Preschoolers
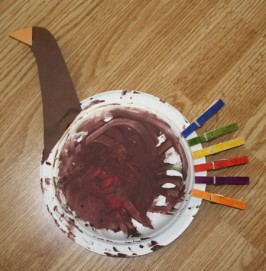
Clothespin Teaching Turkey
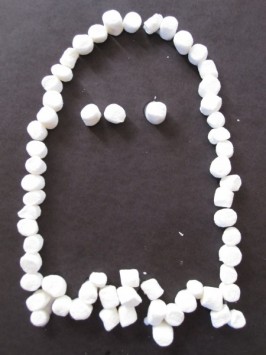
Marshmallow Ghost
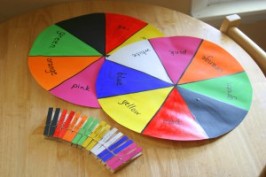
Color Wheel Match!
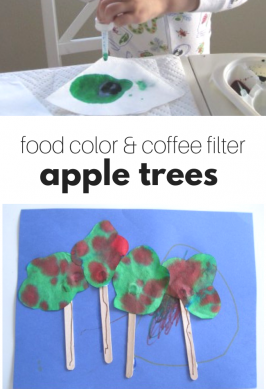
Apple Orchard Craft
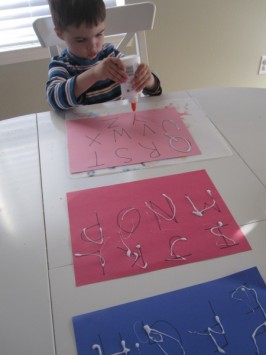
Glue Tracing
Back To School Kids Apple Crafts
Truck Themed Kids Crafts
Quick Summer Activities For Kids
Previous Page
1
2