No Time For Flash Cards
preschool activities, preschool crafts, and preschool books.
For Teachers
Toddlers
Preschool
Kindergarten
Elementary
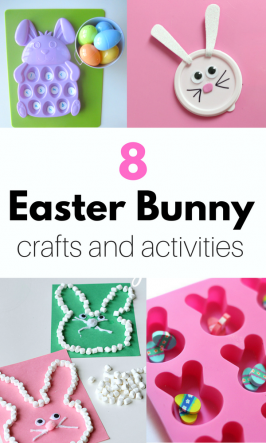
Easter Bunny Crafts and Activities
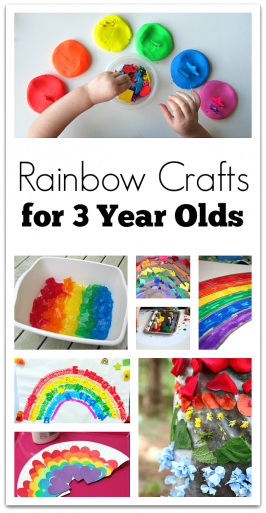
Rainbow Crafts For 3 Year Olds
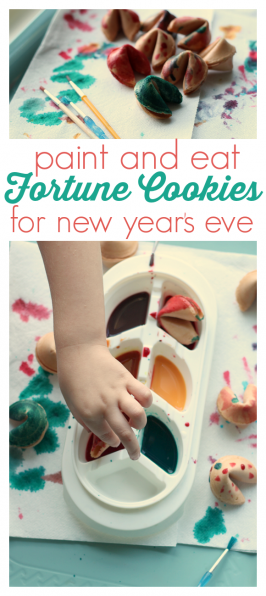
Painting Fortune Cookies – New Year’s Eve Activity For Kids
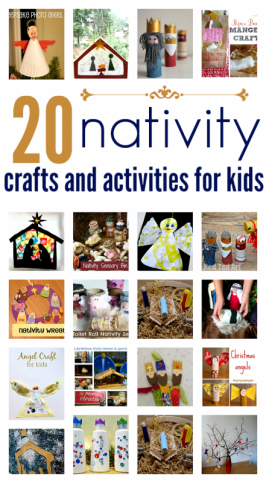
Nativity Crafts & Activities For Kids
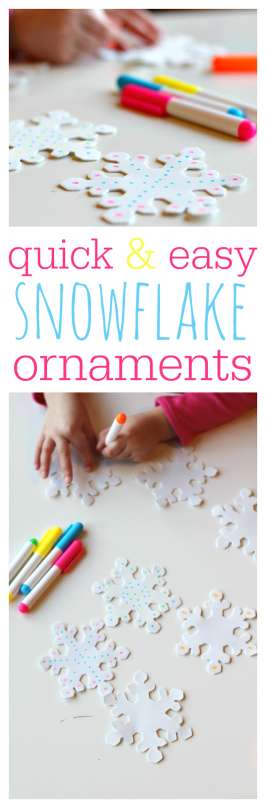
Easy Snowflake Christmas Ornaments
Winter Crafts and Activities For Preschoolers
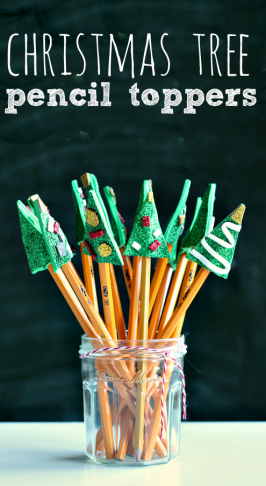
Christmas Tree Pencil Toppers Craft { great class gift }
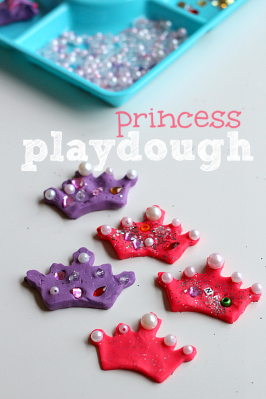
Princess Playdough Activity For Kids
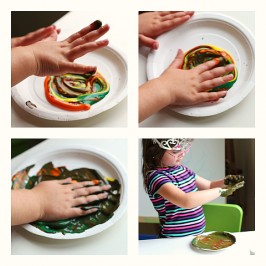
Fingerpaint & Fine Motor Acorn Craft
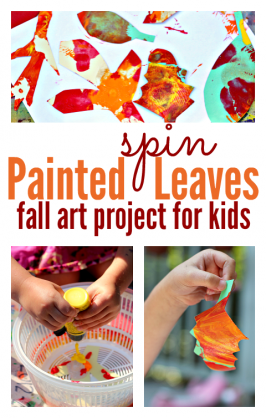
Spin Painted Leaves – Fall Art Project
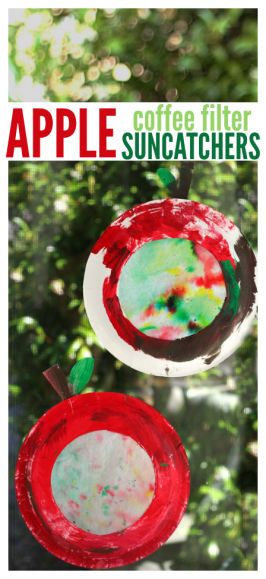
Coffee Filter & Paper Plate Apple Craft for Fall
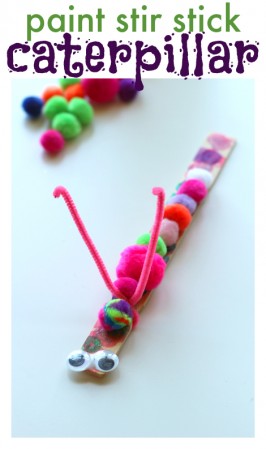
Caterpillar Craft For Kids
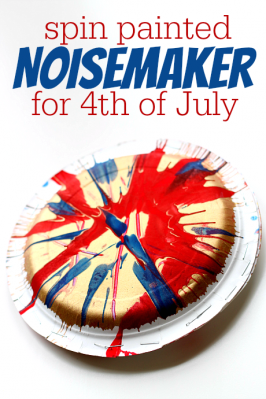
4th Of July Crafts – Spin Painted Noisemaker
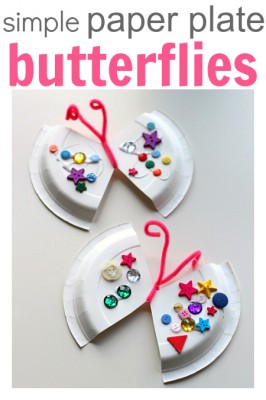
Easy Paper Plate Craft – Butterfly
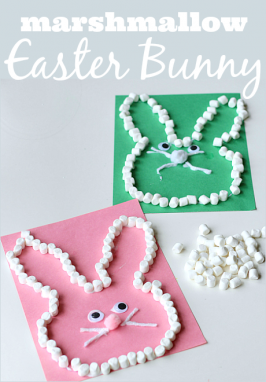
Marshmallow Easter Bunny Craft
Crafts & Activities For Kids { Add Yours! }
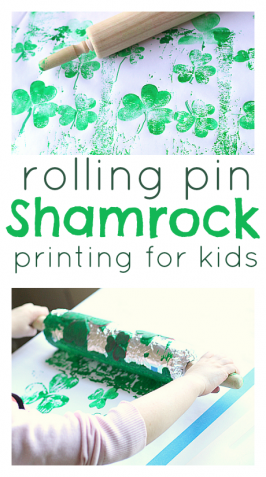
Rolling Pin Shamrock Prints
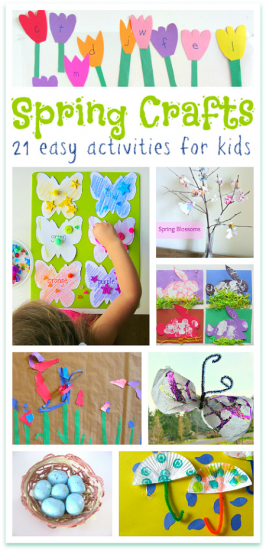
Spring Crafts For Kids
29 Fun Shape Activities
Link & Learn { Add your post! }
Valentine’s Day Crafts & Much More ! { Add Your Post!}
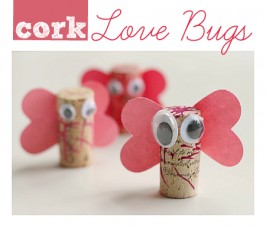
Cork Love Bugs – Valentine’s Day Craft
Crafts and Activities For Kids {add your best of 2013}
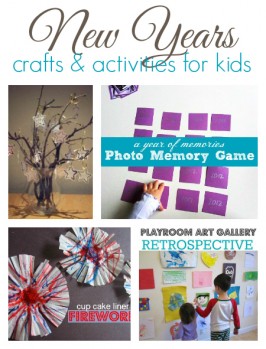
New Years Crafts For Kids
Fun Crafts For Kids Of All Ages { Add Your Post!}
Link & Learn – Kids Crafts and More
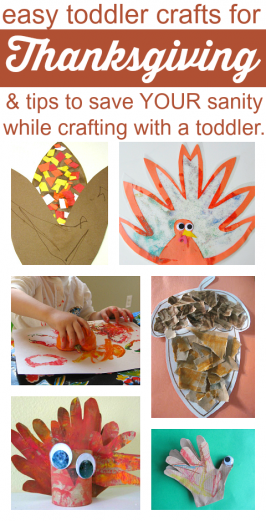
Easy Thanksgiving Crafts For Toddlers {and tips for parents too}
Previous Page
1
2
3
4
…
10
Next Page