No Time For Flash Cards
preschool activities, preschool crafts, and preschool books.
For Teachers
Toddlers
Preschool
Kindergarten
Elementary
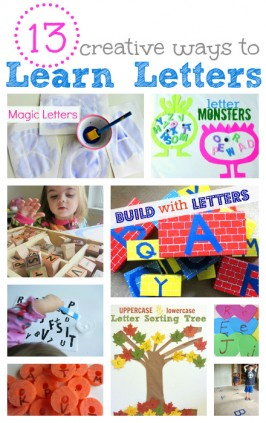
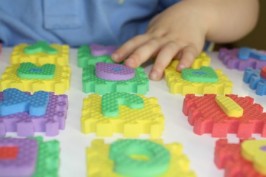
Letter Recognition Activities For Kids
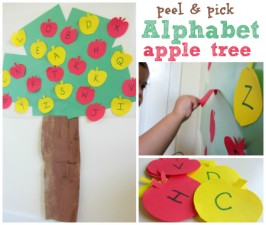
Alphabet Apple Tree
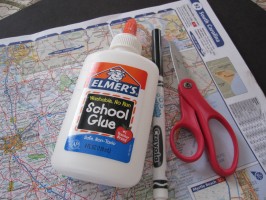
Letter M Activities – Letter of The Week and Geography Lesson
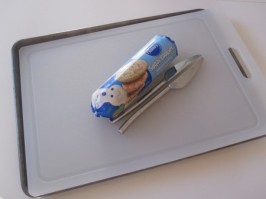
Alphabet Cookies
Sensory Alphabet Activities