No Time For Flash Cards
preschool activities, preschool crafts, and preschool books.
For Teachers
Toddlers
Preschool
Kindergarten
Elementary
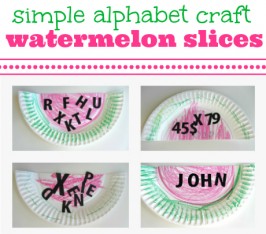
Letter Watermelons { Summer Alphabet Craft }
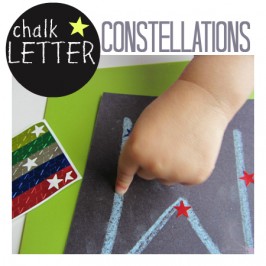
Alphabet Activity Letter Constellations
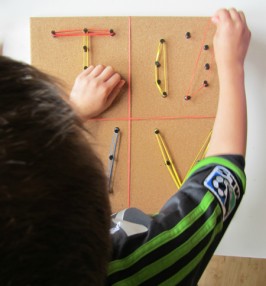
Cork Board Letters
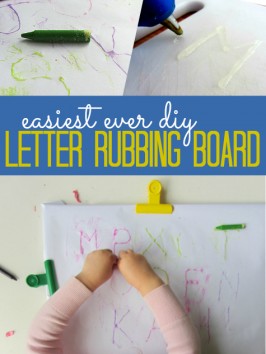
Easy Letter Rubbings Board
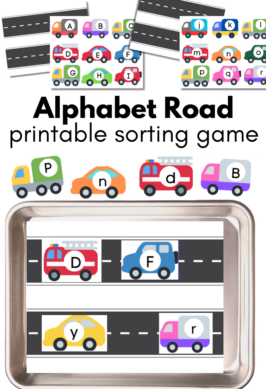
Alphabet Road – Letter Sorting
Alphabet Activity – Pretend Play With Letters
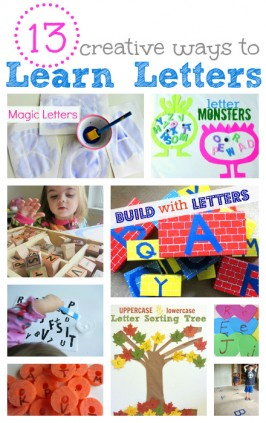
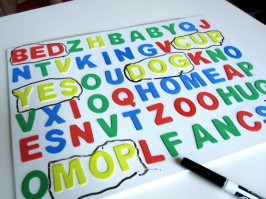
Letter Recognition Activities For Kids
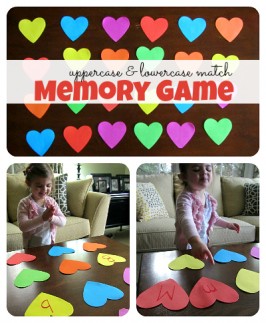
Letter Memory Game – Alphabet For Starters
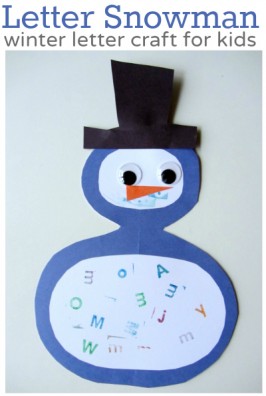
Winter Preschool Craft – Letter Snowman
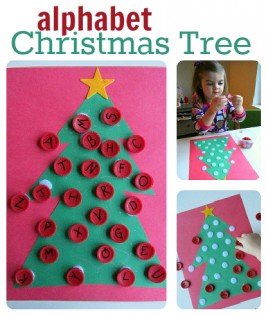
Christmas Alphabet Activity – Christmas Tree Alphabet
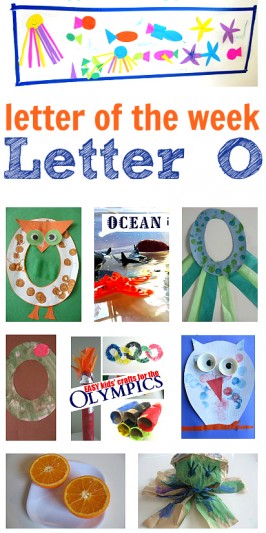
Letter Of The Week – Letter O Theme
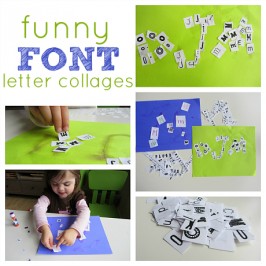
Funny Font Collage – Letter Recognition
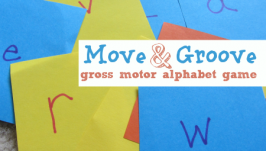
Move & Groove – Gross Motor Alphabet Game
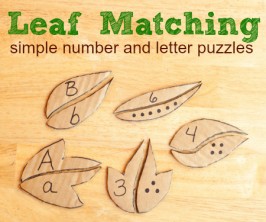
Leaf Matching Puzzles
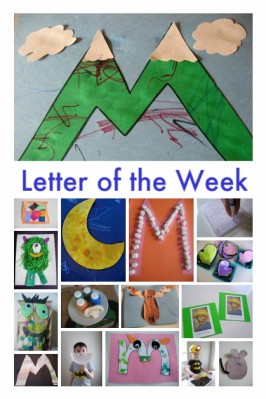
Letter Of The Week – M Theme
Rainbowing – Colorful Handwriting Practice
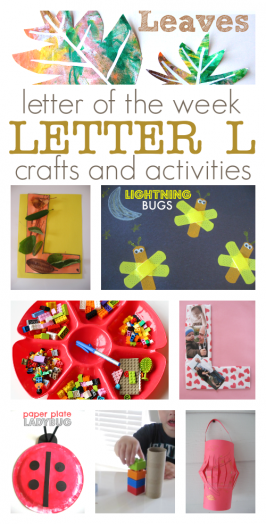
Letter L Activities – Letter of the Week
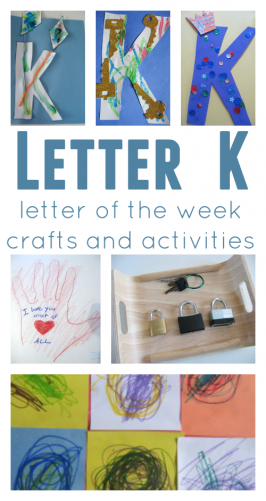
Letter Of The Week – K Theme
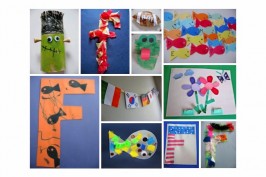
Letter F Activities – Letter Of The Week
3D Word Search
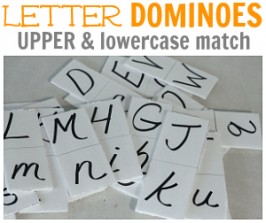
Letter Dominoes
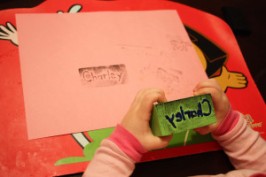
DIY Name Stamp
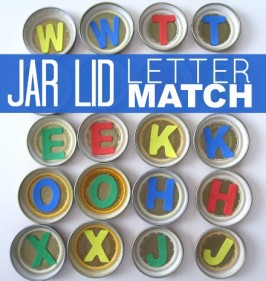
Jar Lid Letter Game
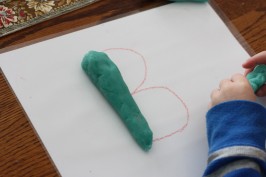
Preschool Letter Activities
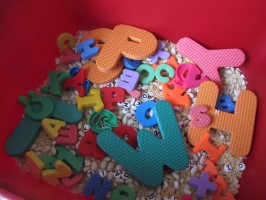
Alphabet Sensory Tub
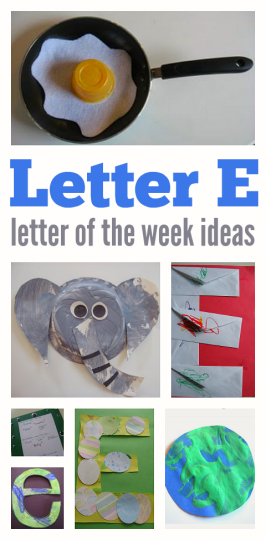
Letter of The Week – Letter E Theme
Letter D Activities – Letter of the Week
Previous Page
1
2
3
Next Page