No Time For Flash Cards
preschool activities, preschool crafts, and preschool books.
For Teachers
Toddlers
Preschool
Kindergarten
Elementary
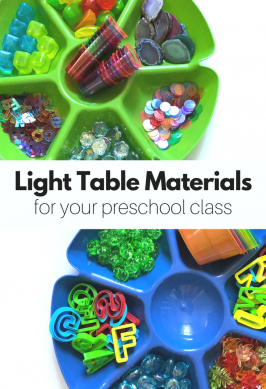
Must Have Light Table Materials
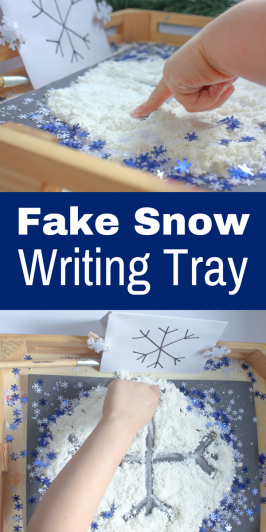
Fake Snow Writing Tray: A Pre-Handwriting Activity
Independent Sensory Activities for Preschool
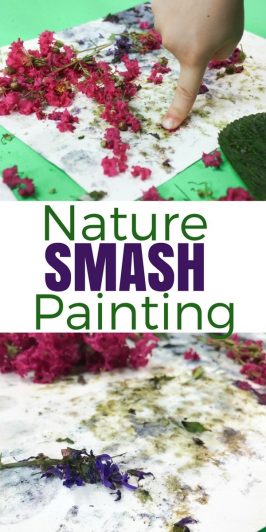
Nature Smash Painting – Process Art for Kids
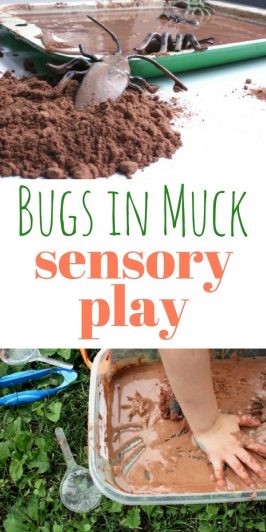
Bugs in Muck Sensory Play
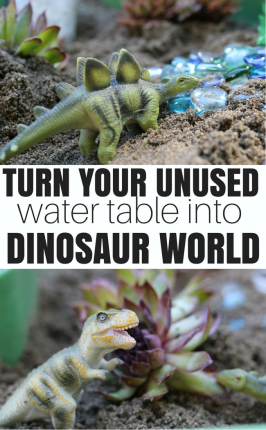
Water Table Dinosaur World
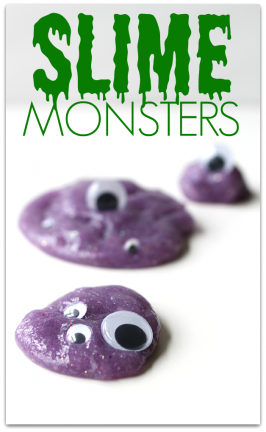
Slime Monsters – Halloween Sensory Activity
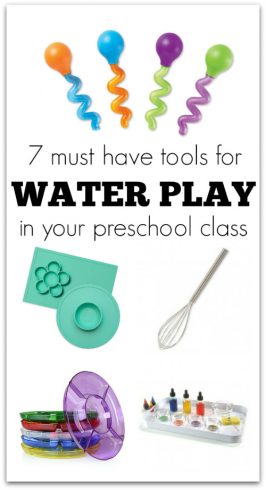
7 Tools For Exploring Water at Preschool
21 Five Senses Activities For Kids
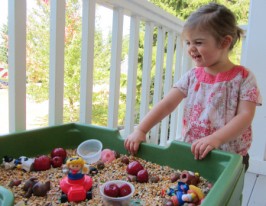
Fall Farm Sensory Tub
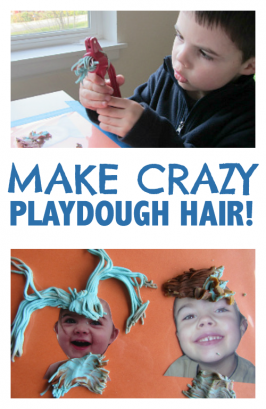
Playdough Play Mats – Silly Hairdos!
Sensory Play Snow
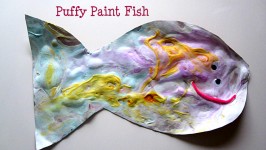
DIY Puffy Paint Fish
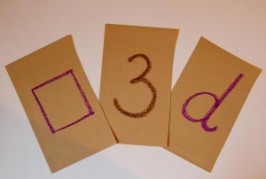
Sandpaper Letter Tracing
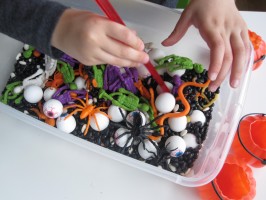
Halloween Sensory Tub For Multiple Ages
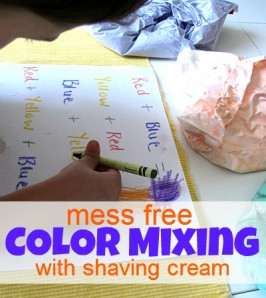
Color Mixing With A Toddler & Preschooler
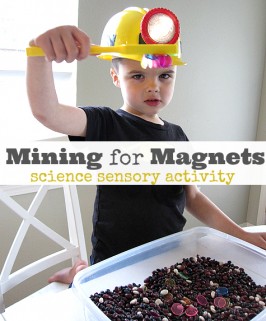
Mining For Magnets!
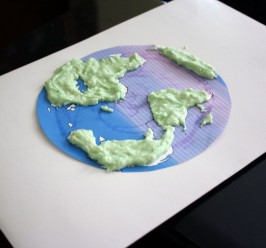
Salt Map of The Earth
Working With Sensory Issues
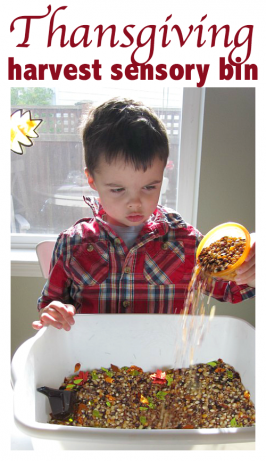
Thanksgiving Sensory Play
Sensory Puzzle