No Time For Flash Cards
preschool activities, preschool crafts, and preschool books.
For Teachers
Toddlers
Preschool
Kindergarten
Elementary
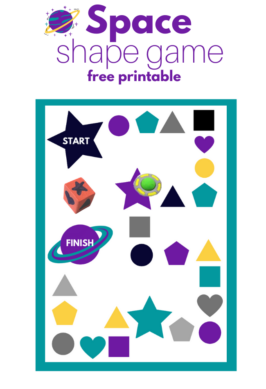
Space Shape Game For Preschool
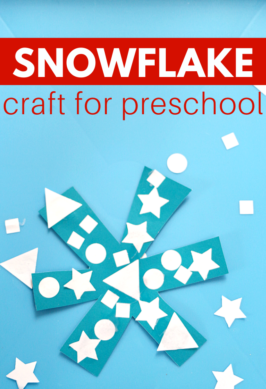
Shape Snowflake Preschool Craft
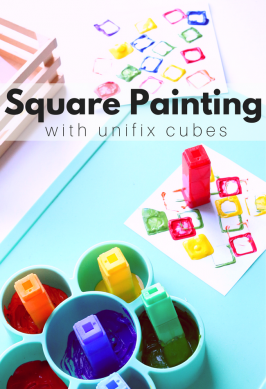
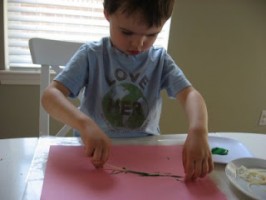
Square Painting Activity for Preschool
29 Fun Shape Activities
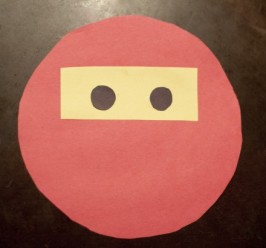
Shape Ninja
Natural DIY Valentine’s Day Crafts
15 Shape Crafts For Kids
DIY Kite Craft
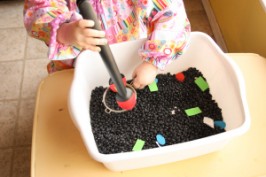
Shape Sensory Bin Activity
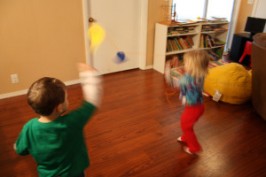
Shape Shake
Snake and Worm Crafts
Shape Bulldozer Craft For Kids
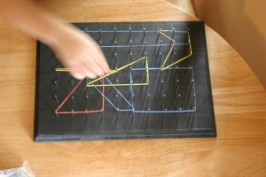
DIY Geoboard
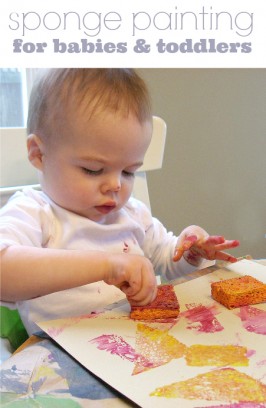
Sponge Painting For Toddlers
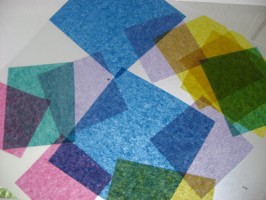
Shape Sun Catcher Craft