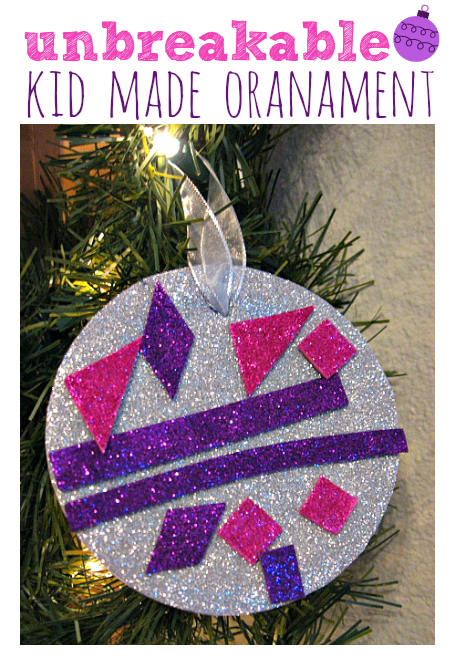
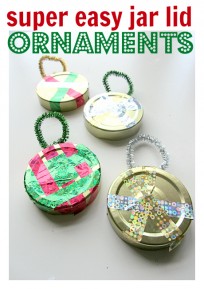
 My son eats glue, he likes paint too but glue is his snack of choice during art time. This craft is perfect because it used sticky back foam that requires no glue, but you can easily use regular foam or paper if you don’t have a glue hungry toddler. This unbreakable ornament is perfect for trees that are going to be admired by kids or cats. It’s an easy Christmas ornament craft for kids of all ages.
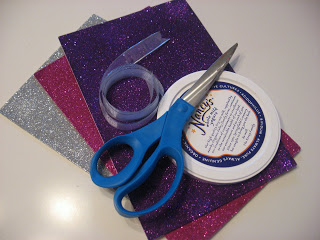
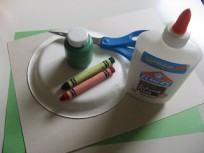
- Gather your materials. You will need 2-3 colors of sticky back sparkle foam sheets, a yogurt or other plastic lid, some ribbon, a marker and scissors.
- Trace the outside of the lid on the back of one of your foam sheets. Cut out.
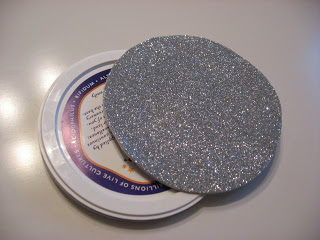
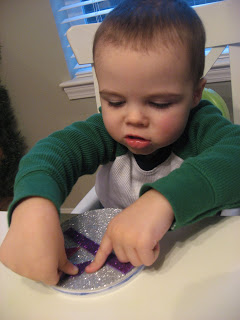
- Peel the backing off and press onto your lid, I lined it all up for my son and he pressed it down.
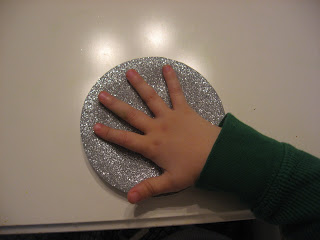
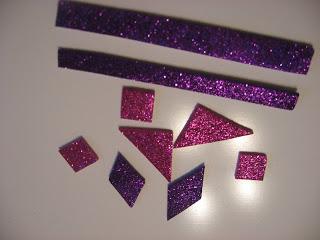
- While your child marvels at the sparkles, cut out some shapes from the other foam sheets. I made a few diamonds, rectangles, triangles and squares. Make any shapes you like!
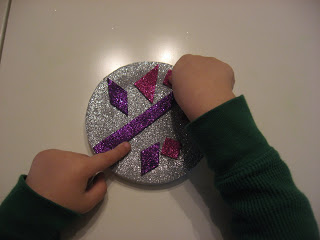
- Add them to your circle. I kept them out of reach, and had my son ask for each by it’s name, we haven’t done much with shapes lately so I wanted this to be a mommy lead lesson. If it’s just fun time, I would ask him casually as he was adding them what each was without being so blatant.
- Keep adding them until your ornament is full!
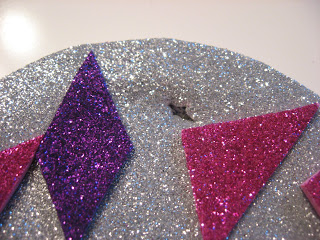
- Poke a hole in the top of the ornament
- Thread a ribbon that is folded in half through the hole, tie a knot.

- Hang up and marvel at this super easy but super cute ornament!


Valerie Deneen says
These are fabulous! I thought about you when I did my recent post — Make Your Own Bird Watching Kit. Your blog is a terrific resource!
Valerie
Frugal Family Fun Blog
Good times on a budget!
Becky Nelson says
I love, love, love your blog. I have two little girls who love doing your crafts. i have no creative ideas in my head and with your help, craft time is so much fun. Thank you!!!!
Allie says
Thanks Valerie , I’ll check it out.
You are so welcome Becky!
Cathy says
I love the sparkle card. We have glitter everywhere here. Just put my little one in the bath and a shower of glitter came off with her clothes – I think she’s importing it from pre-school.
Ali says
Totally cute! I am excited to try this with my almost 2 year old. We made salt dough ornament, but he likes to try to eat those so these might be a little better lol. And they are really pretty! Thanks, I love your blog!
Teri says
Really cute, Allie! I had my 3s do a project today which required tacky glue. This is the time of year where I try to do more whole-group activities (as opposed to one-on-one). I gave each kiddo a square of paper w/ a little puddle of glue & a toothpick (after LONG discussions on how careful we need to be, etc). I showed them how to pick up a little blob and place it on our paper! It worked GREAT and you won’t believe how meticulously they worked, even my boys who tend to rush just to finish! Maybe O would like to try that! 🙂
.-= Teri´s last blog ..Black Saturday? =-.
Stephanie says
Hi, thank you for the great idea! I had bought some of this glitter sticky paper at Walmart and my daughter used it all up before I saw this, except for a red piece. I really wanted to make an ornament for family, and didn’t have time to run back to Walmart. So I ended up doing this:
I used the cardboard that came with the package of sticky glitter paper. One side was white. So I traced my daughters hand on the white side and stuck the glitter paper onto the brown side. Then I cut out her little hand prints. It was a bit challenging, so you’ll need some good scissors. After that I painted the white side green (Probably should’ve painted it before cutting out). Then I’m going to glue glitter saying 2010 on the green side. Punch a hole in the top and voila!
Just thought I’d share the idea! I’m not a crafty person at all, so I was pretty proud of myself coming up with this. 😛 I love your blog! Great winter projects for us. 🙂
Angell @ Passionate and Creative Homemaking says
I featured this today on my blog’s Christmas in July Celebration.
http://passionateandcreativehomemaking.blogspot.com/2012/07/day-17-christmas-in-july.html