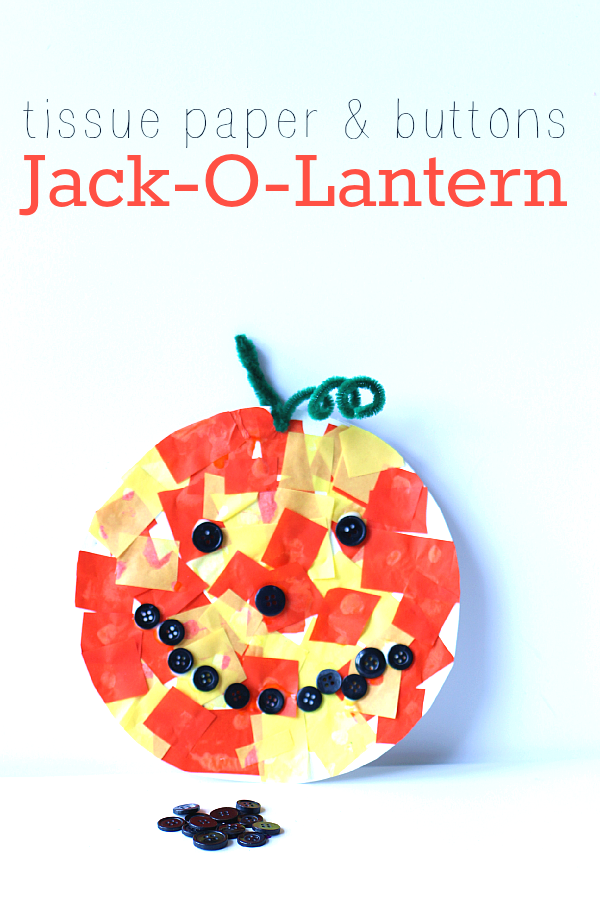
 This is a classic but adding buttons is something I have never done before. Just a little change and counting became part of the craft, as did a fun contrast in textures. The hard and sturdy buttons felt very different than the soft fragile tissue paper. This got us to talking about similarities and differences. I was wondering what she’d say was similar about the tissue paper and buttons after she easily contrasted them ( different shapes, different colors, different feelings ) she told me they are both used for art. Cool right? So take the time to talk ABOUT what you are doing while you are crafting and you will never know what lessons or new connects might greet you! Here is how we made our tissue paper and buttons Jack-O-Lantern craft.
Gather your materials. You will need some orange and yellow ( optional really) tissue paper, some black buttons, white glue, white cardstock, scissors, a pencil, and a green pipe cleaner. 
Start by cutting your tissue paper into squares.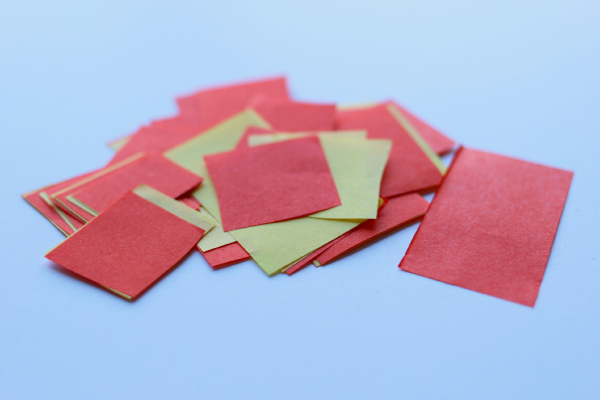
Next draw a circle on your cardstock.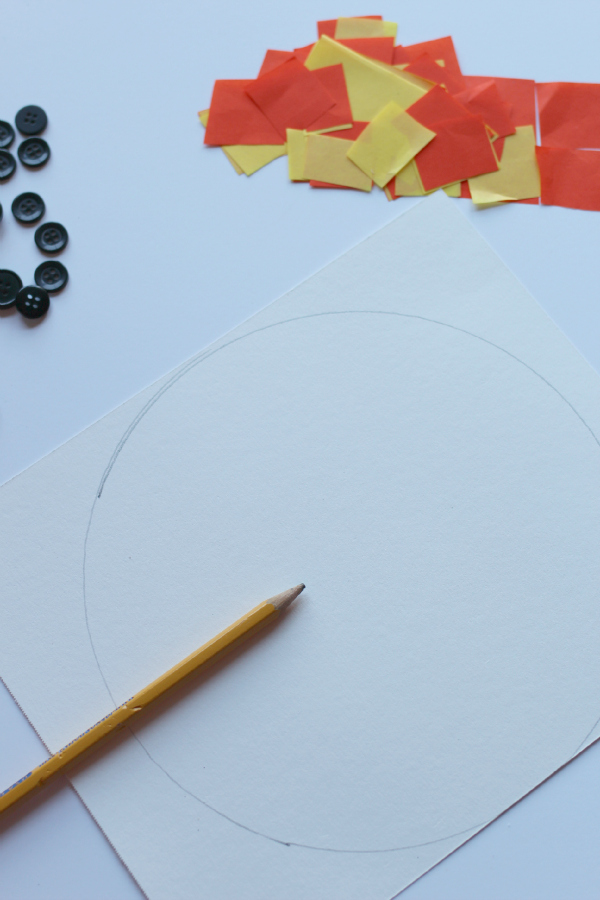
Add glue and your tissue paper.
Once it’s covered it’s time for the buttons. 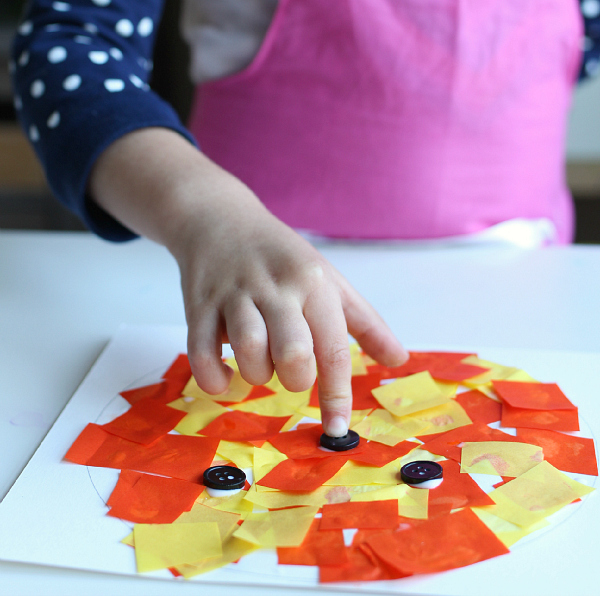 Make a happy or sad Jack-O-Lantern.
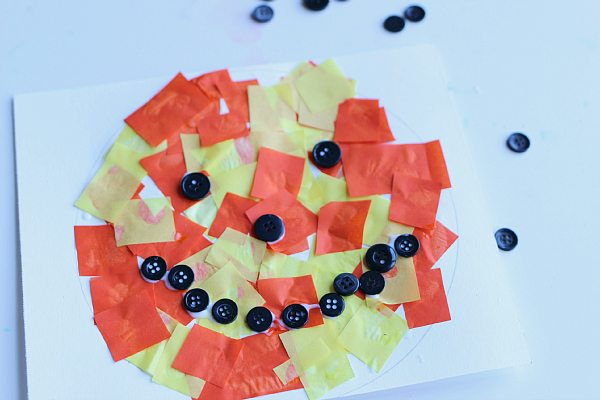
Cut out and add your pipe cleaner! 
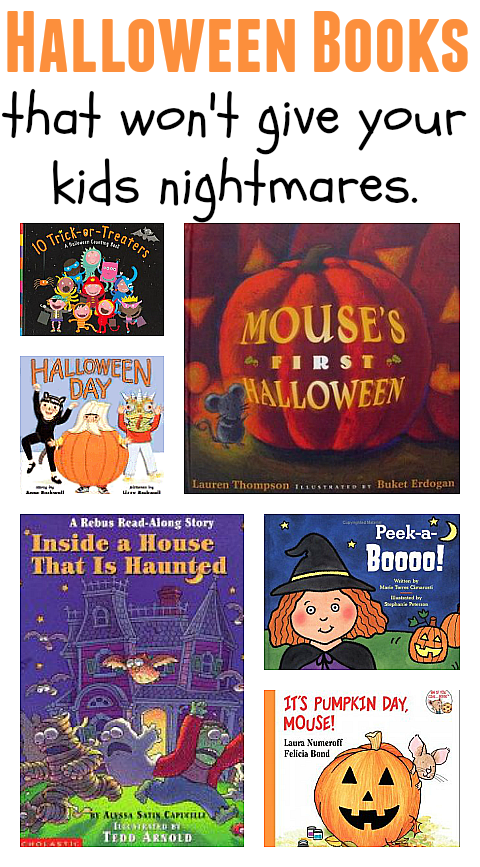
Books About Halloween
Click on the image below for a full list and reviews of great Halloween books that won’t scare your kids!

[…] Tissue Paper & Buttons Jack-O-Lantern Craft – 1 freebie(s)? […]