


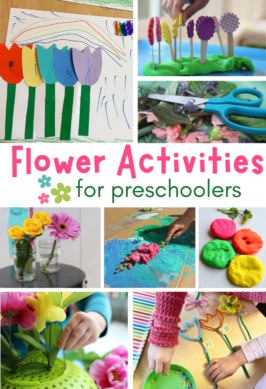
Flower Activities For Preschoolers

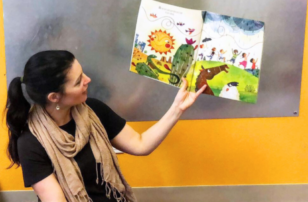
Easter Circle Time Activities For Preschool
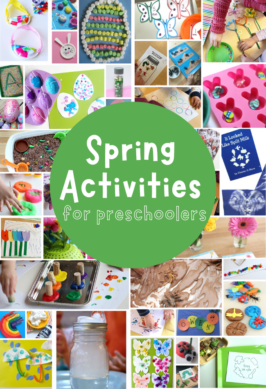
Spring Activities for Preschoolers

Engineering Books for Preschoolers
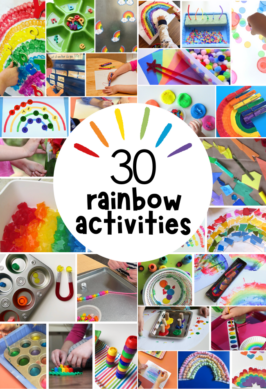
Rainbow Activities for Preschoolers
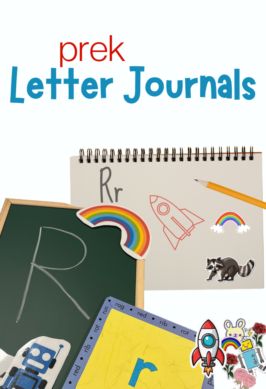
PreK Letter Journals

Get Ready for Read Across America with ChildCare Education Institute
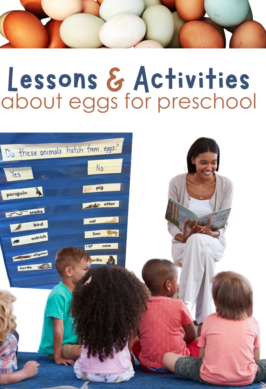
Learning About Eggs at Preschool

Five Senses Activities & Printables For Preschool
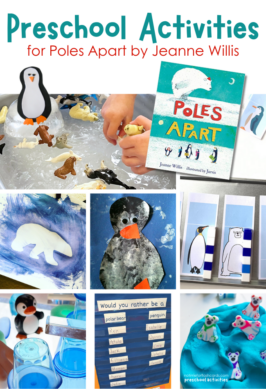
Winter Preschool Activities for Poles Apart
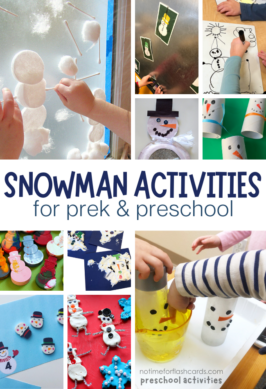
Snowman Activities For PreK
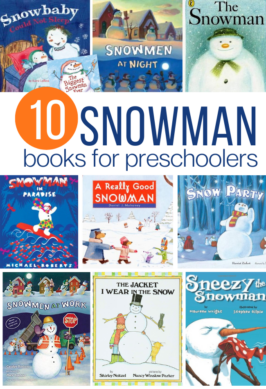
10 Snowman Books For Preschool
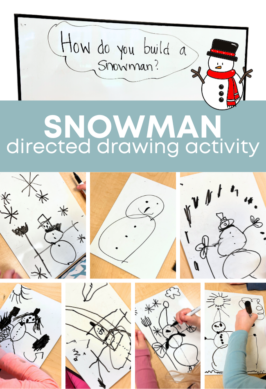
Snowman Circle Time Activity
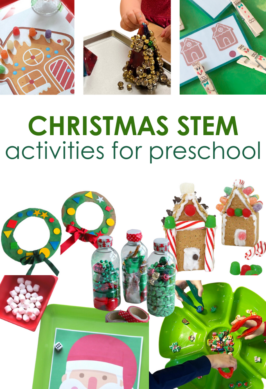
Christmas STEM For Preschoolers
Preschool Themes

About No Time For Flash Cards

I'm Allison McDonald, B.A, B.Ed, M.S Early Childhood and Family Development.
Teacher, Author, Speaker, and Founder of No Time For Flash Cards
I started No Time For Flash Cards in 2008 to help parents and teachers who were looking for simple ways to make preschool more fun without compromising learning. Early childhood education is my passion from the messiest sensory bin to reading research, I love it all.
More about me
