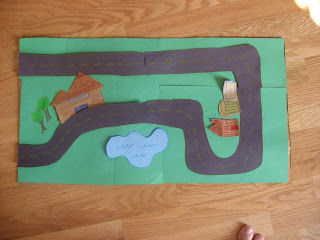
Custom Roadway

This is the perfect example of necessity being the mother of all invention. However after showing some neighbors who are 5 and 7 what I made they were interested in making their own, so I am sharing the how to. Younger kids will need some help but this would be a fun thing to make as a family project.
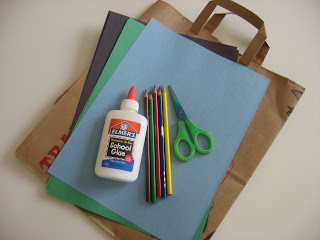
- Gather your materials . You will need a brown paper grocery bag, black, green and any other color you choose construction paper, double sided tape , glue, scissors, colored pencils and contact paper.
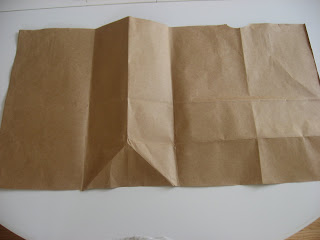
- Cut your bag open so it’s wide , trim the bottom piece off and save for later.
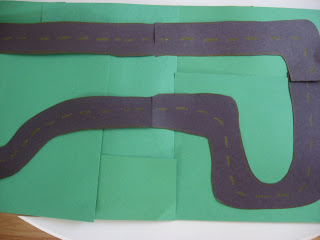
- Using black paper and yellow colored pencil design your roadway.

- Once you have decided on the design , cut it out . Cover your bag with green construction paper, glue it down, then tape your roadway down I say tape because you may want to move it , tape is easier to move.
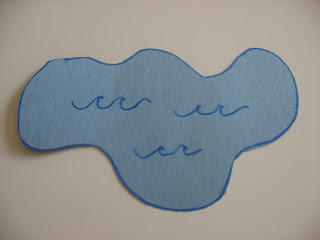
- Start adding scenery like a pond.
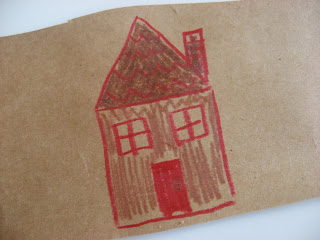
- You can use the extra grocery bag paper to make a house or other buildings too.
- Tape your scenery down.
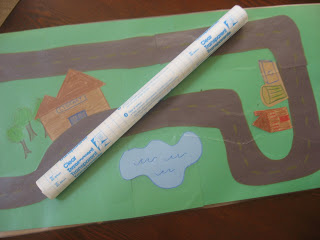
- Add a contact paper cover to make it sturdy and keep everything in place.
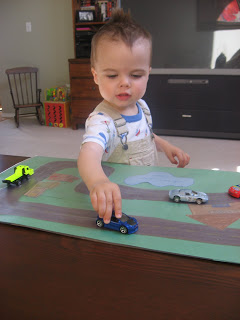
- Add some Hotwheels and have hours of fun!


mommomto2pumpkins says
that is really cute cuz it folds up i might have to make these for my nephews~
Elena sem H says
It must be really nice being your son! I keep imagining all your naptime creations and wanting to participate in them.
Tanya says
Love it! 😉
Mama Lil'ian says
I just found your site thanks to my sis-in-law! I love it!! I babysit 2 3 yr olds and an 18 mo. old everyday and I have been looking for things to keep them all entertained!! Thanks for all you have done on your site. I am super excited to get them started on some great activities tomorrow!
Astrid says
Brilliant!
I’ve been checking out your blog for a while now and I want to thank you for all your great ideas. 🙂
Kacey says
We made this last night, I just love it so much! We didn’t have anything sturdy like a brown paper bag lying around, so I ended up just putting contact paper on both sides. It now has a permanent home on our kitchen table, as my daughter’s oversized placemat.
We had so much fun making this, my husband got in on the action and was drawing three dimensional towns for our scenery. 🙂
I am new to your site and so excited to spend some serious time browsing through your archives.
Allie says
Just an update, maybe I’ll re post this soon but… in the meantime I will share here: This has stood up so well. My son plays with it and his ever growing load of cars so much I made him another with a Home Depot, Fire Station and a Church.
Kristina says
this is such a cute idea. i’m totally going to try it with my son. my friend just sent me the link to your site today. it is darling!
Sandi says
I think I know what I’ll be doing during nap time tomorrow!
.-= Sandi´s last blog ..Ballerina Border =-.
Jen Fischer says
Love this – simple, effective and portable!
Alicia says
Hi! I love your car playmat! It is simple enough my son would be able to make it and use it to play with my daughter!
We featured this post in a round up of similar do-it-yourself toy car ideas on our blog and linked back here!
http://www.feltwithlovedesigns.com/2013/08/02/links-with-love-diy-toy-car-activities/
I love your blog and have been following for awhile!
Allison McDonald says
Thanks – I am always in awe of felt creations because i have no talent for felt at all!!