Groovy
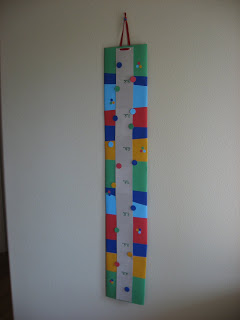
Growth Chart!
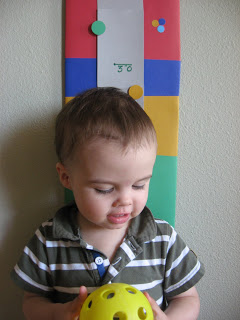

I was browsing online for Christmas presents and saw a growth chart for $25 dollars, I thought to myself, hmmm wonder if I could make that. Here are the results.
- Gather your materials. I used a piece of cardboard from a crib box, a bunch of different colored card stock, double stick tape, white glue, two circle paper punches, eyelets, ribbon , scissors and a marker.
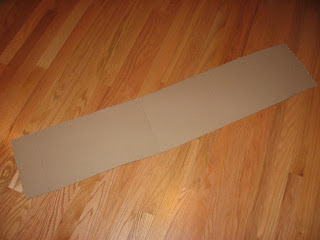
- Measure your card board. Most growth charts start at 2 feet, I used a 4 foot piece of cardboard, figuring my 6 foot tall teenager would not care to use a growth chart so it doesn’t have to be any bigger than that.
- Carefully cut out the outline.
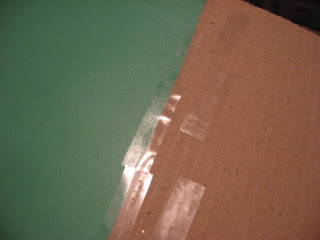
- Start covering it with card stock. On this step all I used was permanent double stick tape. I laid the card stock with the edges hanging over so I could fold the edges around to cover the sharp cardboard. Tape on the under side as well.
- Lay your next piece of paper down, put some tape over the first piece, this will make the whole thing stronger.
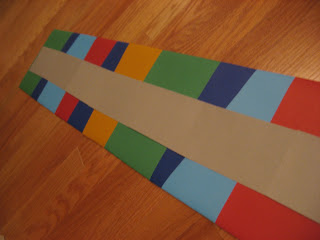
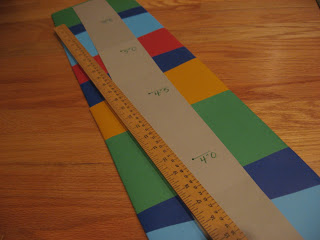
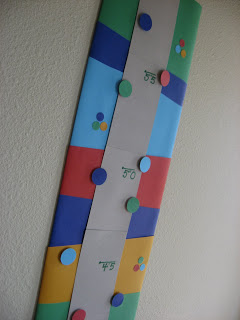
- When you are done with the base layer, cut out and tape some lighter card stock down the center – this will have the actual measurements on it.
- Once it’s all taped down using a meter stick or measuring tape, make your measurements. I should have used some fun stamps, and my embossing tool but it was late and I went for the oh so easy crayola marker.
- Decorate the chart. I used two different sized circle paper punches, and punches circles out in the same colors I used for the base layer.
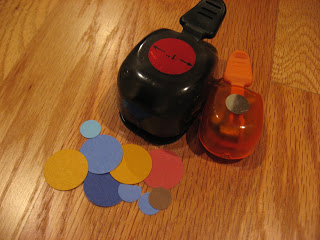
- Attach the circles using glue and foam stickies.
- Add two eyelets at the top.
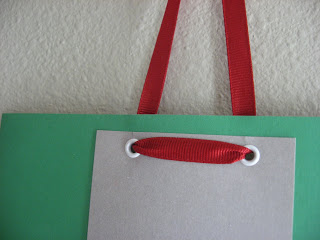
- Thread some ribbon through and you are done!


Jamie says
I love that! Very, very cute!
MoziEsmé says
Very groovy!
Just an FYI – you have an award on my blog today.
teachingtinytots says
very cute!