No Time For Flash Cards
preschool activities, preschool crafts, and preschool books.
For Teachers
Toddlers
Preschool
Kindergarten
Elementary
Archives for February 2009
Craft for Valentine’s Day
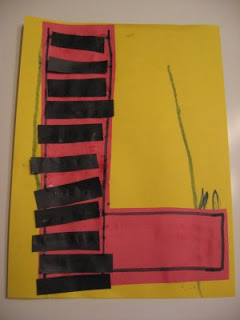
Letter of The Week L l !
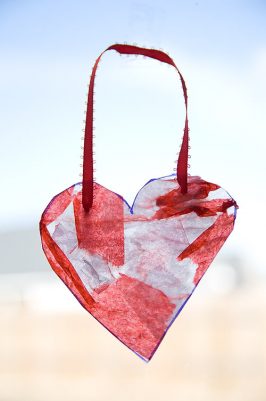
Be Still My Heart! Heart Suncatcher Craft
Little Caterpillar
Fire Truck Song
Previous Page
1
2