No Time For Flash Cards
preschool activities, preschool crafts, and preschool books.
For Teachers
Toddlers
Preschool
Kindergarten
Elementary
Archives for October 2010
Sunday Best Linky !
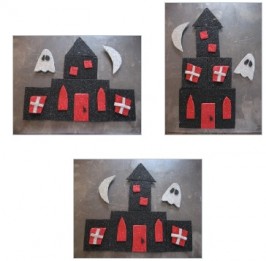
Halloween Crafts From Our Archives
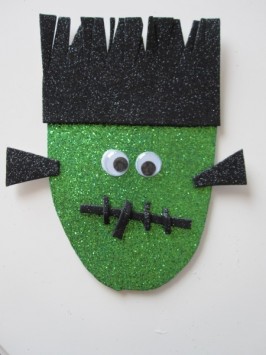
Frankenstein Halloween Craft
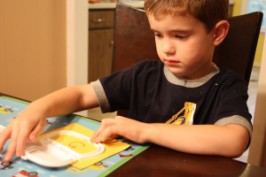
Peek-A-Boo Learning!
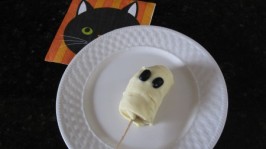
Ghosts On A Stick – Frozen Banana Ghost Treats
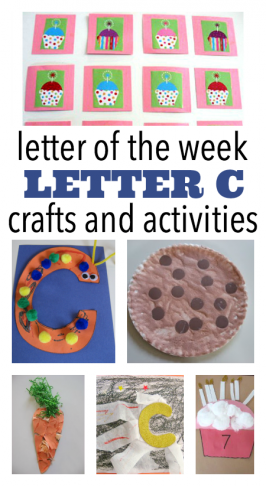
Letter Of The Week C
Sunday Best – Link and Share!
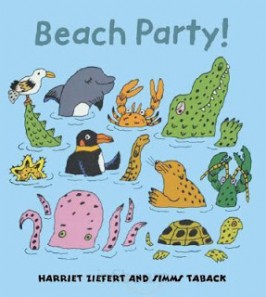
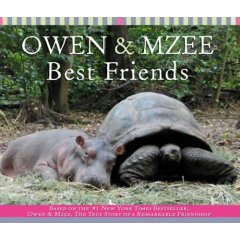
Author Showcase : Harriet Ziefert
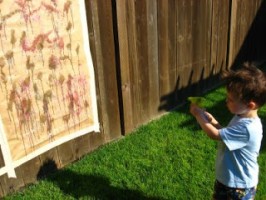
Fall Outside Activities – Fun For Kids
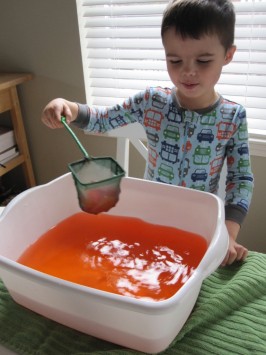
Ice Fishing and Color Mixing !
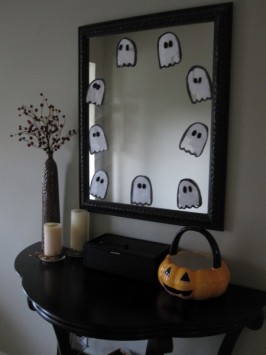
Ghost Craft Tutorial
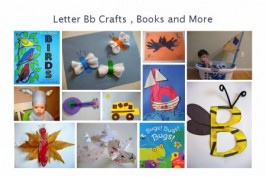
Letter B Activities – Letter of the Week
Sunday Best – Link Up and Share
Books About Friendship
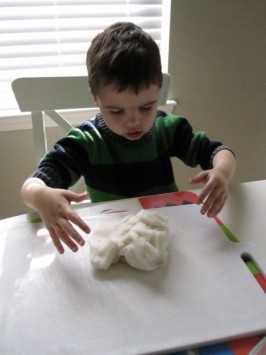
Gluten Free Playdough Recipe
Spooky Halloween Sensory Tub
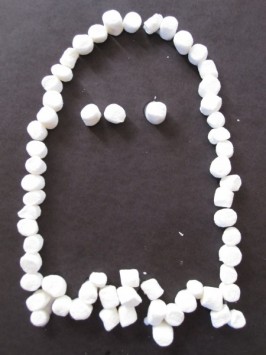
Marshmallow Ghost Halloween Craft
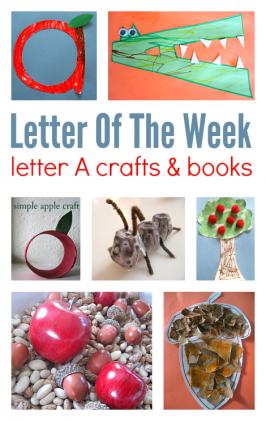
Letter A Activities – Letter of the week
Sunday Best Blog Links!
Books By Canadian Authors
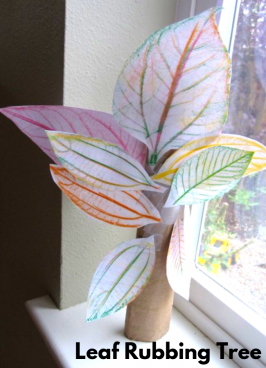
Leaf Rubbing Tree
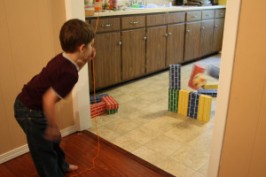
Wrecking Ball Science!
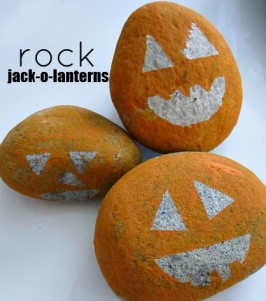
Rock Jack-O-Lanterns
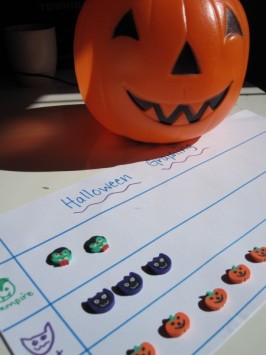
Halloween Math Activities
Sunday Best Meme – Link Up!
Halloween Books