No Time For Flash Cards
preschool activities, preschool crafts, and preschool books.
For Teachers
Toddlers
Preschool
Kindergarten
Elementary
Search Results for: label/Letter of the week
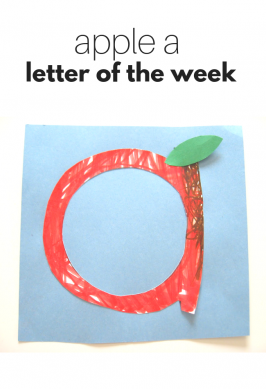
Lowercase Letter of The Week : a
The Whole Alphabet