No Time For Flash Cards
preschool activities, preschool crafts, and preschool books.
For Teachers
Toddlers
Preschool
Kindergarten
Elementary
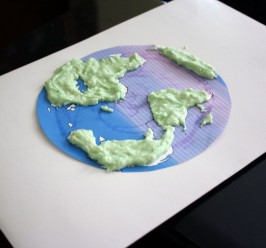
Salt Map of The Earth
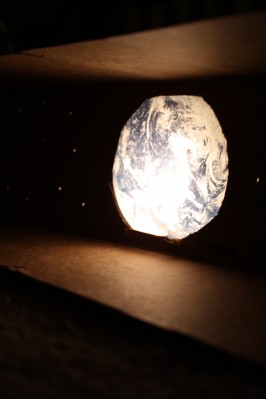
DIY Light Box
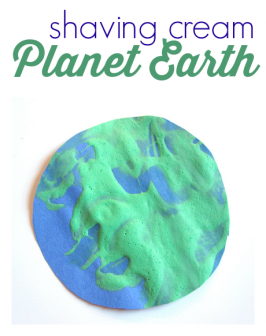
Puffy Paint Earth Day Craft