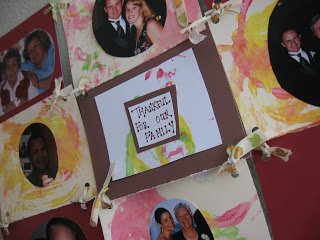
 More than any craft we’ve made, my son has gone wild for this, after making it he insisted I take it off the wall so he could study all the pictures. I tried to get a video if him pointing out all our family, but they never cooperate when the little red light starts flashing! I have done similar projects in classrooms, calling it a friendship quilt and insteadof pictures we have our recipe for being a good classroom, things like “Share” ” Be gentle” etc…
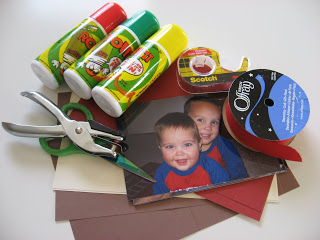
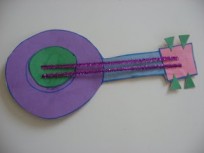
- Gather your materials. You will need card stock, I am using note cards cut in half, because they are sure to be the same size that way. Something to decorate the paper with , in our case it’s the paint rollers, it can be anything though. Double stick tape, do not use glue, if you mess up it the picture might be ruined, with tape mistakes aren’t the end of the world. Pictures of your family, ribbon, and more ribbon, scissors and a hole punch.
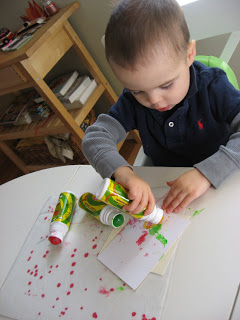
- Have your child decorate the paper, I only had my son do the cream colored paper because that fit his attention span , but there is no reason not to color all if you want. Let these dry.
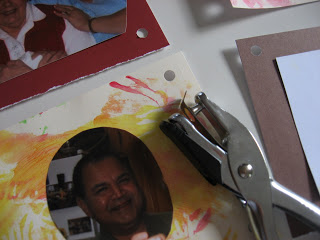
- Next if your child is able to have them cut the pictures out in different shapes, you can go free hand or use a paper punch if you have one. If you have a little guy or gal do this for them. I cut them but had my son tell me who each picture was!
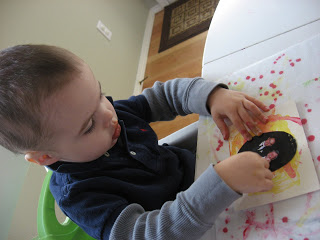
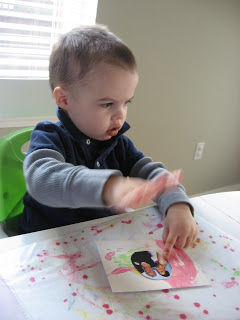
- Put the double stick tape on the back of the pictures and place them in the middle of the quilt square, my son put a picture of my sister sideways and laughed his fool head off, but since we were using tape it was ok, came off and we fixed it.
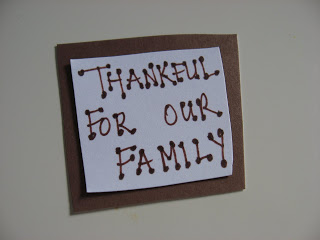
- While they are doing that write or if your child is able have them write the message on a extra piece of card stock, I layered mine for effect.
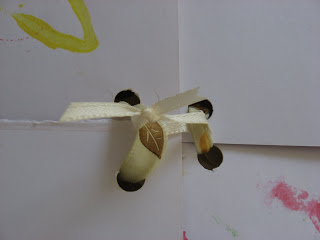
- Punch holes in all the corners except the very bottom corners of your bottom squares.
- Map out your quilt
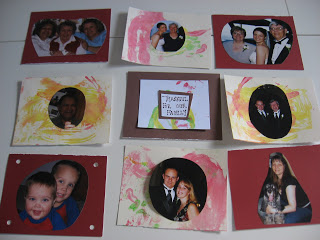
- Thread ribbon through the holes and tie. Repeat.
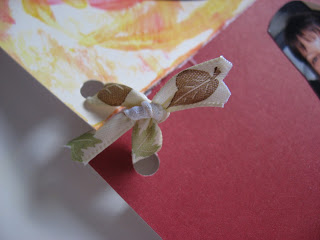
- I used a little fine ribbon on the back of the quilt to tie the middle square to the squares on either side of it since it was only secured to the top and bottom squares, this way there isn’t too much ribbon on the front, but your quilt will stay together.
- Ideally I should have had a dowel and tied the top row of ribbon to it and then hung it, but I don’t so I just threaded some ribbon through the top two corner holes and push pinned it to the wall. It didn’t matter since my son has found it’s permanent home on my coffee table so he can gaze lovingly at out family.


Books!
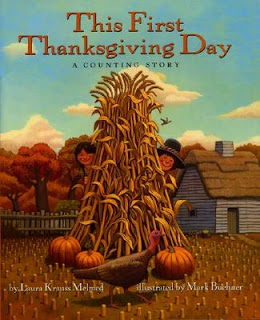 “The First Thanksgiving Day : A Counting Story” by Laura Krauss Melmed is a stunning gem of a book. I can’t believe I haven’t read it before, normally great books like this go through teaching circles like wildfire. The book has so many layers it will keep toddlers and preschoolers alike busy and engaged. The text explains the first Thanksgiving while counting 1-10 in rhyming poetry and the illustrations by Mark Buehner have hidden treasures, see if you can find them! After I return this to the library, I will be buying it for sure!

“10 Fat Turkeys” by Tony Johnston was a classroom favorite, it’s about as silly as a book gets and the kids had no clue they were actually learning about subtraction while listening to the crazy rhymes. This won’t explain the pilgrims , or talk about the Mayflower, but it will make your kids laugh! Very cute!
 “The First Thanksgiving Day : A Counting Story” by Laura Krauss Melmed is a stunning gem of a book. I can’t believe I haven’t read it before, normally great books like this go through teaching circles like wildfire. The book has so many layers it will keep toddlers and preschoolers alike busy and engaged. The text explains the first Thanksgiving while counting 1-10 in rhyming poetry and the illustrations by Mark Buehner have hidden treasures, see if you can find them! After I return this to the library, I will be buying it for sure!
Erin Tales says
10 Fat Turkeys looks really funny! I hope my library has it!
Allie says
It is, I like silly books, when you are teaching kids around the holidays when they are already totally hyped up, I found much solace in funny books at circle time !
girlsmom says
What a great idea!
Rachel@oneprettything.com says
This is SUCH a lovely idea! I’ll be linking.
MrsBKS says
My two youngest children (age 4 and almost 3) and my nephew (age 2) made the Family Quilt on Friday. They were SO excited to tell me WHO they were thankful for on their own quilts. They are now hanging on their bedroom doors and they have shown everybody!
Allie says
That’s so cool! I am glad it was such a hit,my son is still playing with his too.
treen says
I just came across this when I was blog-hopping through various homeschooling and preschool blogs (your blog title caught my attention – love it). I LOVE this idea! My kids, ages 3 and 2, love looking at pictures of themselves and their cousins. I’ll have to round up the materials and get pictures printed, but this is definitely on my list of things to do with them in the near future!