
One of the best parts of creating with your child is the time you spend together. Parent and tot projects like this Beach Shell Picture Frame are a special time to not only work together on something but also to practice taking turns something that can never be done too much . Ironically I did this without my son, he was at summer camp all week hopefully practicing taking turns with other kids, and exhausted when he got home. I will be doing this with him when we get back from our beach getaway next week though!
- Gather your materials. You will need some cardboard ( 2x as large as you want the frame to be) , a large magnet , crayons, shells, hot glue gun and glue, scissors , tape and a picture.

- Start by cutting your cardboard in half, then cutting an opening in one piece for the frame.

- Tape your picture ( I trimmed mine) on the other half of the cardboard. Trim the cardboard so that it’s no larger than the frame piece , you don’t want it peeking out from underneath.

- Have your child decorate the frame with crayons.

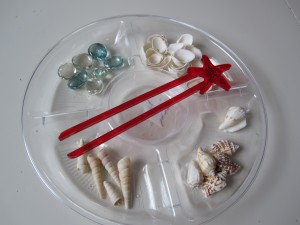
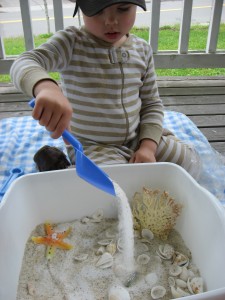
- Heat up the glue gun. When I do crafts that require the glue gun but I want my son’s input of where to place things like these shells I will ask him before I add the glue where I should add it and what I should put on it. At the very least have them choose the shells to add.
- Glue the shells on.

- Glue the magnet on the back of the piece with the picture.

- Glue the two pieces together and let cool.


More Shell Activities

MommyTeacher123 says
That is really sweet.I like it.
.-= MommyTeacher123´s last blog ..Letter of The Week-Letter Sponge Painting =-.
Keri Pinzon says
ooh, nice picture! 😉 I’m loving your blog.
admin says
A fantastic photographer took it – check her out ! http://www.keripinzon.com 😉