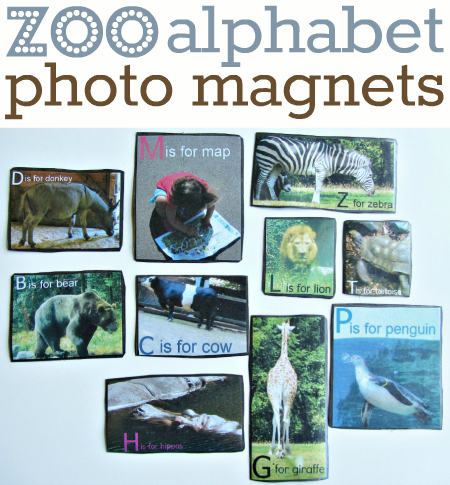
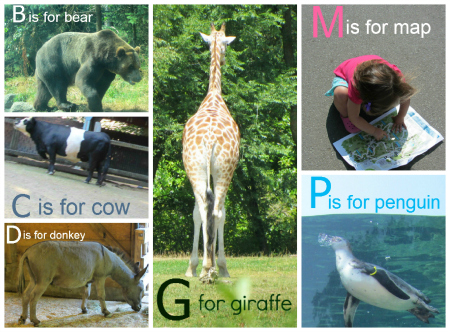
 Alphabet for Starters is our series of playful activities and crafts to introduce letters to children in fun ways. These magnets are not just pictures with corresponding letters they are photos from a real life experience, with memories and meaning attached to them. This is what sets them apart from a batch of flash cards you can pick up anywhere. Even better is that all of the photos were taken by my son and I fit in some learning on the go for him too.You can do this with any theme or event so long as it’s meaningful and engaging for your child.
- Gather your materials. Before you head out to take photos make a small notebook with paper ( ours are old business cards) and write out or have your older child write out the alphabet.
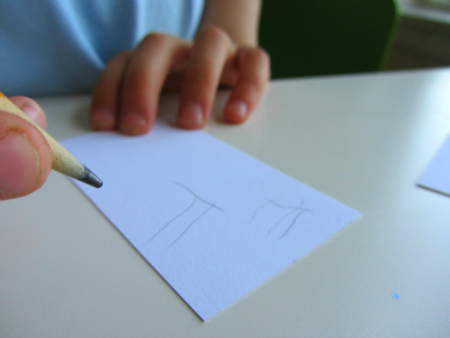 This was strategic on my part since my son struggles a little with writing especially writing small and the business cards forced him to write small.
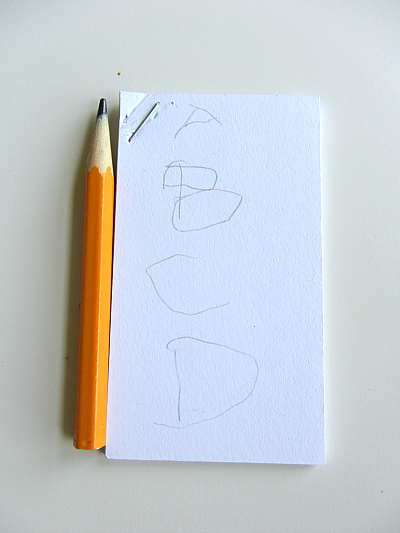
- Next play tourist in your own city. My son played photographer and checked off the letters as he took the photos. Do not worry about trying to get every letter of the alphabet that isn’t the goal. The goal is to make meaningful and deep connections so focus on the letters with good and memorable experiences with them.

- After you get home it’s time to edit, crop and add the text to the photos. I love picmonkey.com. Upload and edit each photo, add the text then save to your computer.
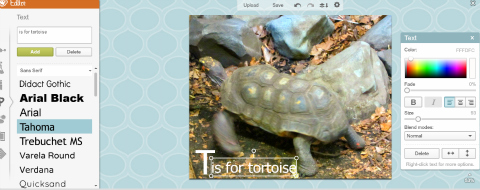
- I then made a collage on picmonkey with the photos and printed it out.
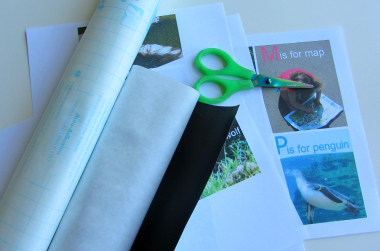
- To turn these photos into magnets, you will need a few more things. Adhesive magnet sheets, contact paper and sharp scissors.
- After cutting all the photos out place, them face down on one sheet of contact paper. Add a second sheet over and press.
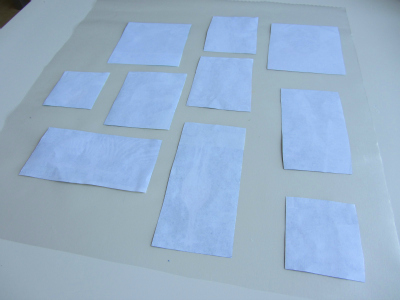
- Cut out. I should say that you can skip using contact paper to “laminate” the photos but it will make them last so much longer if you do.
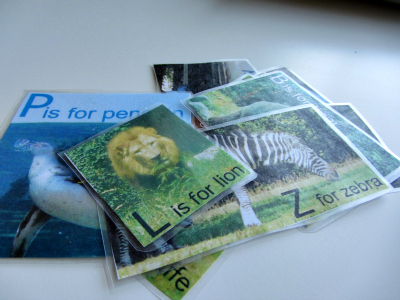
- Peel the backing off the adhesive magnet sheets and place the photos on face up.
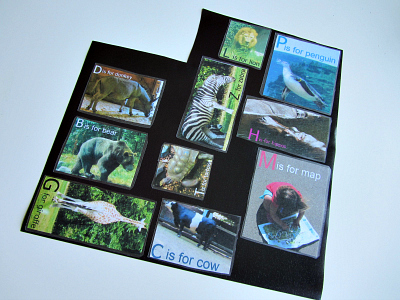
- Trim.Pop them on the washer, fridge or a cookie sheet and invite your little one to play. My daughter immediately told me what each one was and grabbed the M is for Map magnet and told me in a super excited 2-year-old way that that was HER and she was reading the map! In the days that followed she has recounted stories while playing with them which is a really exciting step in early literacy. My son plays with her as well reminding her of bits and pieces of our trip to the zoo in the process.

Virginia says
So neat! We will definitely be doing this! Thank you for sharing. I heard about you from The Pleated Poppy and am so glad to have you as a resource now!
admin says
I am so happy you found us!
Alicia says
We did this yesterday at the aquarium. My son (same age as yours) had so much fun trying to find fish for every letter and photographing them. It really made the outing more exciting for him. We are going to turn it into a book instead of magnets, but I know my daughter (2) will love it too. Thanks again for another great idea!
admin says
I am so happy to hear that. My son really loved it and since they have been on the washer ( our make do magnetic surface) they both play with them all the time. My son will admire his photographic skills and my daughter will tell stories about each animal in her 2 year old vocabulary. I hope your book is a huge hit!
alvina castro says
I love this! Must try soon 🙂
Sadame says
I love the idea but when I looked up the magnetic sheets on amazon they were pricey. I see all these cute ideas on all the blogs I follow but even collecting as much as I can (bottles, craft supplies etc.) it still seems so expensive to make them all work. 🙁
Jenny says
You could use those free magnets that come as business cards and glue the photos onto them instead of using the expensive magnetic film.
Allison McDonald says
Absolutely!