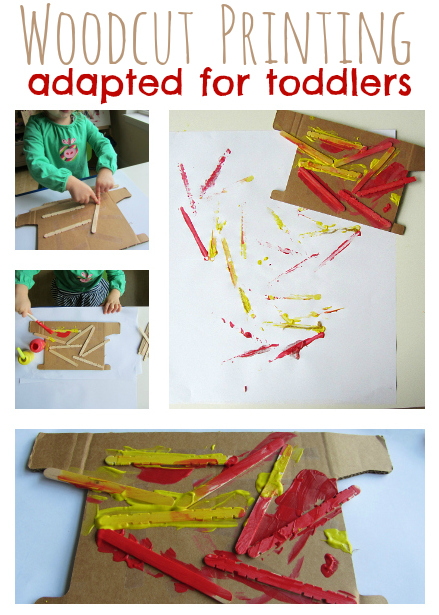
 While we were learning about China for Chinese New Year months ago we read about woodcut printing. I was going to do it with my toddler with foam but my daughter didn’t have the strength or dexterity to press hard enough into the foam to make a permanent designs so we adapted. This project will work for toddlers but older children will still love it. Woodcut Prints are normally carved and older children can do them with foam ( meat trays thoroughly washed were always my favorite!) , ivory soap and even erasers work . Did you carve yours in math class with your compass? No? Well if you did it’s the same technique. Our adaptation reverses the technique but for a toddler experience I think it was still fun intro into print making.
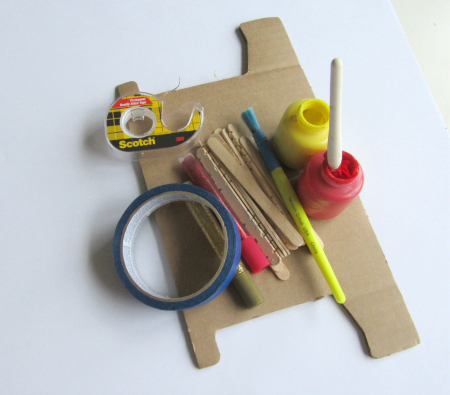
- Gather your materials. You will need some card board, good double stick tape, popscicle sticks, paint, paint brushes, some glitter glue ( optional but everything is better with a little sparkle) and white paper.
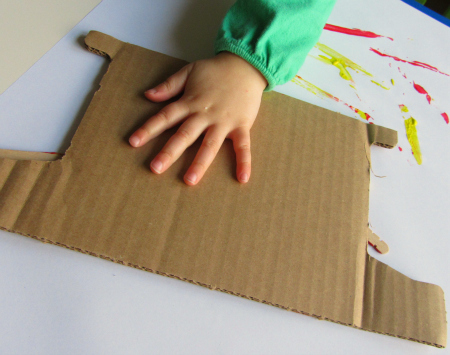
- Start by adding the double stick tape to the cardboard.
 It’s tricky but forgiving, even if the tape is lumpy everything will be OK. I loved to see how hard she was working. You will need at least 4 or 5 pieces in random spots for popsicle sticks to stay on. You can absolutely use glue but make sure it’s all dry before moving on to step 4.
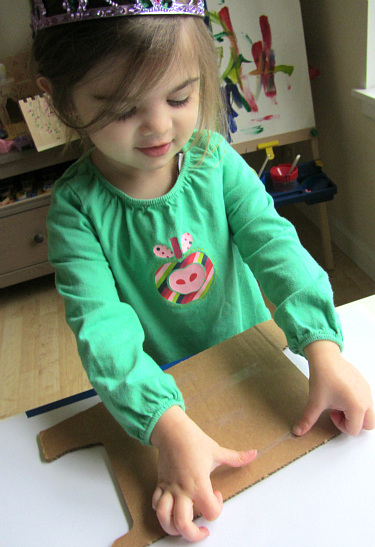
- Next add the sticks. Stick them on and press.

- Add your paint.
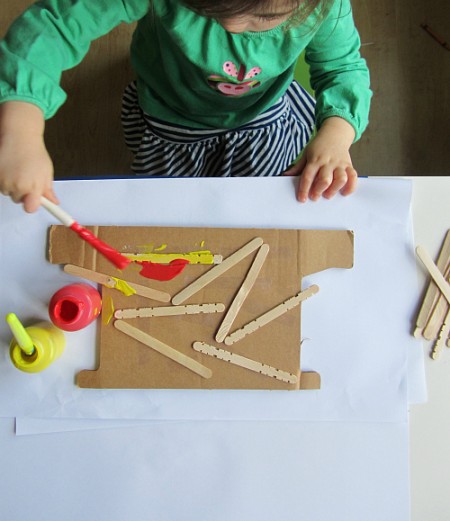
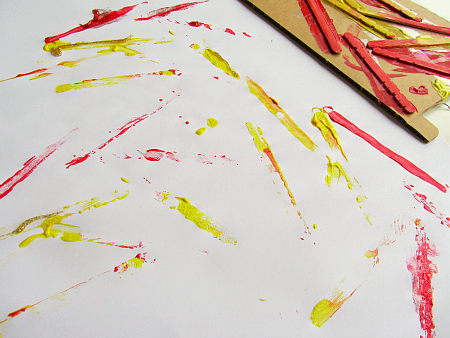
- Flip and print onto the paper. Add more paint as needed and keep printing layering it if you want.
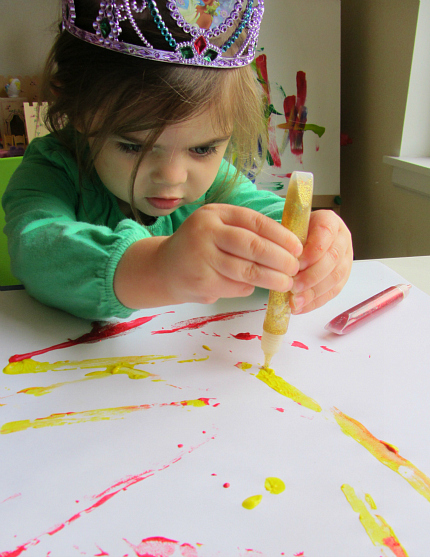
- When your child is done printing add some flair if you want. My daughter was adamant about adding glitter.
- Let it all dry and display or use for wrapping paper!
Bonnie says
What a great way to bring ‘wood cuts’ to toddlers – I am always looking for a way to incorporate art into kids projects and I love this idea. Thank you so much for sharing.
http://momslifesavers.blogspot.com/