Disclosure: This post contains affiliate links.
This time of year is hectic. Sometimes you just have to slow down and squish something, especially if you are a preschooler. Sensory exploration is a fantastic way to calm overly excited bodies and even if you don’t want your child’s help to make the slime (though I encourage it), having some on hand is a great thing. I made this while my daughter was at school but you can pop over to Instagram to see her play with it and it was the perfect after school activity to reset after a long day. You can give Christmas slime as a gift to friends and neighbors who also have super excited kids that need to chill out and explore. In this post sponsored by Elmer’s, I will show you how to make two different kinds of Christmas slime with a fun color mixing element too.
Glitter Christmas Slime
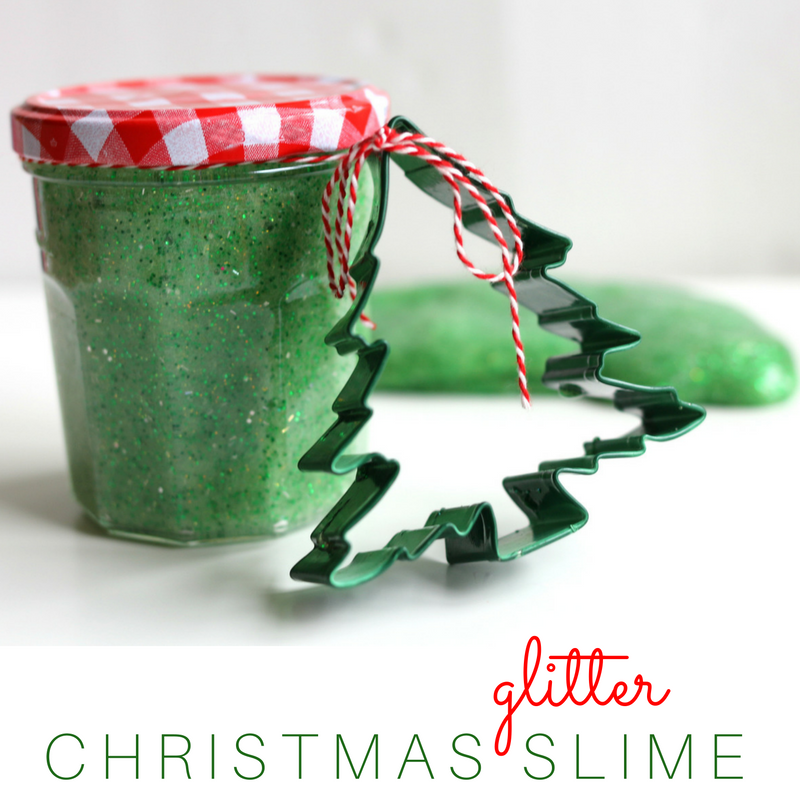
Gather your materials. You will need lots of Elmer’s glue – clear glue, blue glitter glue, yellow glitter glue, green glitter, a bowl, something to mix with, some liquid starch, and a jar. And if you are packaging it up for a gift, some ribbon and a cookie cutter. This recipe makes about a pint and a half of slime.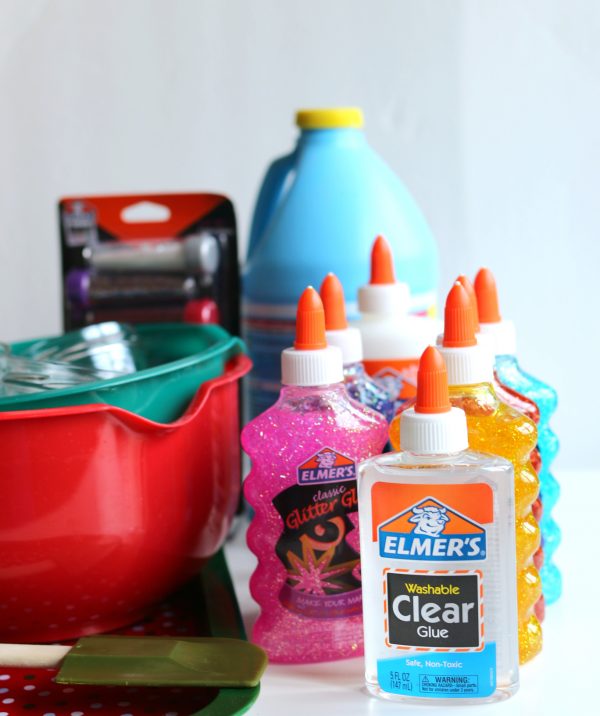
Start by pouring 1/2 a bottle of clear glue, 1/2 a bottle of blue glitter glue, and 1/2 a bottle of yellow glitter glue in a bowl with a whole vial of green glitter and stir.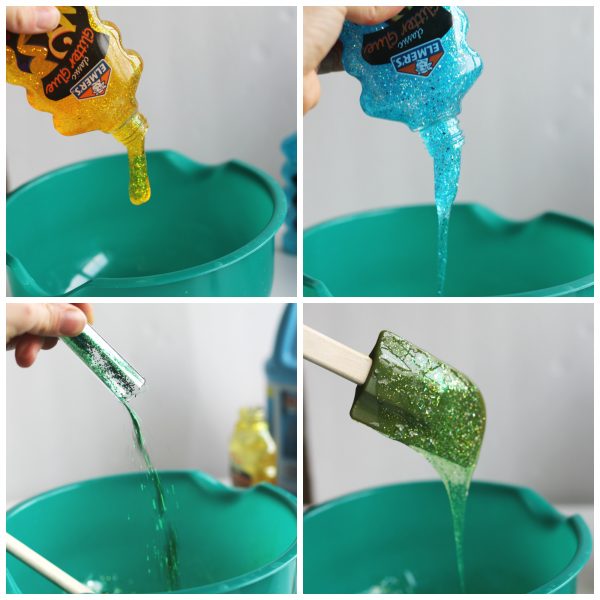
Isn’t it pretty?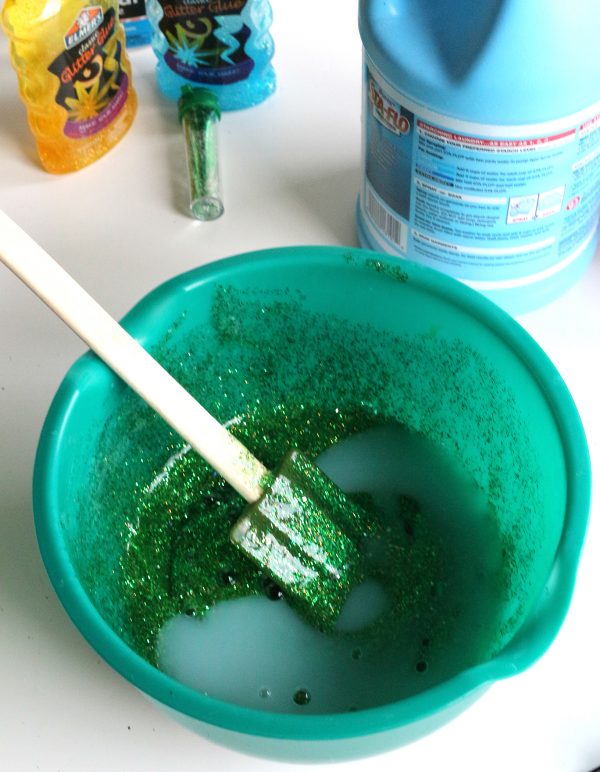
Now it’s time to add the liquid starch. I start with 1/4 cup and stir. The slime should sort of clump in slippery blobs. This is when I ditch the spoon and dig in with my hands. I like very stiff slime because it’s more fun to dig fingers into and frankly not as messy. To make the slime really dense, you have to knead it for a good 5 minutes. I know it’s a long time, but it is worth it. Keep adding more liquid starch if it’s sticky. I usually end up using about 1/2 cup, but every time I do it, it’s a little different. Just remember to add a little dash at a time and knead like crazy!
In the end, you will have a nice blob of slime that peels off plastic plates, glass, and your hands pretty easily.
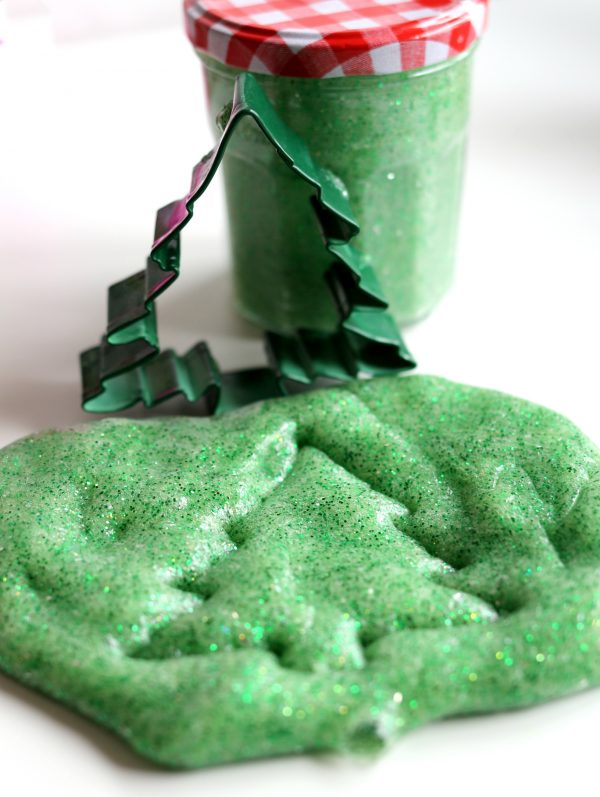
I love using cookie cutters with slime! They don’t always cut out shapes well, but if you use them as stamps it’s perfect!
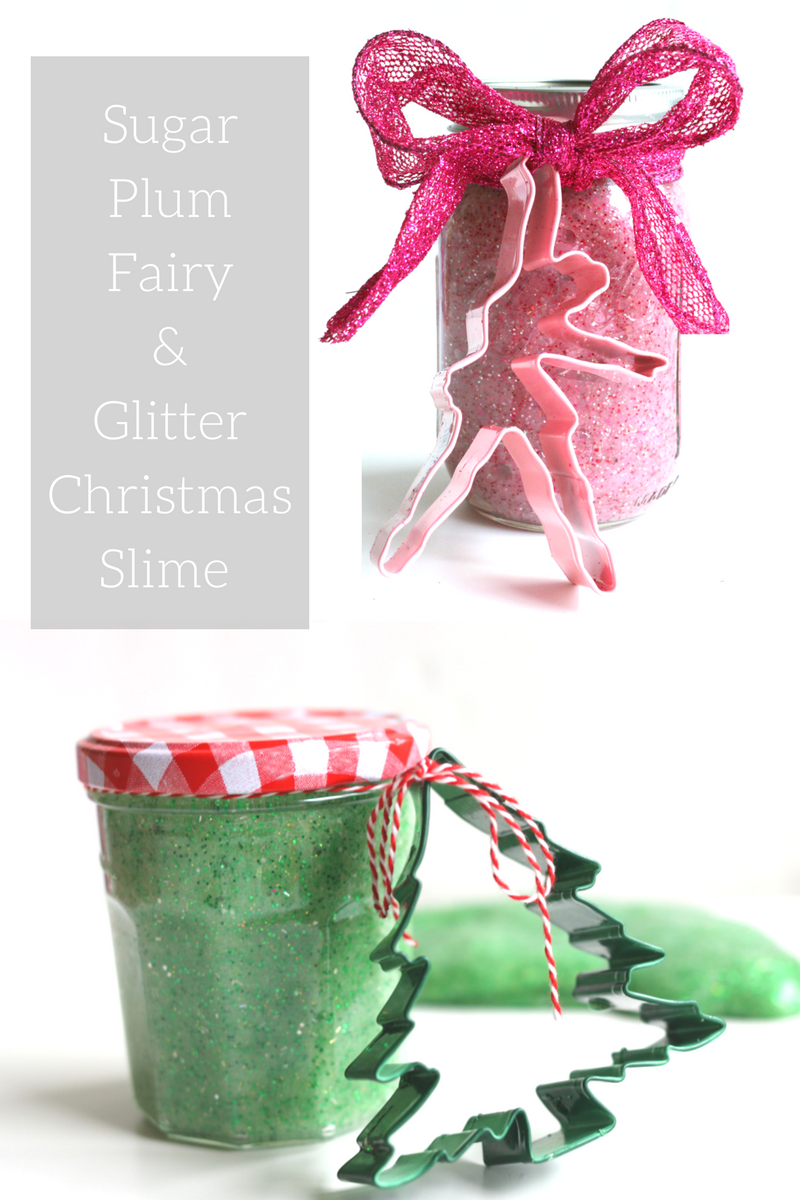
Sugar Plum Fairy Slime
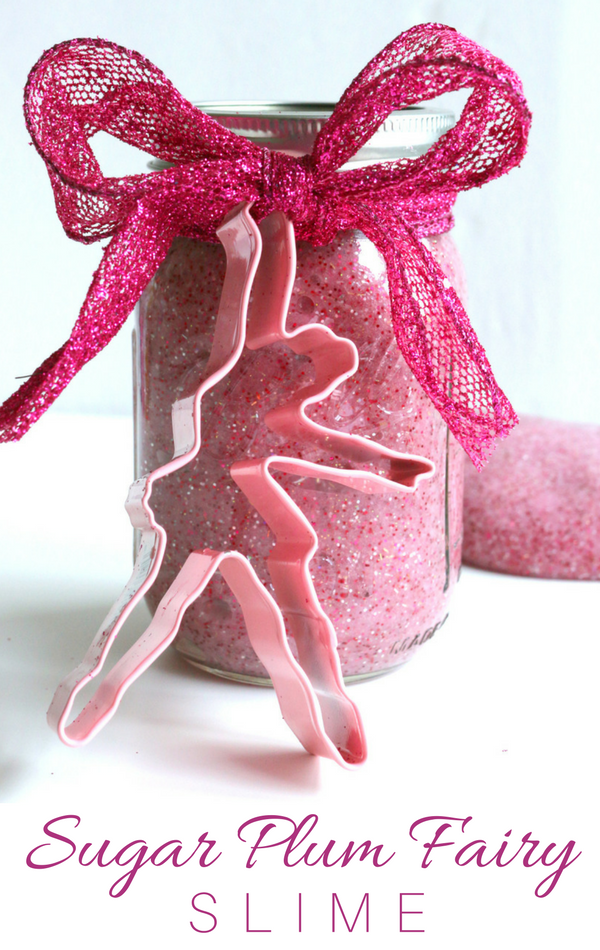
Gather your materials. You will need red glitter glue, purple glitter glue, and pink glitter glue. You will also need some regular school glue, pink glitter, red glitter, and white glitter. Oh and don’t forget a bowl, spoon, and jar to pop it in. If you are giving this as a gift, you will also need a cookie cutter (this ballerina one is great for it) and some ribbon.
The process is the same as for the green slime. Add the glitter glue ( I did 2/3 of a red bottle, half purple and a little less than half a bottle of pink), add a dash of white glue ( this just makes it a little more opaque), and the glitter. 
Add 1/4 cup of liquid starch and start mixing. When I made this, originally I only put a dash of purple in and the color was kind of the color of raw meat. So I added a lot more purple. This is a really great opportunity to have your child help play with the color to try to get the right combination. It might end up brown but then you could just call it gingerbread slime! Remember when you are mixing in the liquid starch, there is always a point where you will stop and think, oh my gosh what is this mess? Just keep kneading, I promise it will all come together! Add little dashes of liquid starch if it’s not pulling away from your hands and you knead until it does. 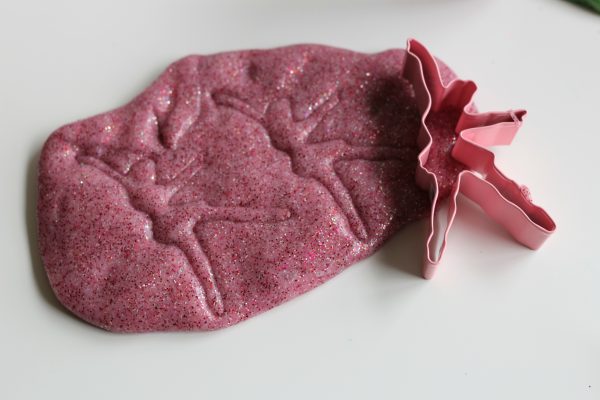
Look at those sugar plum fairies dance!
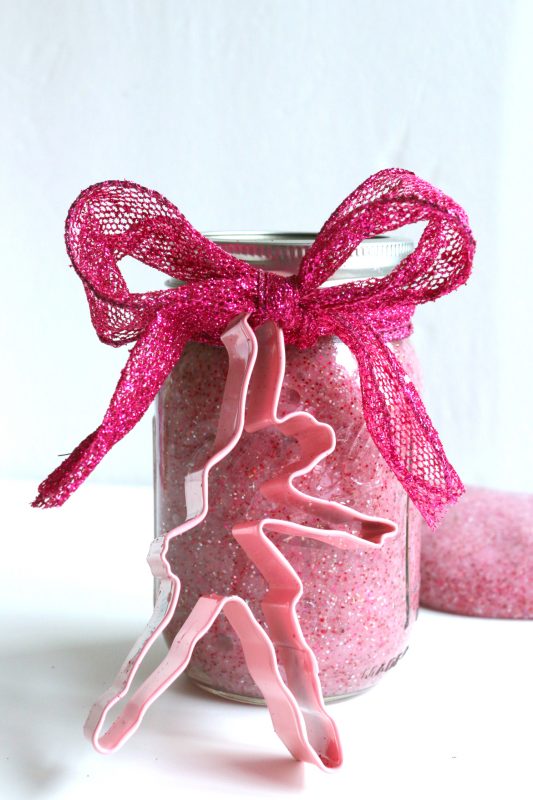
Add some ribbon and a cookie cutter to turn this into an awesome gift!
Stay tuned, because tomorrow I will be sharing another easy to make a holiday gift for creative kids. It took 3 minutes to make, and it’s the perfect stocking stuffer! I am so excited to share. Don’t miss it!
Leave a Comment