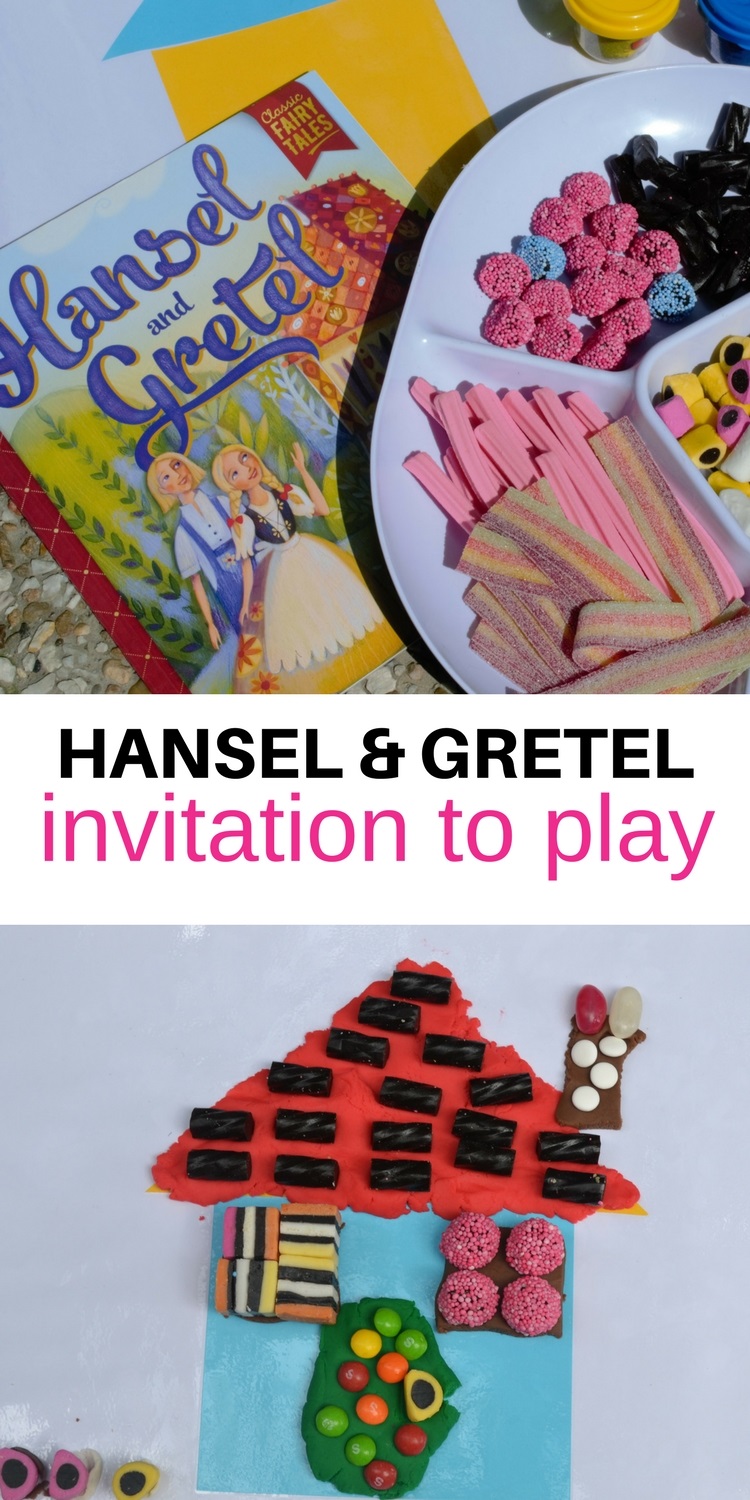
This Hansel & Gretel Playdough invitation to play has to be one of my favorite activities that we’ve played with this year. We’ve been enjoying fairy tales lately, and are working our way through the traditional tales. This week we read Hansel & Gretel and the children were fixated on the house made out of sweets.
With this in mind, I decided that we should make our own house of sweets/candy and playdough seemed to be the easiest way to do this. I’ve seen people make 3D models of these, but as we are working with much younger children playdough was definitely easier.
For this activity, I did use real candy and I think this made the activity more authentic. I made a point of telling the children that this was for craft only and they were fine with that. I held back a few pieces for a treat later. If you prefer not to use the candy, you can easily substitute with craft items like pipe cleaners, pom poms, buttons, and sequins.
You’ll see from the photos that there is quite a lot of candy in the container, however, we used this for groups of 5 children at a time. Once they had finished we took the candies off and reused them for the next group (another reason to encourage them NOT to eat them!). All told, I spent about $6 on candy so it was quite a cheap activity. You could even use up your leftover Halloween candy if you wanted to.
What you need for a Hansel & Gretel Playdough Invitation to Play
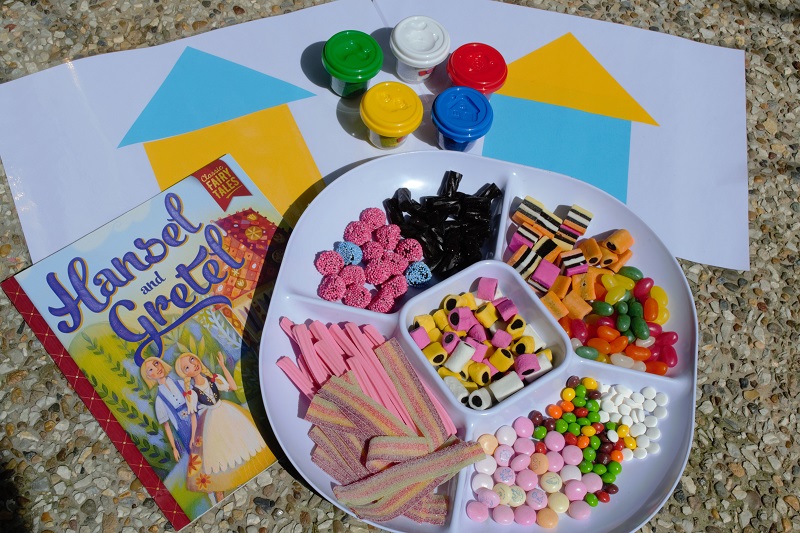
To make the playdough mats
- White paper – I used A3, but A4 would also work
- Laminating pouches and a laminator (laminating is optional, but it is the best way to be able to reuse the play dough mats)
- Square colored construction paper (1 square and 1 square cut in half to form a triangle for each house)
To set up the Invitation to Play
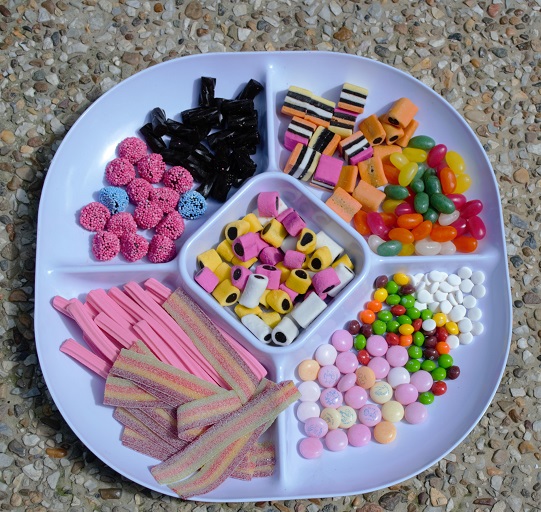
- A mixture of candy. I used candy strips, jelly beans, mints, Mentos, Skittles and licorice pieces. It really doesn’t matter what you use. I recommend grabbing whatever is cheap.
- Playdough in assorted colors.
- Playdough mats.
What we did
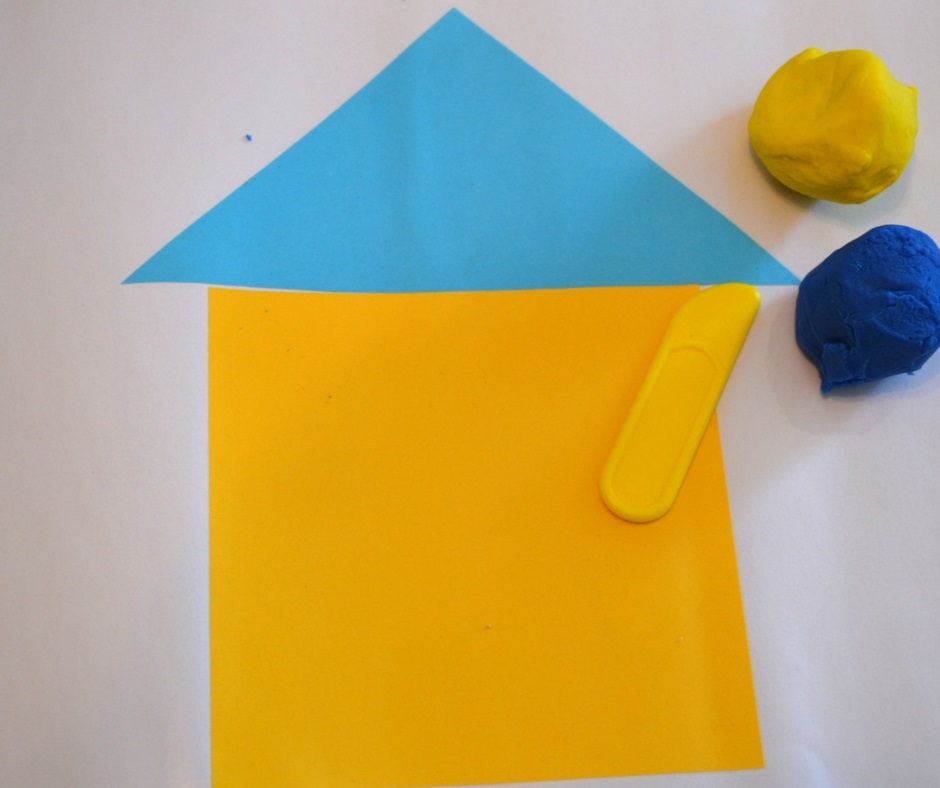
- Cut a piece of square construction paper in half to make a triangle.
- Glue one square piece of construction paper and one triangle piece onto your white paper to make a basic house shape.
- Laminate your page (optional but recommended).
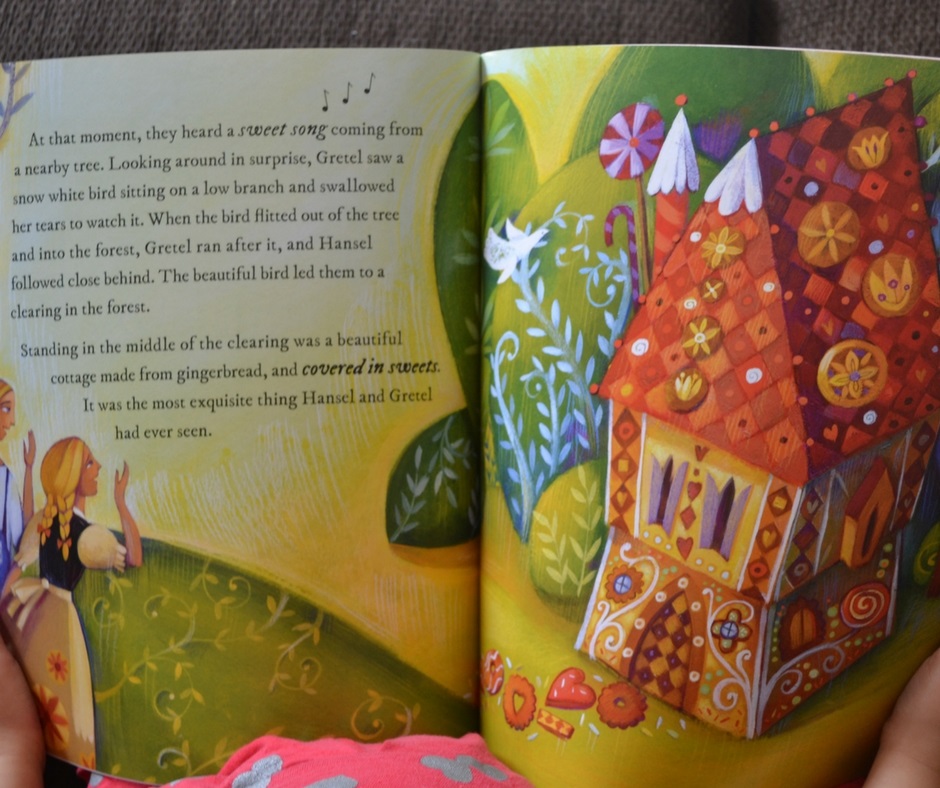
- I recommend reading or re-reading the story before you begin, focusing on the details of the house in the pictures.
- Place your candy and playdough out, alongside the playdough mats.
- Let your child create!
- We used the playdough as a base to stick the candy onto (as you can see in the photos of the roof and windows). For smaller items, we placed the playdough onto the candy and used it more like blu-tac.
- Once you have finished, you can put the candy back in the bowl and the playdough away so that it can be used again. I kept the candy in the fridge and we played with it for over a week before I got rid of it.
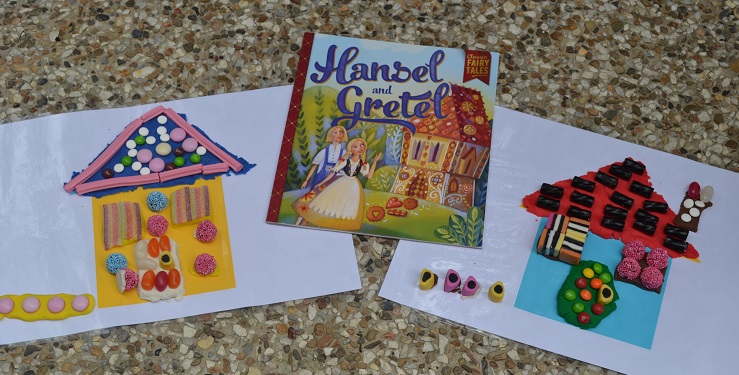
I love that every house ends up different. Despite being given the same basic house design, every child I worked with came up with a completely different end result. My children had a fantastic time with his Hansel & Gretel Playdough invitation to play and have been talking about it for days.
This activity is a great addition to our Build Preschool Fairytale Thematic Unit – check it out here!
 Contributing Author:
Carol Jones is an Australian elementary and special education teacher. She is also a mother of two who loves engaging in creative and messy play! You can find her over at My Bored Toddler, where she shares lots of simple, hands-on activities for toddlers.

Chantal E says
I do something very similar to this for my preschool holiday storytime each year (I work at a public library). Instead of doing 3-D houses with the younger set, we do a 2-dimensional picture, much like your Hansel and Gretel houses, but use icing to glue graham cracker cookies onto foil-covered cardboard squares. We also use the icing to glue on the candy and chocolate decorations. The kids and their families always love this project, and their houses and holiday scenes always turn out so beautiful and unique.