This is a tricky letter craft, but just because it’s tricky doesn’t mean we shouldn’t try it with our students. It does mean that when we do letter activities or any activities like this letter craft with our students, we should be prepared to differentiate. Last week, one of my students brought a Perler bead creation they made for show and tell. When I asked the students if they would like to do this at preschool, there was a clear answer- YES! What I love about these little beads that you place on a grid and then melt together is that they are incredible for many vital skills, specifically fine motor and hand-eye coordination skills, as well as patience! Why not add a little letter recognition review along with it?

How To Male Melty Bead Letters
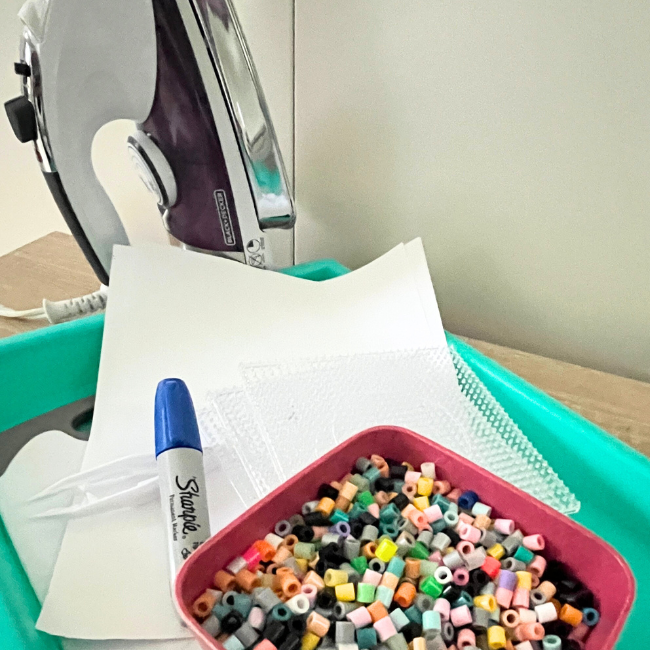
Gather your materials. The links here are affiliate ones – You will need some perler beads, clear perler bead mats, paper ( I used scrap), a marker, a tray, a cutting board, some parchment paper, and scissors.
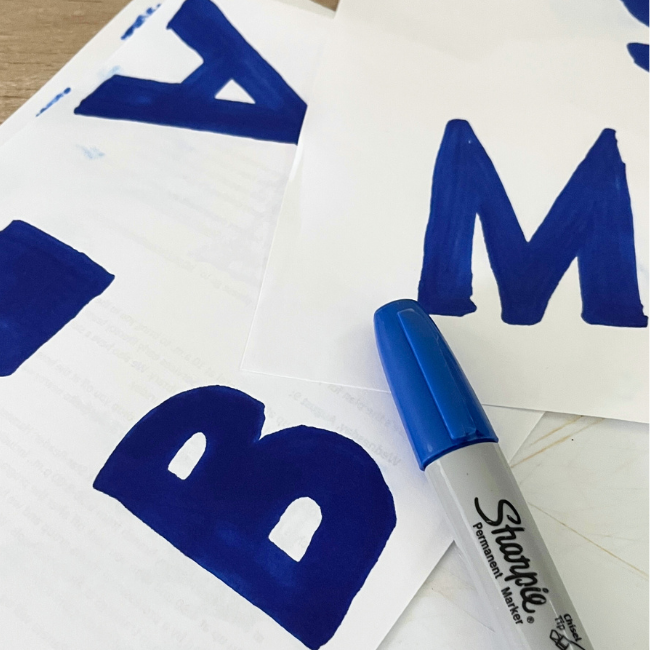
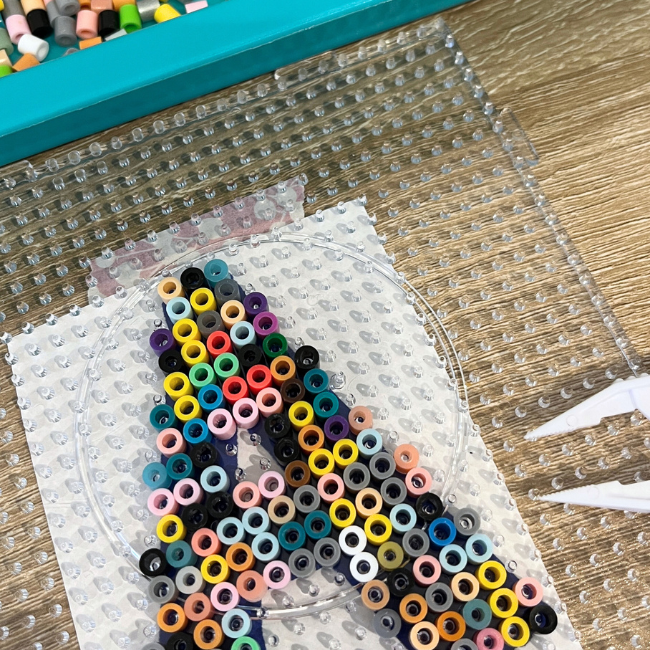
Start by making your letters. I chose just a few that we have focused on in class already, and using the marker, I made guides. I’m sure there are patterns online for Perler bead letters, but I just made my own because I wanted to make only a few letters we are targeting for review. Also, by making the letter guides myself I could tweak them to fit better.
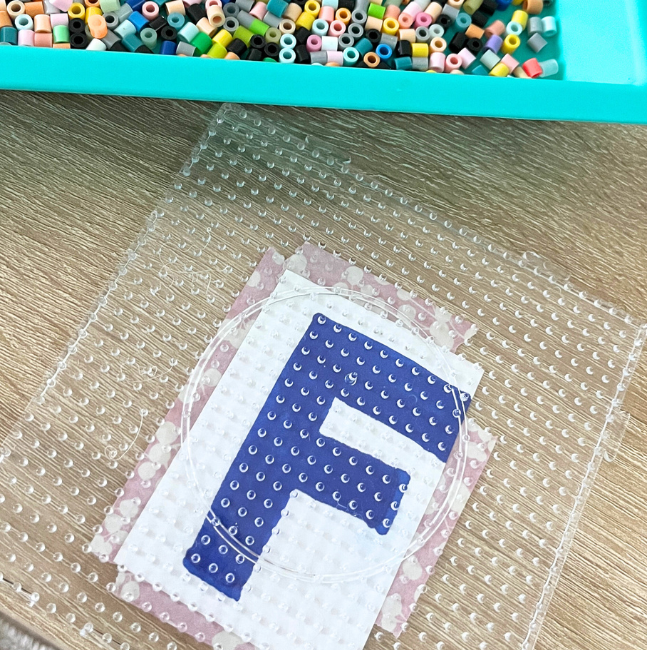
Tape under your clear perler bead mat. I adjusted my letters at this point, making some lines wider to better fit the grid lines of the perler bead mats.
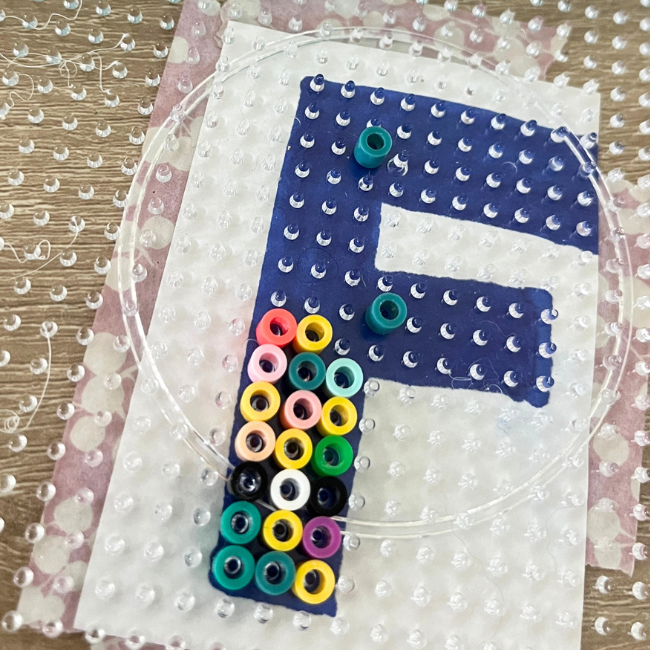
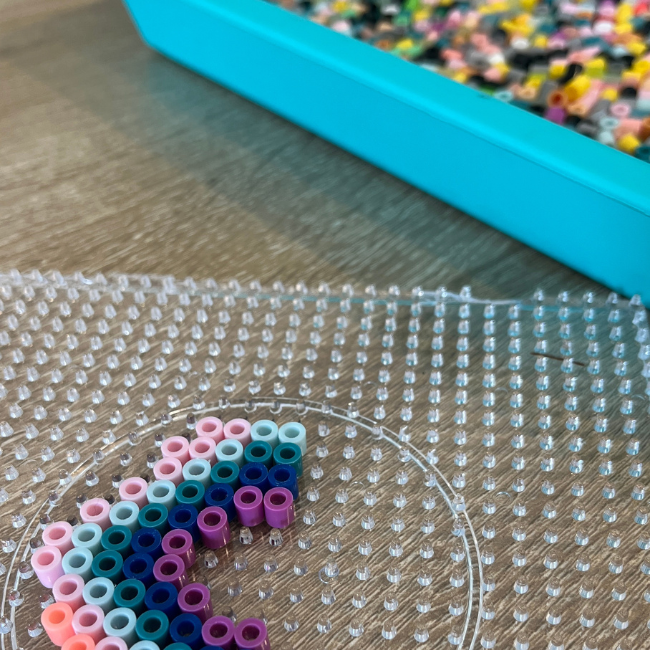
Now bead!
Be ready to help – don’t make students feel like they’ve failed for asking to help; instead, offer it up as the norm.” This is a two-person job. Can I make it with you?”
Tips for Making Perler Bead Letter Crafts with PreK Students
- Do it at small group time. 2:1 ratio of two students to one teacher is perfect. Does this mean you might be doing this activity for a while? Maybe you will see not all students want to make letters, which brings me to tip number two.
- Have a few smaller shape trays and a tray of beads for students who want to create something but aren’t ready or interested in making specific letters.
- Ask students if they want help. Then help a lot. This is tricky and takes time; enjoy that time by making this PreK letter craft together!
- Make letters you have already discussed in class or are significant for your students.
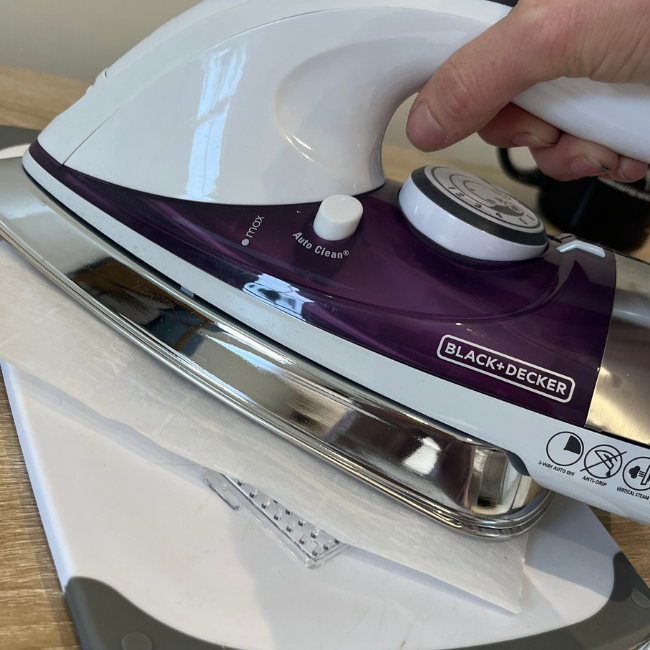
Time to iron. Use the paper in your Perler bead kit, or if you used that in 2003 like I did, grab some parchment paper and iron.
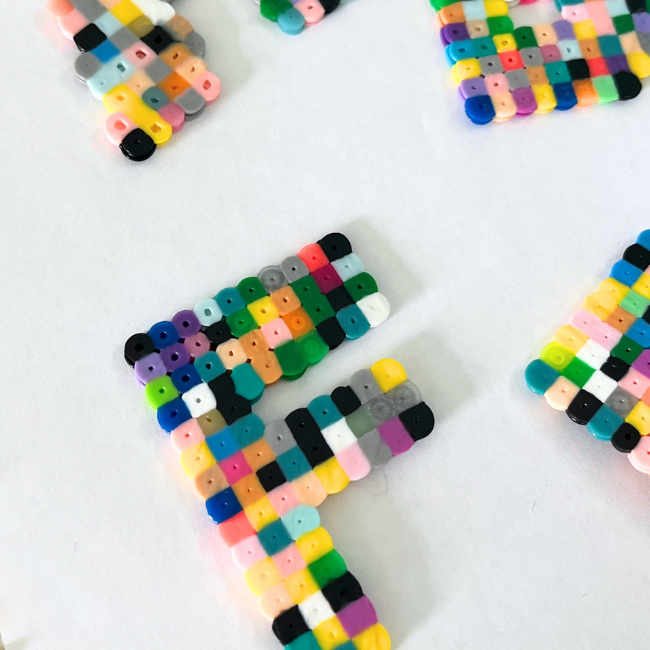
Voila!

More tips for this letter craft activity
- Iron as you go, do not save up the ironing. I know it is harder in a class to have a hot iron on or for you to step out to iron, but the mats with the filled beads can get ruined with simple bumps, so ironing as soon as the letter is beaded keeps the chance of catastrophe low.
- If you are making some examples like I did, do a mix of colors or use just one color. Don’t make the letters fancy with stripes or patterns – it takes a lot of energy just to complete these, and if a student is focused on finding just the right colors, they are much more likely to get frustrated.
- Have extra mats available without letters for children eager to create but not interested or able to make specific letters and children who want to make letters without a guide!
Need more Fine Motor Activities for PreK?
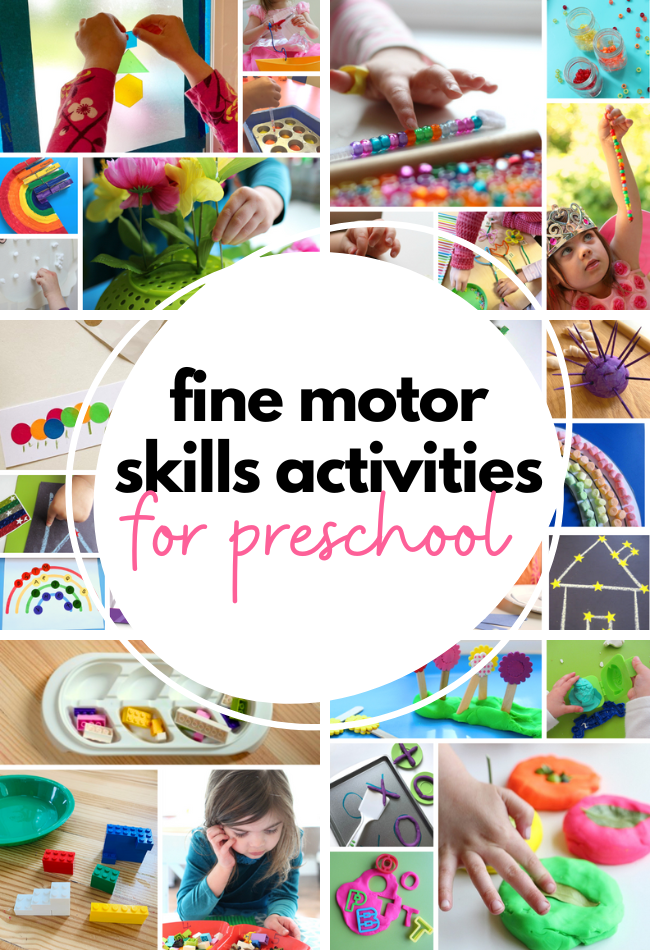
Check out this fantastic post filled with wonderful ideas for your classroom —> Fine motor activities


Leave a Comment