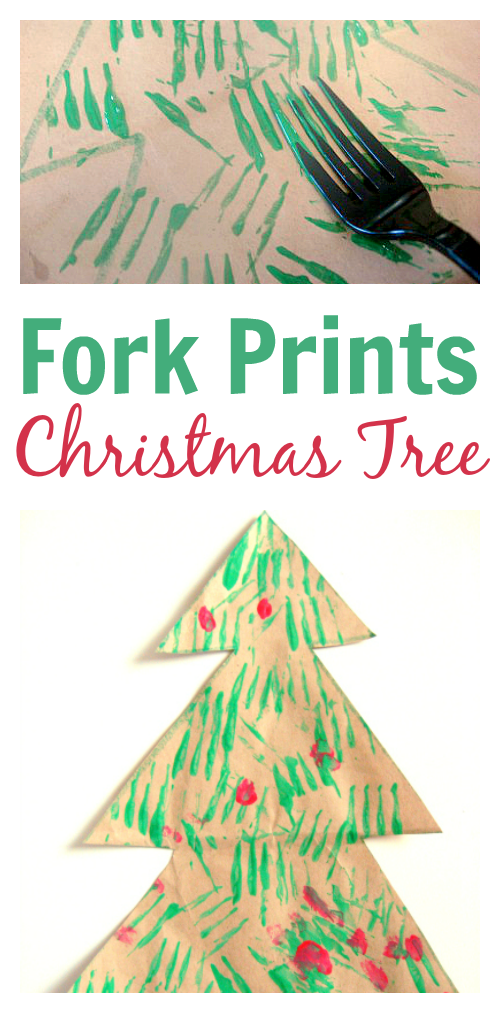
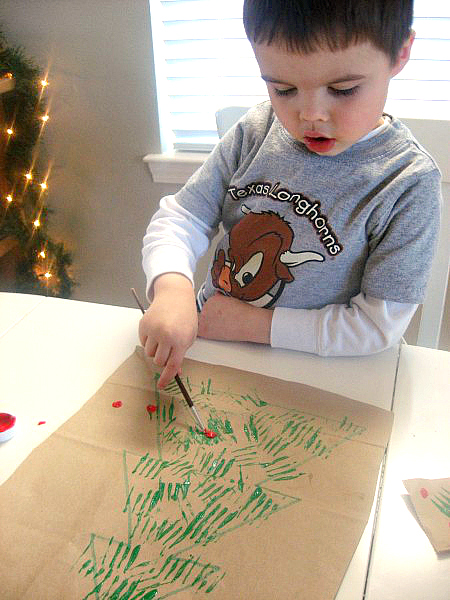
I was looking for a paint brush to make a different project when I found this plastic fork and immediately got inspired! This was a fast fun and totally cute Christmas tree craft project. My son loved it and it could easily be switched to a wreath , just draw one instead of a tree in step 2. Have fun!
- Gather your materials. You will need a plastic fork, a paint brush, a plate, red and green paint , a marker and an old grocery bag or other paper.

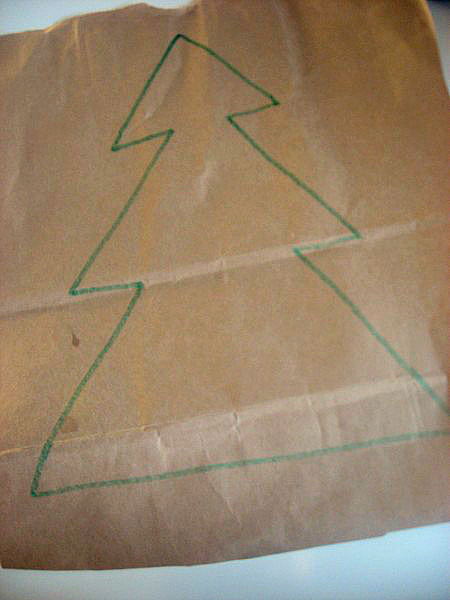
- Draw an outline of a tree with marker.
- Spread your green paint on the plate.
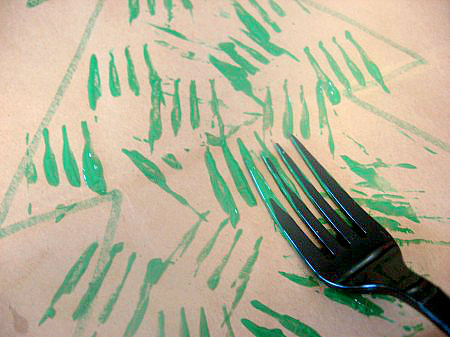
- Dip the back of your fork into the paint.
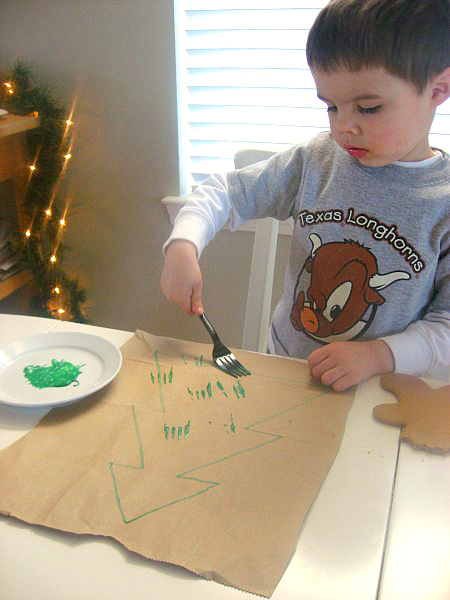
- Print onto your paper.
- When your child is done with the fork prints hand then the brush and red paint to add the lights .
- Let dry and cut out.


Jenny says
Painting with a fork – why have I never thought of this? Works for a perfect tree.
.-= Jenny´s last blog ..Happy Birthday Jesus Party Set Giveaway! =-.
Lexi says
We are so doing this today!
Lisa Marie Mary says
That is an awesome idea! I really like the way it turned out! 😀
.-= Lisa Marie Mary´s last blog ..The Wind Kids =-.
Vickie says
What a cool idea!! We are also gonna do this!
.-= Vickie´s last blog ..Merry SITSmas!! =-.
Natalie says
Love the idea – even my anti-craft daughter might get interested in it.
.-= Natalie´s last blog ..Dog Day =-.
Trish says
I think fork painting is pretty fun—Who knew?
Leslie says
Loved this craft. My 4.5 year old was kind of put off by using a fork for some reason and kept asking for a paint brush. Tried convincing him that it was okay to paint with things besides a brush! 🙂
Thanks for always sharing such wonderful ideas with those of us who are less than creative!
Cathy says
Thanks for this great idea. We’ve used it today to make a Christmas tree number line. I’ve linked through from my blog to this page – hope that’s OK? http://nurturestore.co.uk/counting-christms-trees-number-line
Kelsey says
My daughter loved doing this. We used small holiday cookie cutters dipped in paint to add ornaments to the tree.