My son loves creating with glue, and lately color mixing has become a popular request for art time so yesterday I decided to mix the two with a super simple activity that focuses on process not product. I have colored glue before but never in the bottles, as you will see it minimizes the mess for the project but it didn’t minimize it for the prep. I have a few tips for prep so you can skip the multi colored hands I am sporting today. This is also the perfect time of year for a project
- Gather your materials. You will need some white glue, food color and paper. My son chose black paper which depending on your child will be super cool or horribly disappointing. When the glue is dry you will see almost no color if you use black. We were focusing on the process so black was fine. I included a version made on orange paper below to see the results on lighter paper.
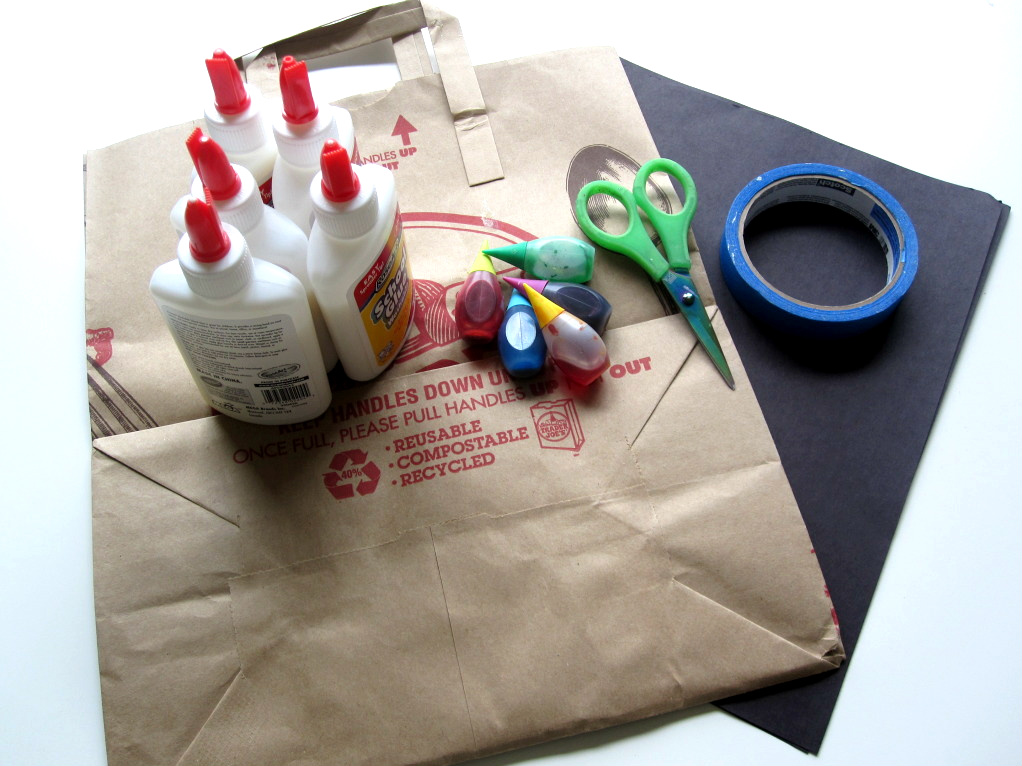
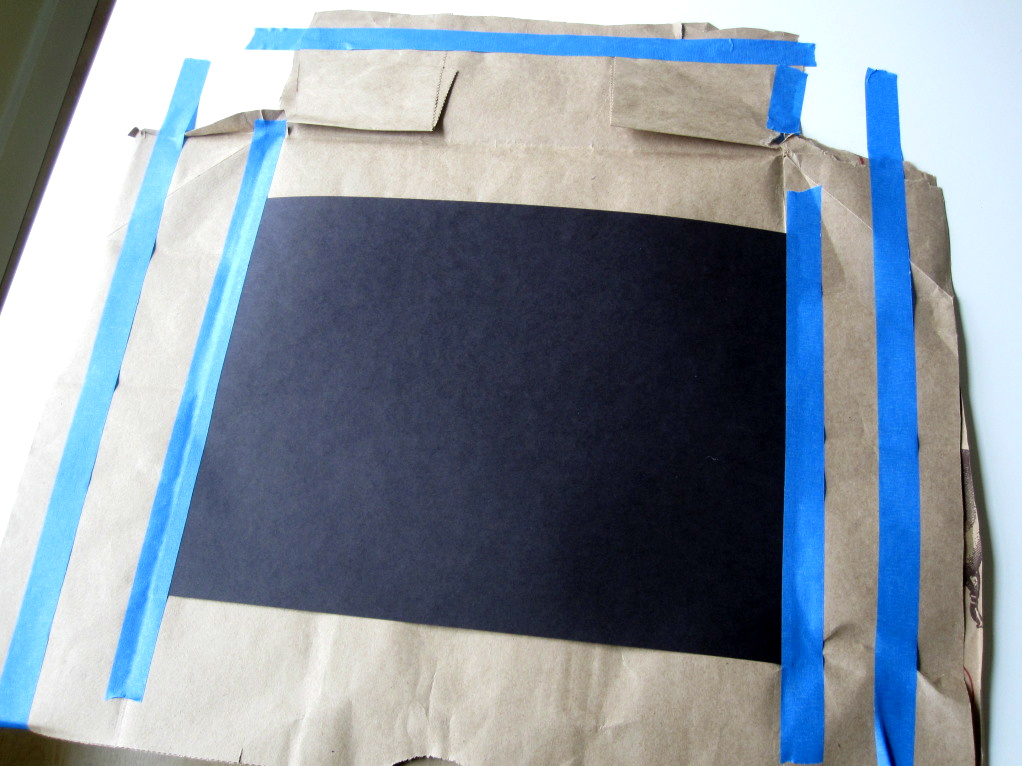
- Start by protecting your table, colored glue can be a bug to get off. I made a simple mat from a brown paper grocery bag, and attached it to the table top with painters tape.
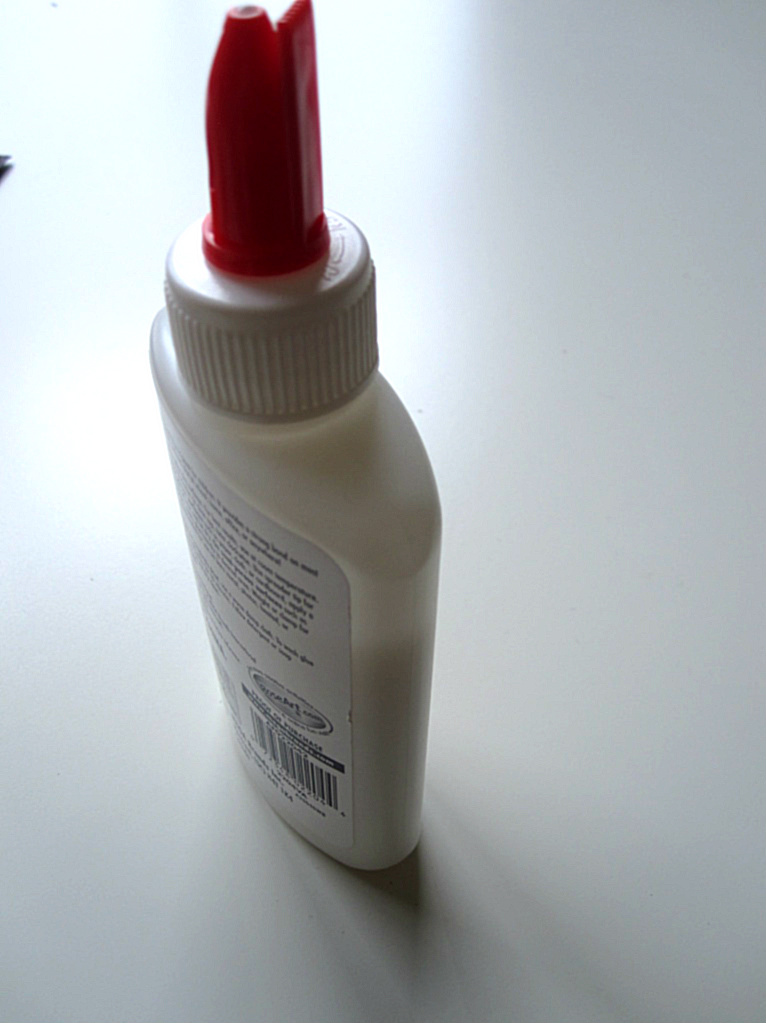
- Make your colored glue. Starting with glue bottles that are not full. I thought this was enough space but when I do this again I am going to use half full bottles.
- Add your food color. Here is where I messed up. I treated the glue like water expecting the food color to incorporate easily but of course it just sits on top. You need to mix it, add more, mix than add more. If you don’t when you turn them upside down ( tip – do not turn it upside down until well mixed) the food color will dribble out and make a huge mess.
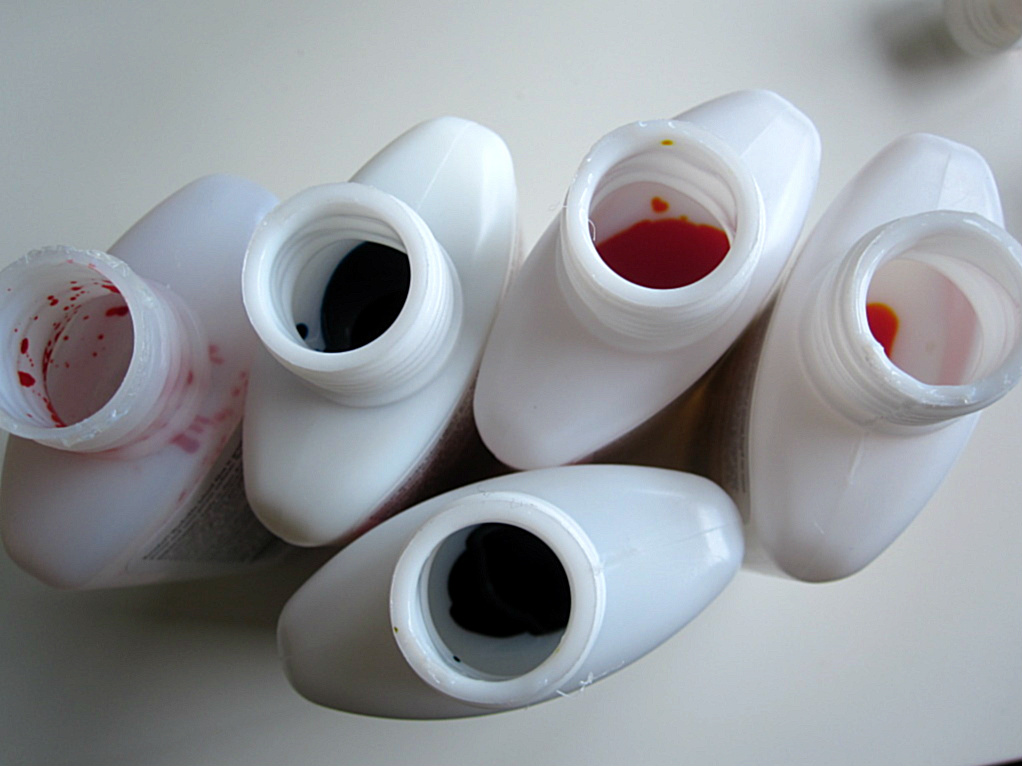
- And while panic mounts and you clean up your hands will end up like this.

- Instead use only half a bottle of glue and a chopstick(or kabob skewer) to mix. Adding a small amount at a time until it’s the color you want.
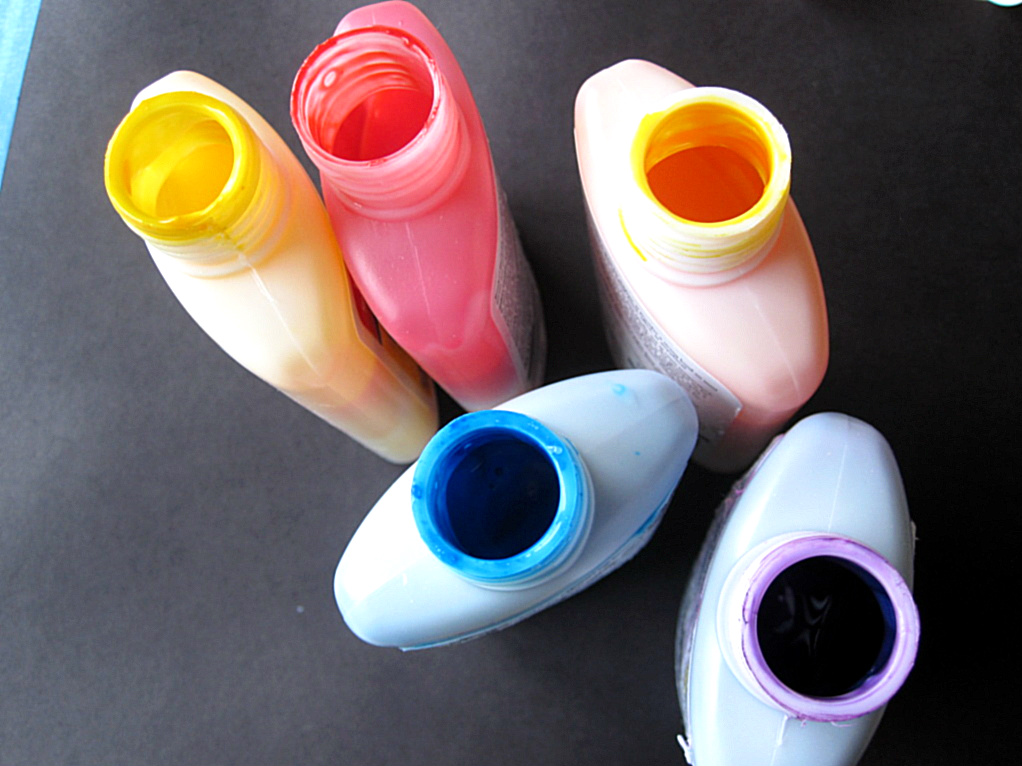
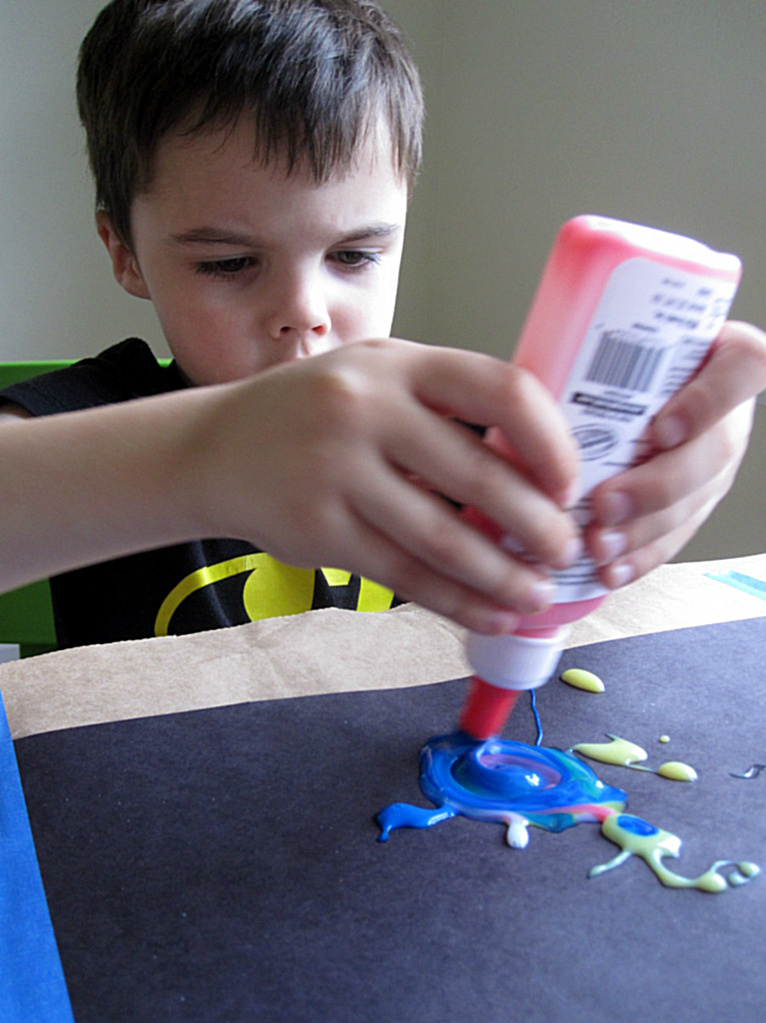
- Time to invite the small ones to explore. No instructions, just have fun.
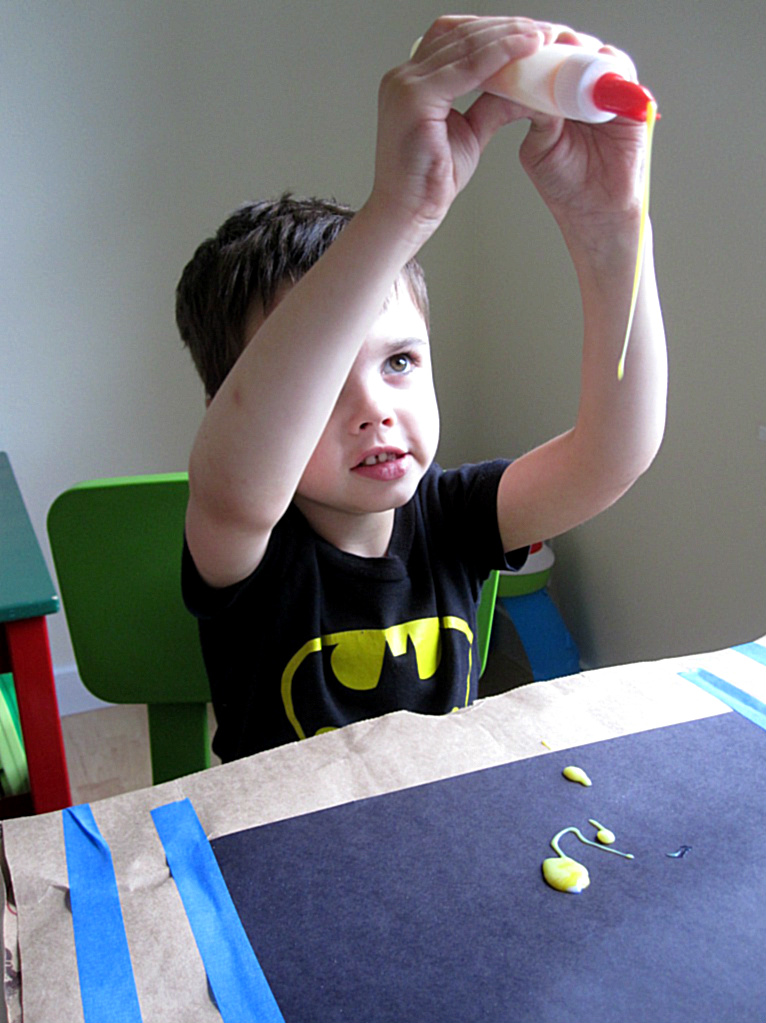
- He mixed colors.
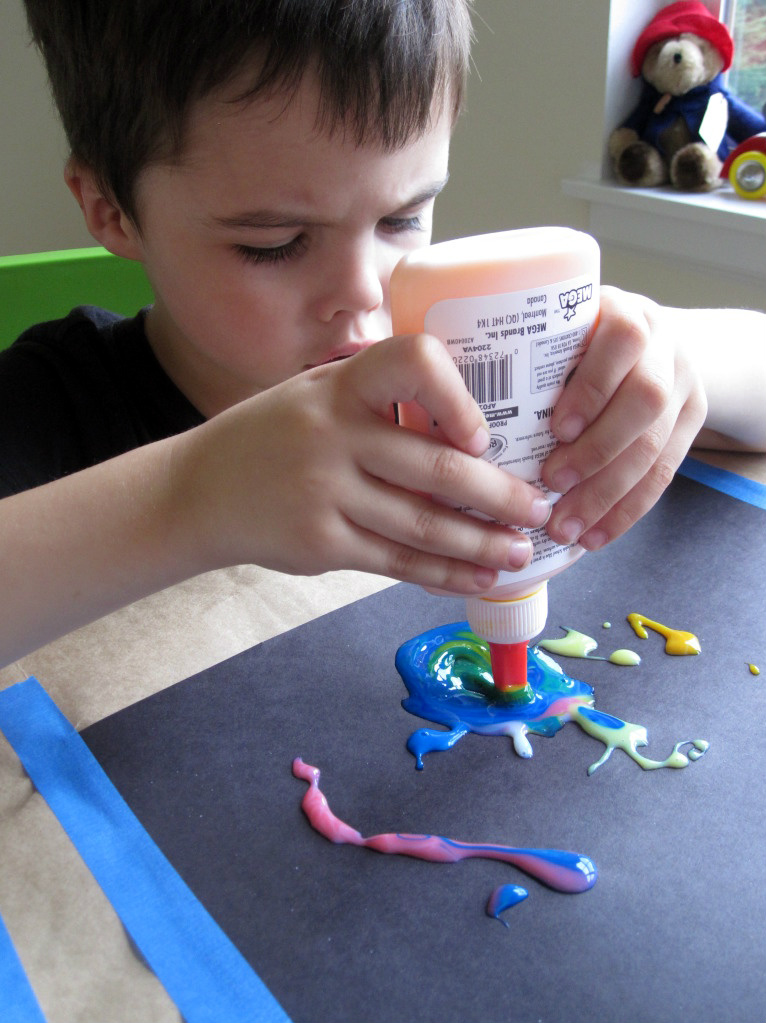
- Loved the vibrant colors, my blue stained hands were totally worth it.
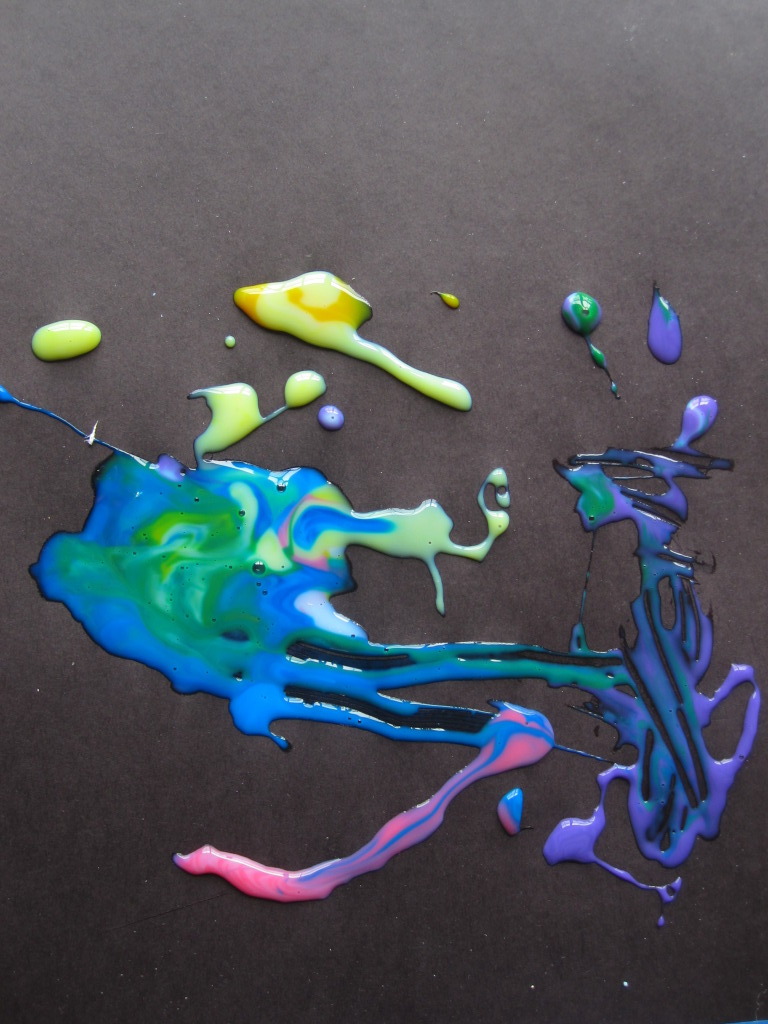
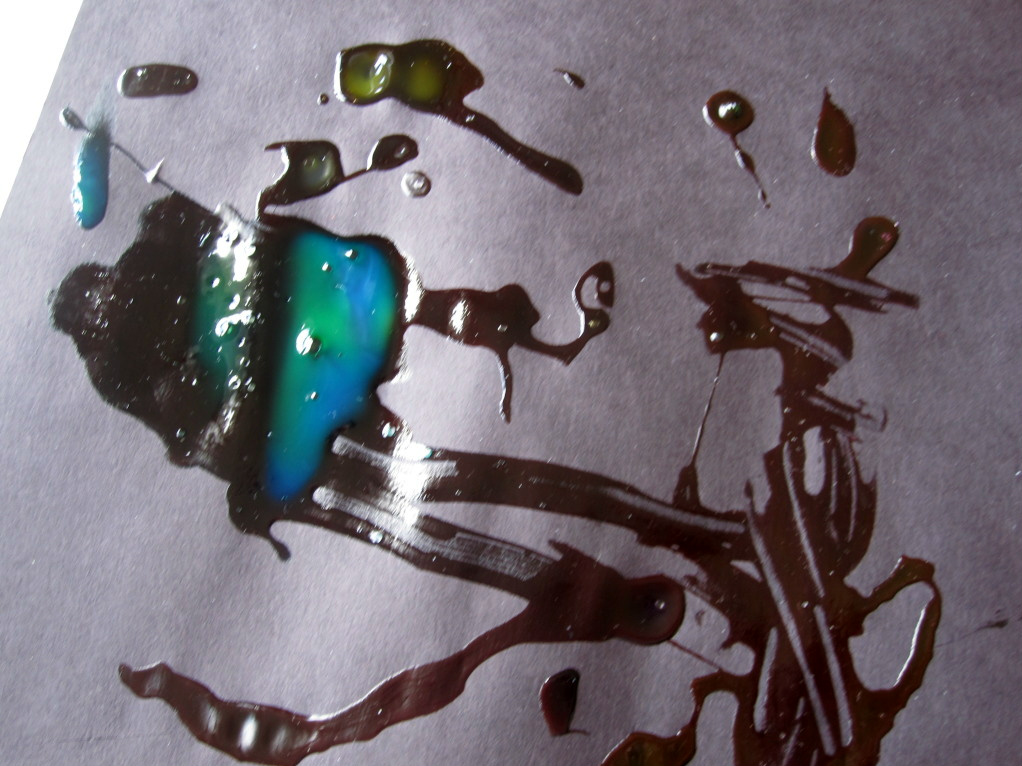
- Dry .As you can imagine it doesn’t show up well on black. My son exclaimed “It’s spy glue!” It also takes a long time to dry- so find a good place for it to sit for a full day.
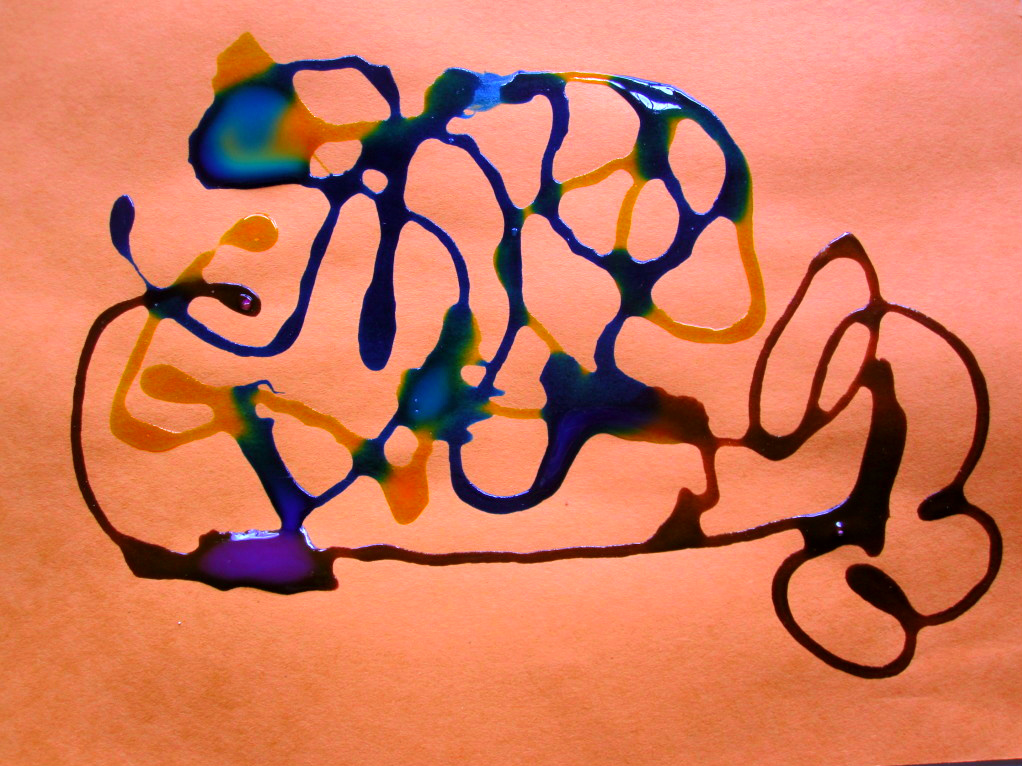
- This is a quick design I made on orange paper and let dry, the glossy colors are so fun!

Open Your World Book Reviews says
yep colored glue is a pain to make but looks so pretty when dry!
love the spy glue comment 🙂
Time for Play says
We love colored glue. We have never had a mess making it, now using it is a different story. Here is what we did with it just the other day….http://4herreras.blogspot.com/2011/08/colored-glue-suncatchers.html.
Natalie says
Thanks for all the tips. We haven’t tried colored glue yet, but it looks like it’s something worth a try.
Amber says
We finally got out the old glue and colored it. I had washable watercolor in powder form from Oriental Trading Company so I used that to color the glue. The colors were vibrant and it didn’t stain the fingers 🙂 We’ve been painting glue on various art projects then covering with white/iridescent glitter. Sammi loves it!
admin says
Great to know that it works . My paint always made it too pastel so I’ve always stuck with the stain inducing food color. I hope Sammi is well 🙂
Laina says
Oh, I meant to say this a while ago… I don’t know about the coloured glue because of the food colouring, but regular glue comes off really well with Mr. Clean disinfecting spray. I use it at work (I do storytime at my library) and never have a problem. And sometimes my tables have GIANT globs of glue. You just have to let it sit for a minute.
Have you ever tried tempera paint powder? I wonder if that would make the colours more vivid.
Laina says
Oh, also! I wonder, if you did this on waxed paper or plastic wrap, could you possibly peel it off? That would be awesome.
Marzee Carnes says
I wonder how this would work with paste food coloring?
admin says
Oh we should try it and find out !
Sam says
Hi, I love your ideas and have been following them for last 2 months. My daughter who is now 22 months waits for our morning and afternoon activity of the day!My toddler loves sparkles so we also added different color sparkles to each bottle. In addition I used thicker white glue so that it gives a 3d effect of drying and use it as a page for her sensory book (used while driving or in restaurants). Thanks again!
Jeanine says
I always use old markers to make colored glue. Just use a pair of needle nose pliers to remove the end of the marker and pull out the inside. No need to remove the film covering. Then simply insert it into the glue and wait a week or so. I usually make several different colored bottles at the end of the school year and they are very vividly colored when I return in the fall.