No Time For Flash Cards
preschool activities, preschool crafts, and preschool books.
For Teachers
Toddlers
Preschool
Kindergarten
Elementary
Archives for December 2009
Best of 2009 #2
Best of 2009 #3
Best Posts of 2009 #4 – Stuffed Monster
Best of 2009 #6 !
Best of 2009
Merry Christmas !
A Whole Bunch O Christmas!
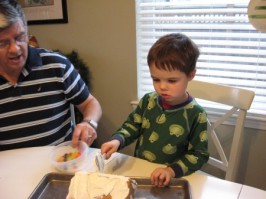
Grandad and Gingerbread !
Green Christmas Crafts
Sunday Spotlight
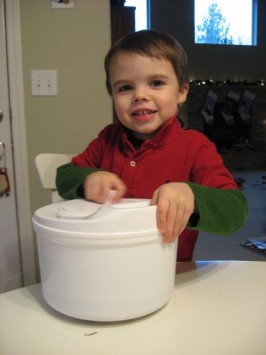
Salad Spinner Painting – Christmas Ornament Craft
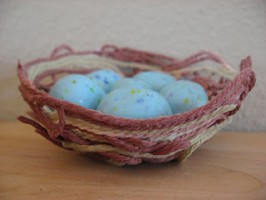
Nest Egg Ornament
Let’s Talk Holidays!
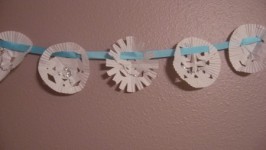
Snowflake Garland
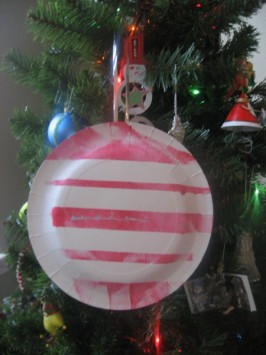
Giant Christmas Ornament
Simple Snowflake Ornaments
Sunday Spotlight
Crafts Of Christmases Past
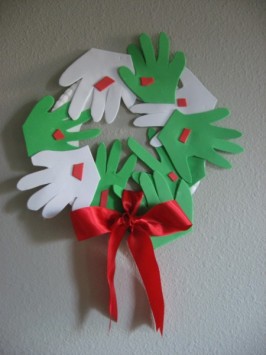
Handprint Holiday Wreath
Hanukkah Crafts
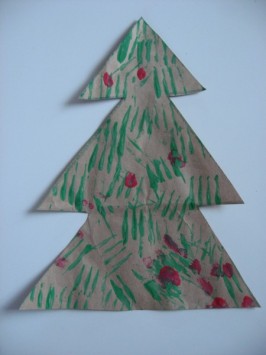
Fork Printed Christmas Tree Craft
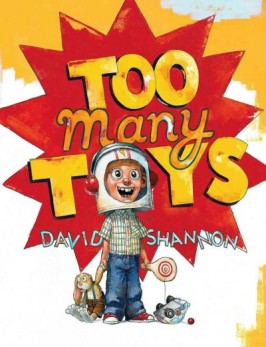
Way Too Many Toys!
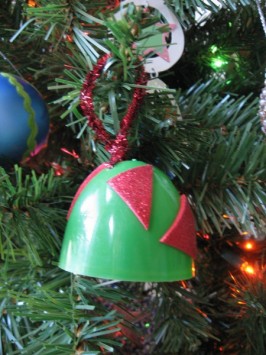
Bell Christmas Ornament !
Sunday Spotlight
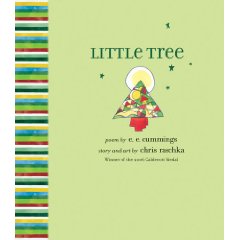
Christmas Books
Letter to Santa
Pretend Play- Holiday Charity
1
2
Next Page