 I love this craft, I have done it over the years with kids ranging from 3 – 13 and although he needed help and skipped the star my son (who is 2)loved it too. This is a great project when you have a wide range of abilities because it’s easily adjusted. For older kids have them add on ornaments or a Christmas message cut from the catalog’s text.
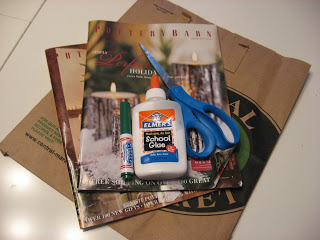
- You will need a brown grocery bag, some catalogs you are trying not to order things from, scissors, glue and a marker.
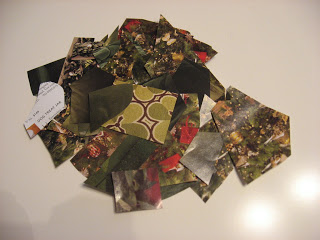
- Start looking through the catalog for green things, you want them to vary, it’s what makes the collage so cool. Cut them out. I have done this with 4&5 year olds and I would rip out pages that had green on them before starting the activity, and they would cut out the actual picture. Older kids can search for the pages themselves. Toddlers will may get very frustrated very fast, so do this step for them, or be prepared to do it with them.
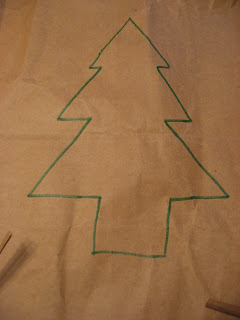
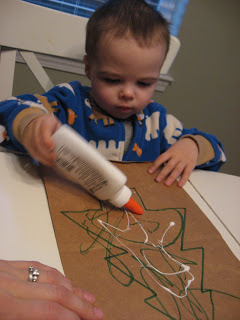
- Draw or have your child draw the outline of a Christmas tree.
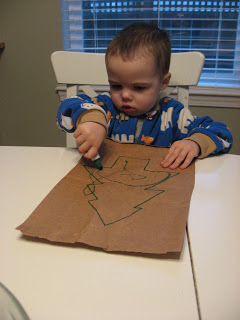
- Have your child color the tree- skip this step with kids that will be able to cover the whole tree, this fills in the gaps well with the little guys though, and they have fun!
- Grab that glue, no need to be exact !
- Start putting the cut out green pieces on the tree. Show little ones that you want the green side facing out, but if they object, I would let it be. If you are using this as a color lesson just label the color that is showing saying something like ” Oh wow your tree is purple”.
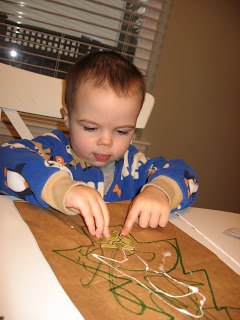
- Keep adding glue,and pieces of catalog. Don’t worry if all the corners are glued down, they will roll up and give the tree some texture.
 If you have a toddler help them with this step, once my son saw that I was popping the catalog cut pieces on anywhere he started adding one after another.Also the lines are just guides , if your collage goes over it that’s fine , you will cut it out in a later step. Let dry.
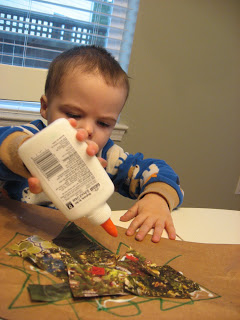
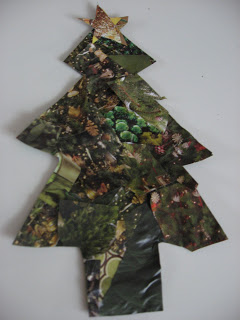
 - These next steps I did myself, at this point my son has had enough and was off to play. Draw a star in the corner.Find gold and yellow pictures in your catalog and cut out.Glue onto the star shape. Let dry
- Cut both the tree and the star out .
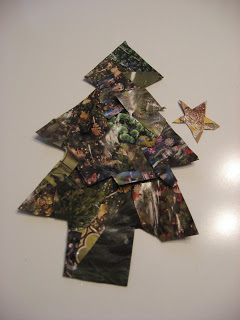
- Glue the star on the top of the tree and voila!


not up to code says
I love this craft! My 5yr old is out of school for the holiday and I am franticaly working to entertain both her and my 3 yr old so they don’t drive me nuts! I am doing this today!
Tonya says
thanks for the great idea! My son loves gluing and imperfection (unlike me!) so this will be perfect for him to work on while I finish a few last minute tasks!
amy_m says
Thanks for this! I love these quick and easy crafts that can be whipped up in a few minutes. Ours got a final coat of Mod Podge for good measure.
The Krazy Girl says
very cute craft
crunchy domestic goddess (amy) says
i did this craft w/ my kids today. great idea! 🙂
Honey says
I love your ideas for crafts.
The recycled Christmas tree idea is great.
I was thinking that I would print out a tree on plain white paper and then have the kids collage on the back. That way we can use the tree as a cutting guide.
We are having so much fun making Christmas crafts this year.