No Time For Flash Cards
preschool activities, preschool crafts, and preschool books.
For Teachers
Toddlers
Preschool
Kindergarten
Elementary
Archives for January 2009
Ziplocs Aren’t Just For Snacks….
Be A Guest Reviewer !
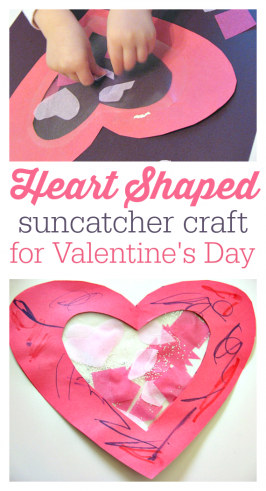
Toddler Valentine’s Day Craft – Heart Suncatcher
Valentine’s Day Cupcakes: Easy XOXO Cupcakes for Valentine’s Day
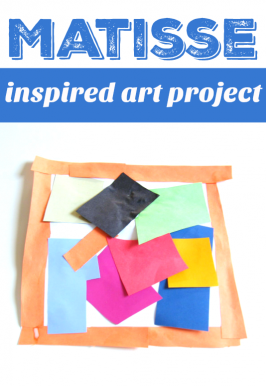
Matisse Art Project
Operation Playtime – Today is Our Day !
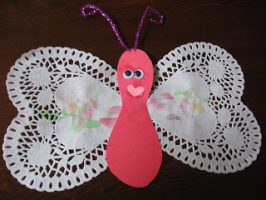
Lovely Butterflies: A Doily Bug Craft
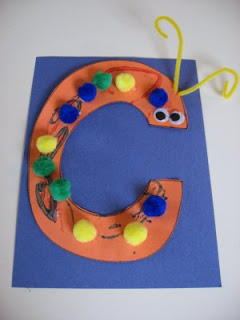
Letter Of The Week ! C c !
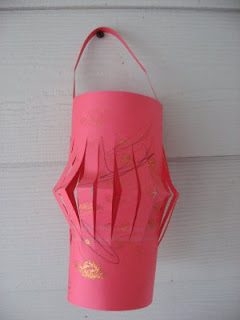
Chinese New Year !
Be Brave!
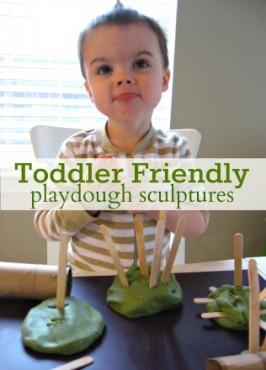
Toddler Playdough Sculptures
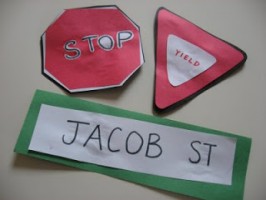
Sign It !
And The Winner Is…
Sent In By You !
Crafting with Toddlers – Be Flexible.
Letter Of The Week ! R r !
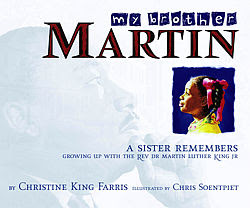
Who was Dr. Martin Luther King Jr. ?
Weekend Repost : Mr. Fix it !
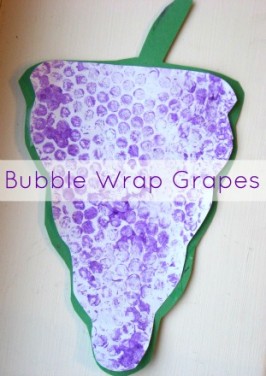
Bubble Wrap Grapes
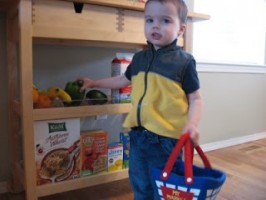
Run Erands At Home !
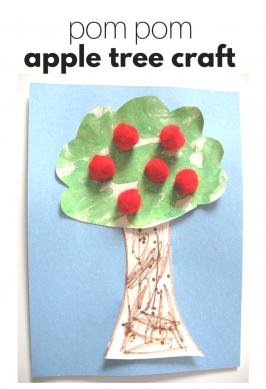
An Apple A Day… Apple Tree Craft
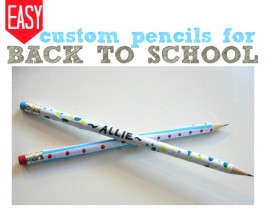
Back To School Crafts { Custom Pencils }
Orange Prints
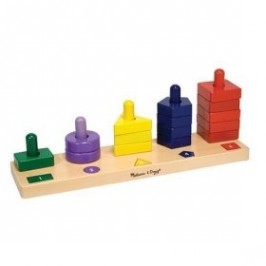
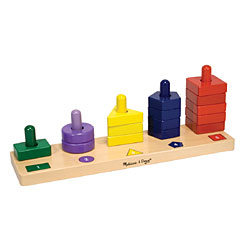
Melissa and Doug Giveaway !
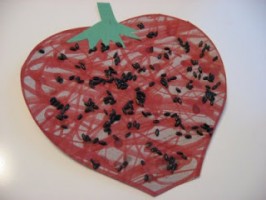
Fresh and Fruity !
Learning is Blissful !
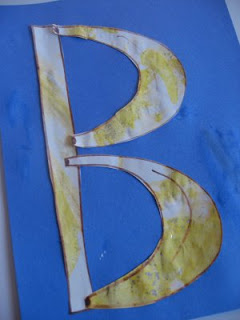
Letter Of The Week ! B b !
1
2
Next Page